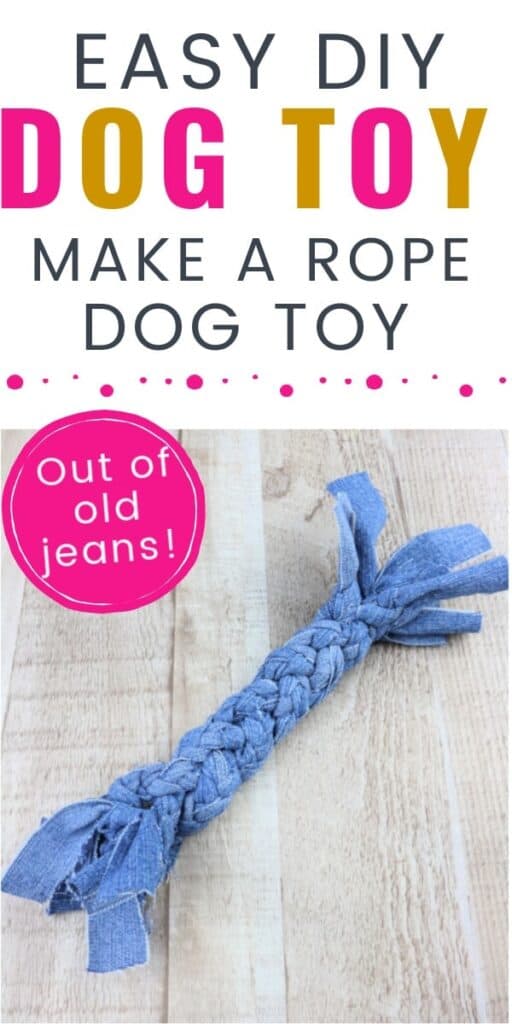
Don’t throw away your old jeans! Instead, turn them into a cute DIY dog toy out of recycled materials!
Does your dog love toys? Do you enjoy spoiling your dog? Making your own dog toys can be really easy, cheap and so much fun!
Quick, easy, and don’t require any specific set of skills, you can easily make this dog toy. Basically, if you can use a pair of scissors, you’ve got this! If your dog loves pull rope toys, they will love this easy to make Jean Dog Toy.
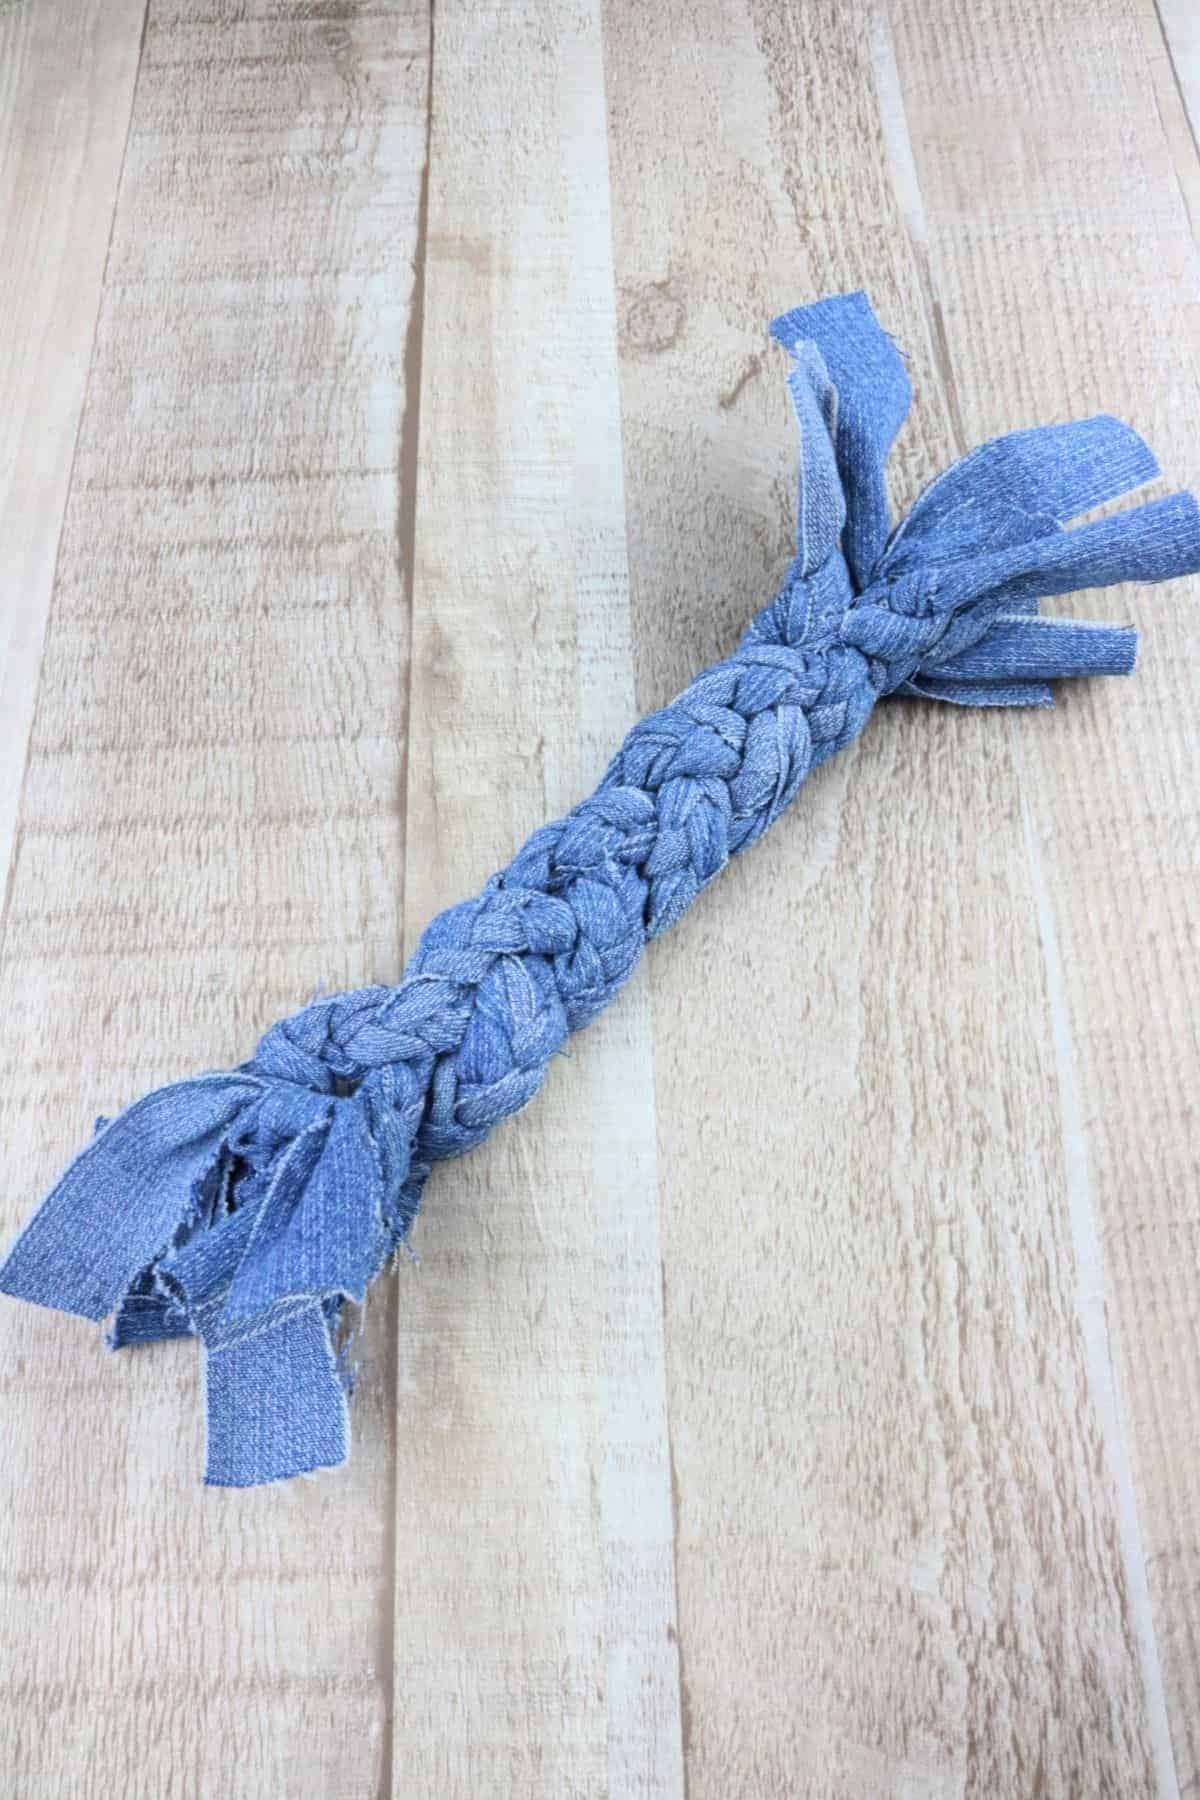
Time to Make: 10 minutes
Skill Level: Easy
Supplies Needed for this Toy
- Old Jeans or Jean Fabric
- Scissors or Rotary Cutter
- Cutting Mat
- Ruler or Measuring Tape
- Treats or make your own homemade dog treats
How To Play with the rope DIY Dog Toy?
You can use the jean dog toy to play tug-of-war, hide and seek or even fetch.
Does your dog love to search for things? If your dog loves to search, you can play a fun searching game with the toys. Tuck a couple of treats into the Jean Dog Toy and your dog will love searching for her new toy!
Want to play hide and seek with your dog toy?
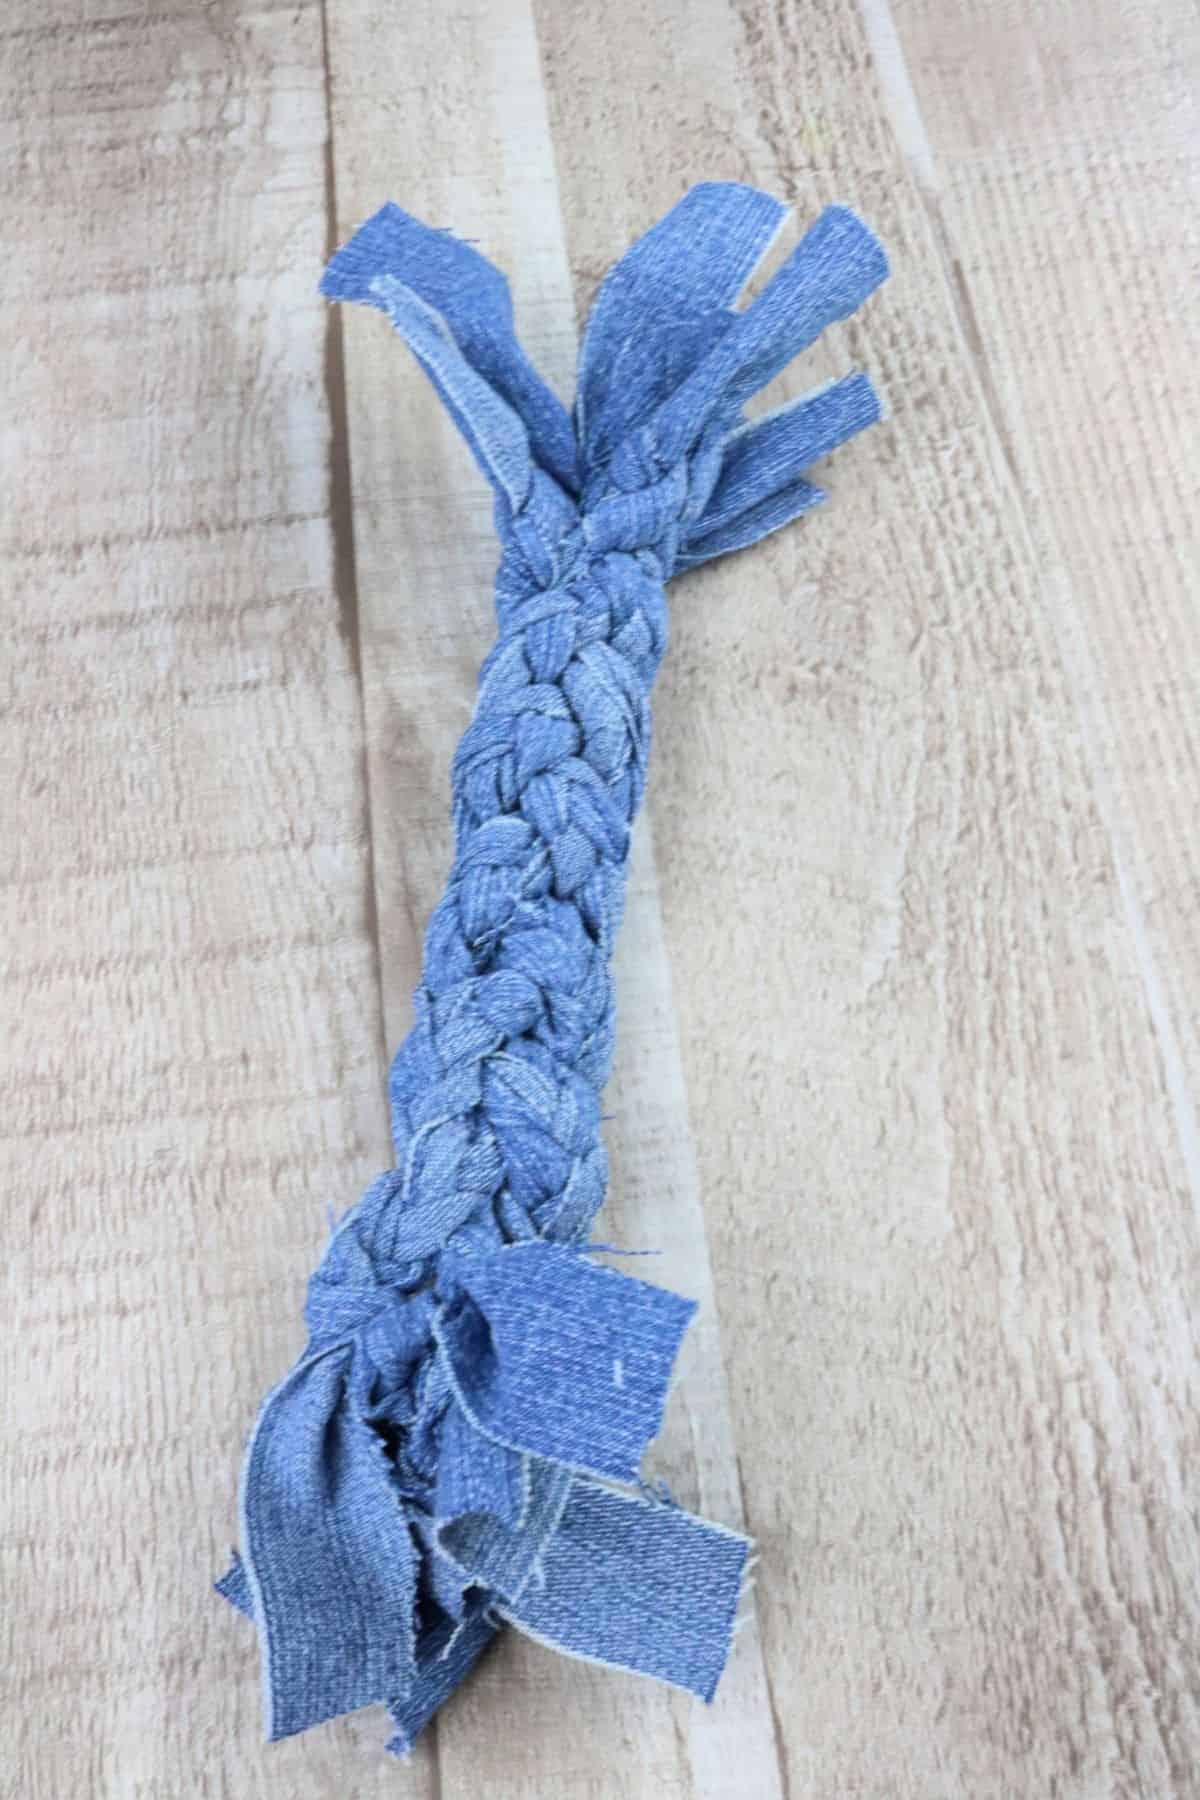
- Ask your dog to sit and stay.
- Next, hide a treat inside the dog toy and move it into another room. I recommend you choose a simple spot at first, behind a couch or chair.
- Then release your dog and ask her to “Find it” letting your dog smell your hands at the same time.
- Because your hand smells like the toy, your dog can easily pick up its scent.
- When your dog finds the toy, give her lots of praise and a treat, along with a quick game of tug-of-war.
Most dogs will tire easily from this game, you’ll only want to hide the toy and play this game two to five times.
Are The DIY Denim Dog Toys Indestructible?
Most toys made from denim are not indestructible, especially for aggressive chewers. You’ll want to supervise your dog during playtime.
These DIY Jean Dog Toys are best used for playing fetch, tug or hide and seek. This way the toys will last months.
Be sure to discard the toys when they break into pieces or become torn.
Benefits of the DIY Jean Dog Toys are:
- durable (but not indestructible)
- fast to make
- eco-friendly
- recycled from old jeans
- no-sew DIY dog toys
- washable
Pro Tip: Join Fabric Strips Without Sewing & Knots
Pro Tip: If you're halfway through your project and notice the denim strips are too short, simply add another strip. There’s a simple way to join two fabric strips without sewing or knots.
How To Prepare Jeans For The Braided & Knotted Dog Toys
Step 1:
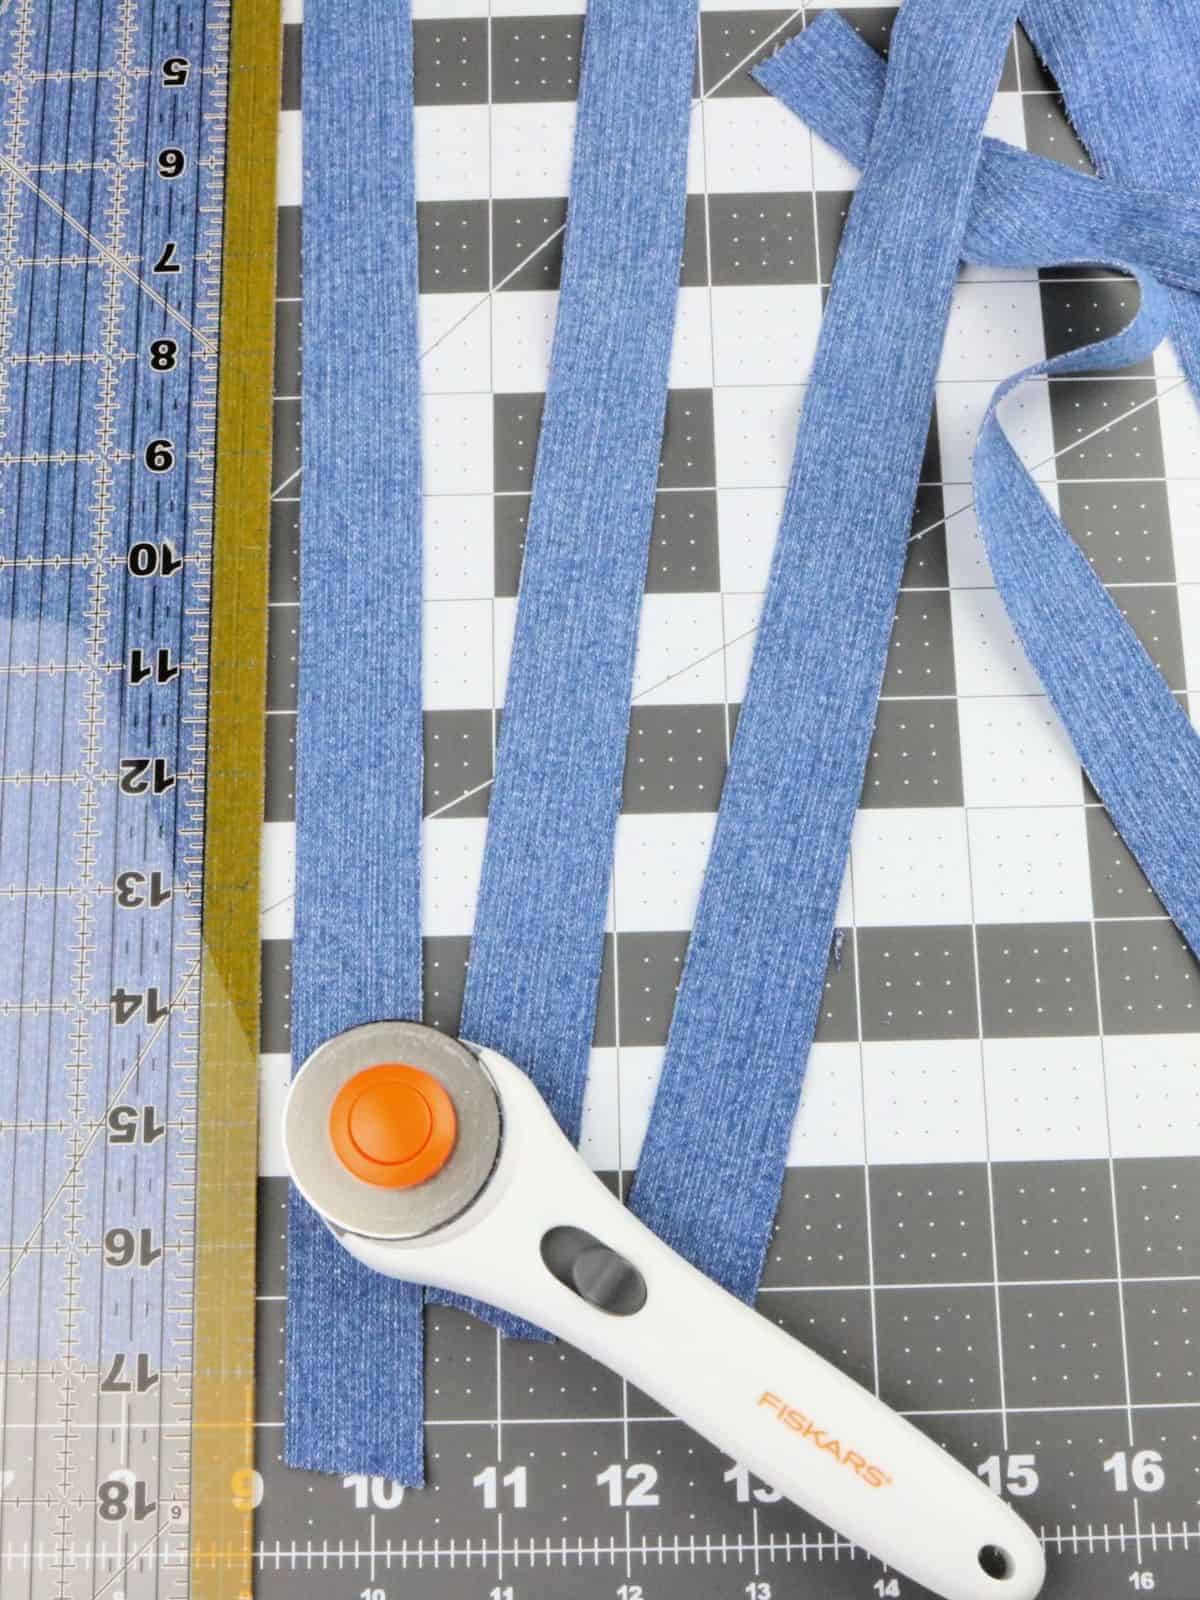
Cut jeans into strips that are about one inch wide by at least 19 inches long. Works best when cut from the leg area of the jeans. You need 9 strips in total.
Step 2:
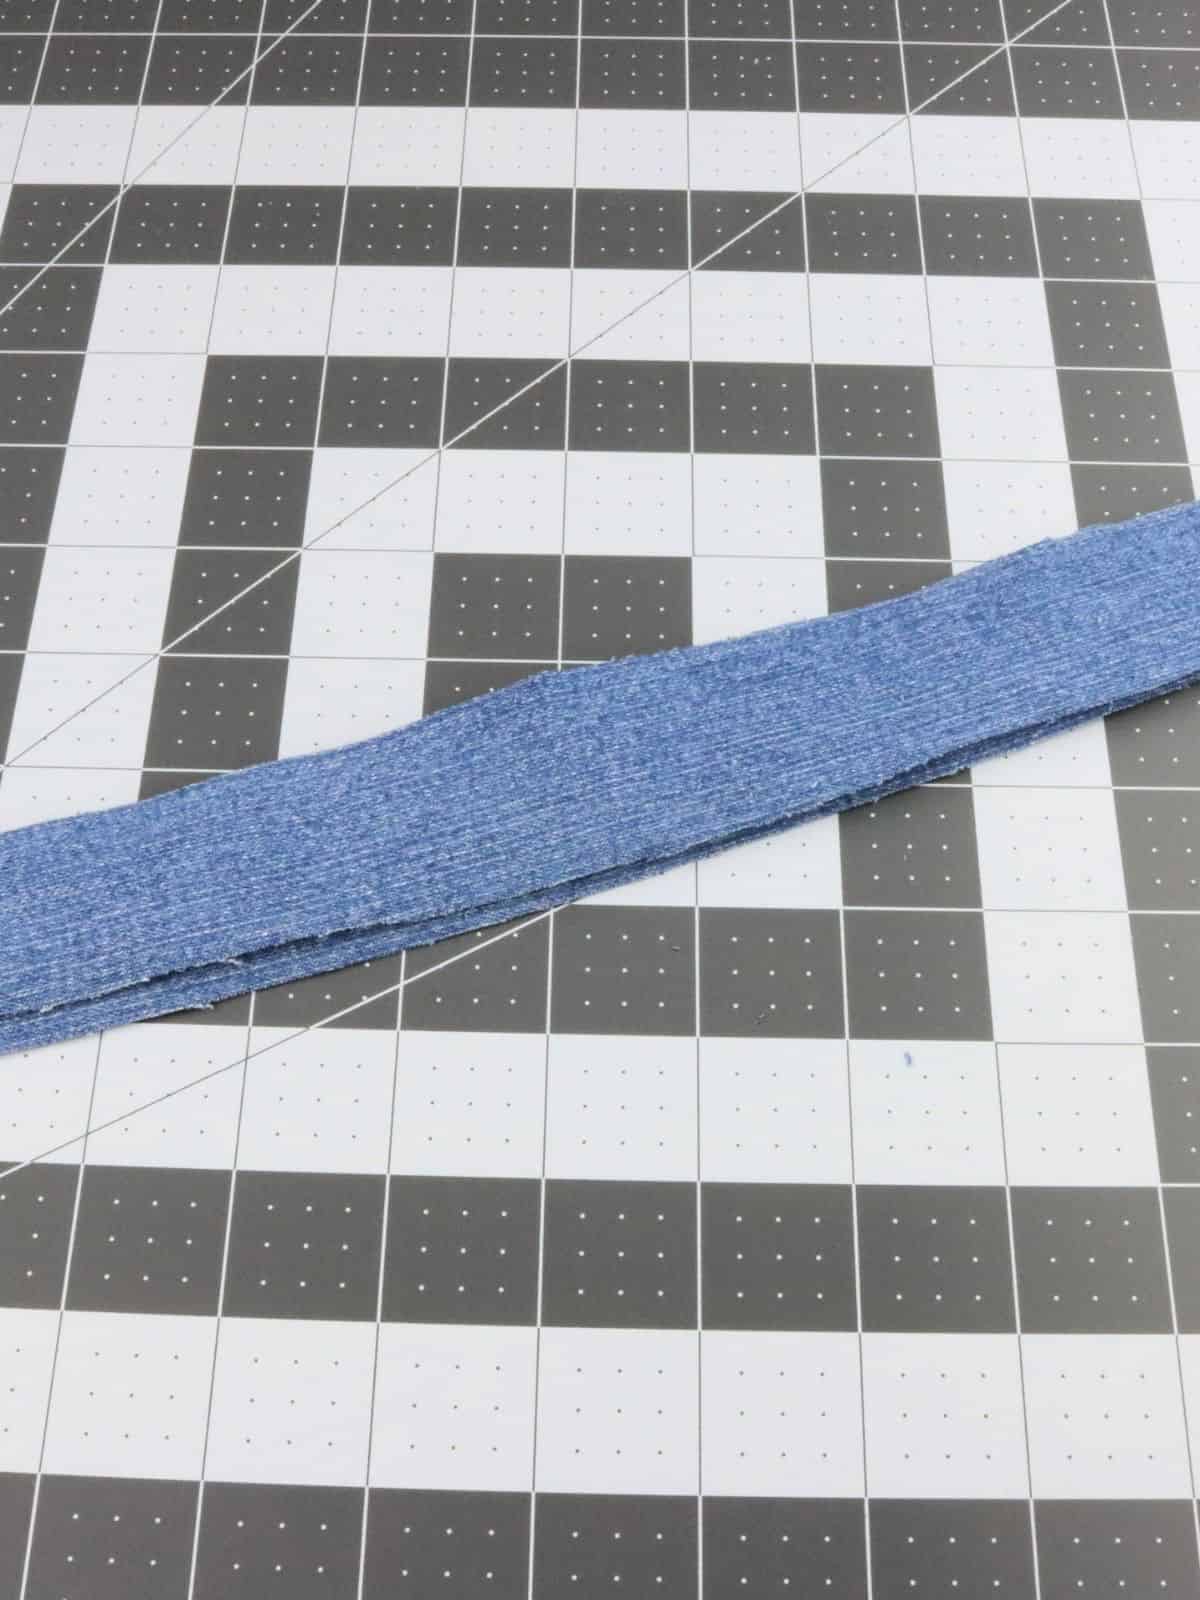
Lay all the pieces on top of each other in a stack with the ends lined up.
Step 3:
On one end, tie all the pieces into a knot to hold them together. You could also clip to a clipboard and not use a knot if you have one.
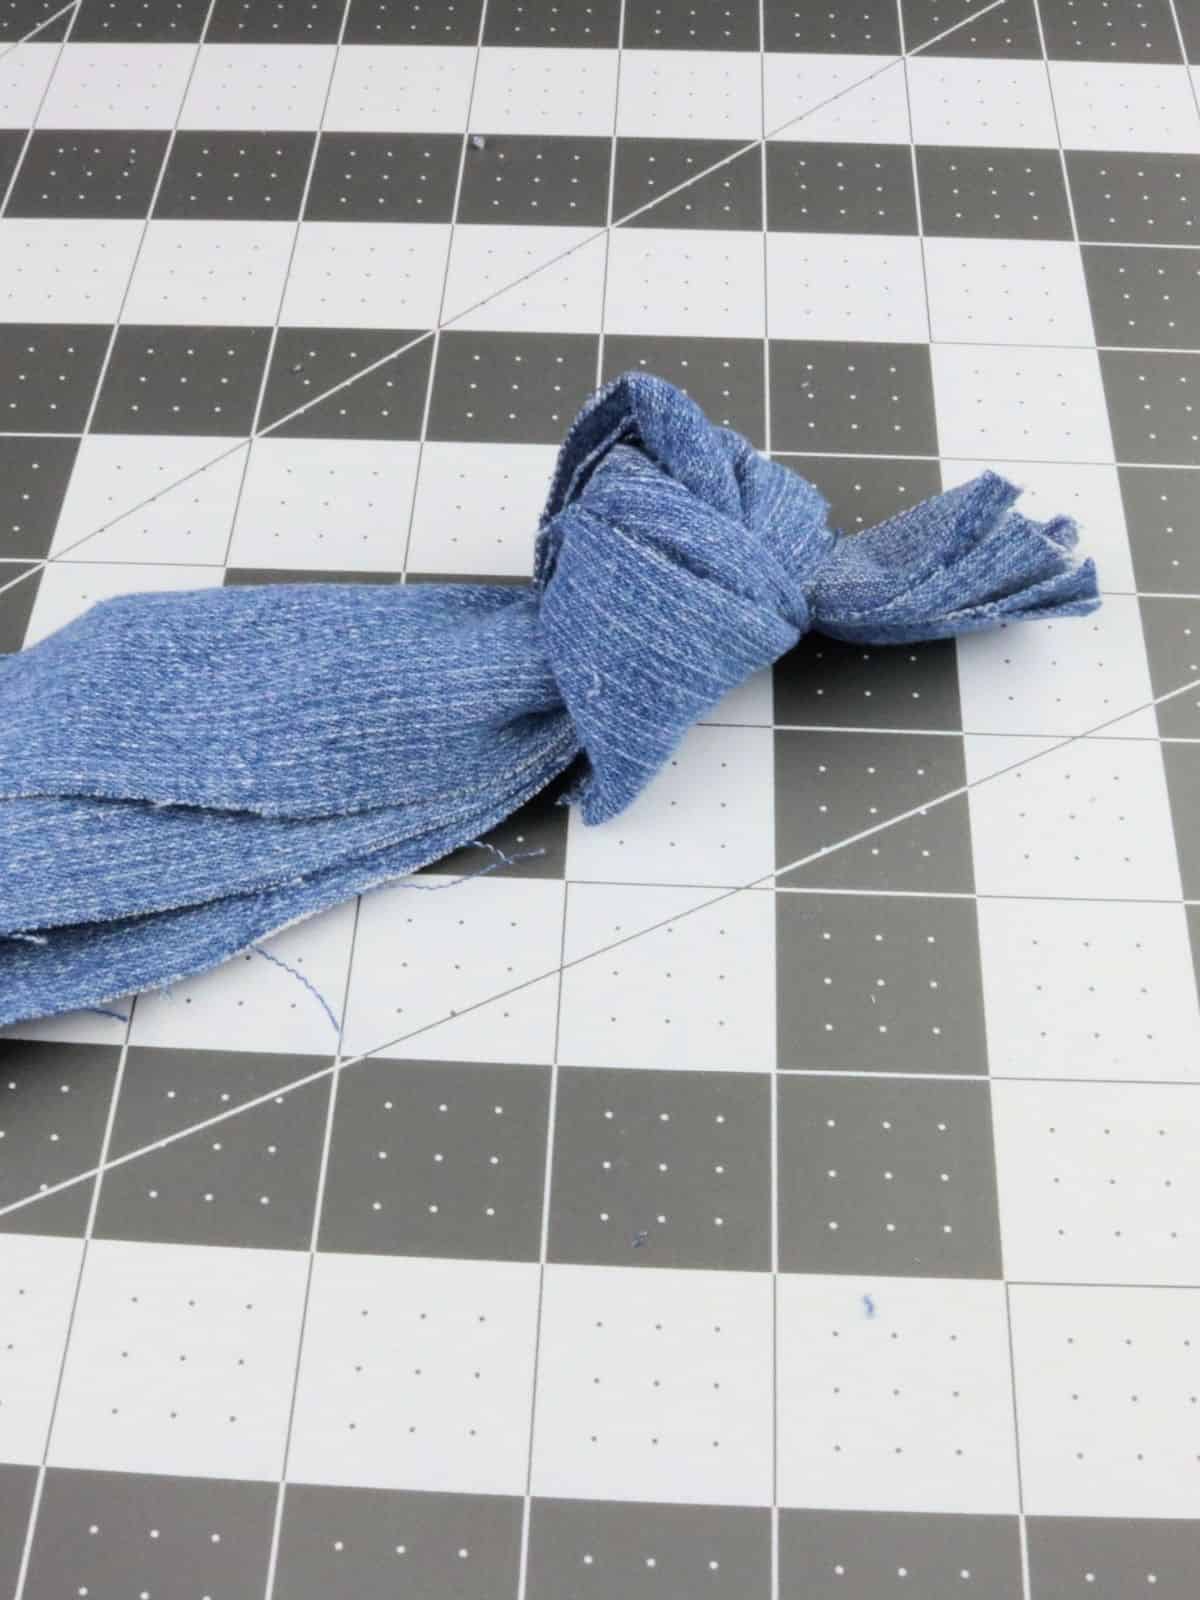
Step 4:
Grab three pieces that are next to each other and braid them together. That is done by alternating the outer pieces over the middle piece.
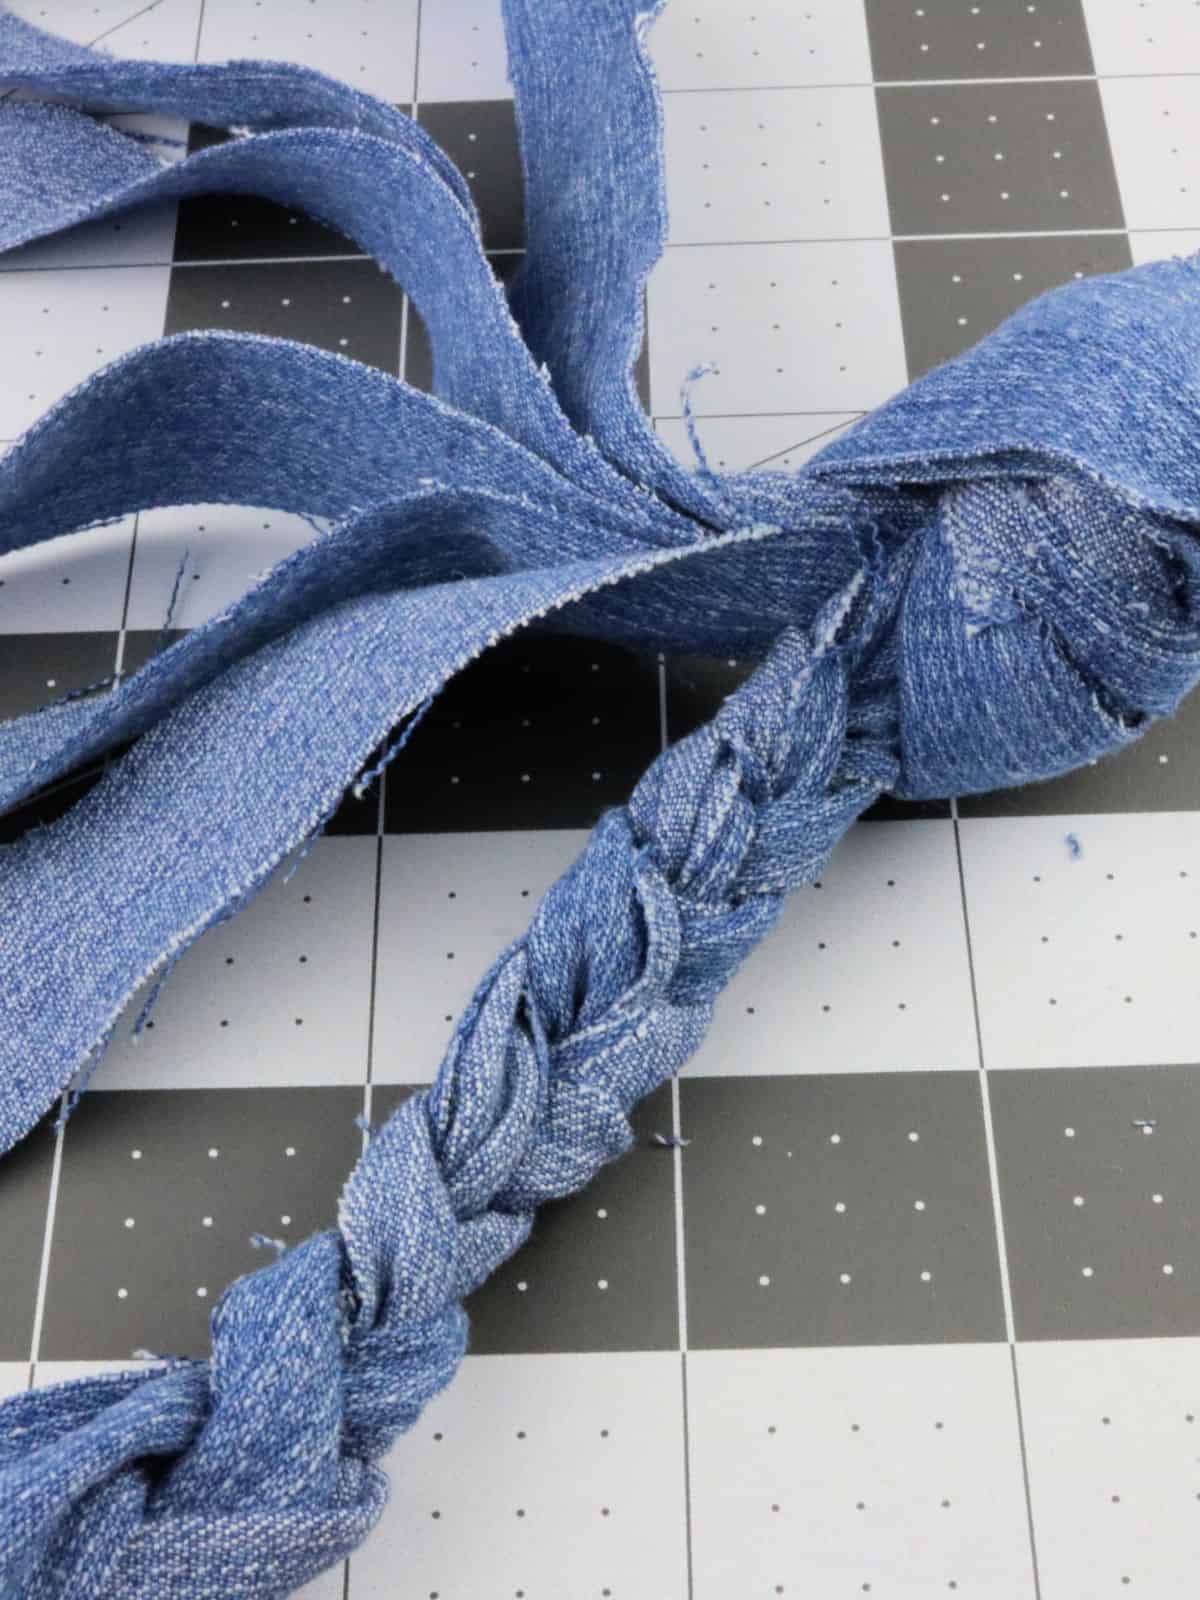
Step 5:
Repeat step 4 with the other pieces so that you have 3 braids.
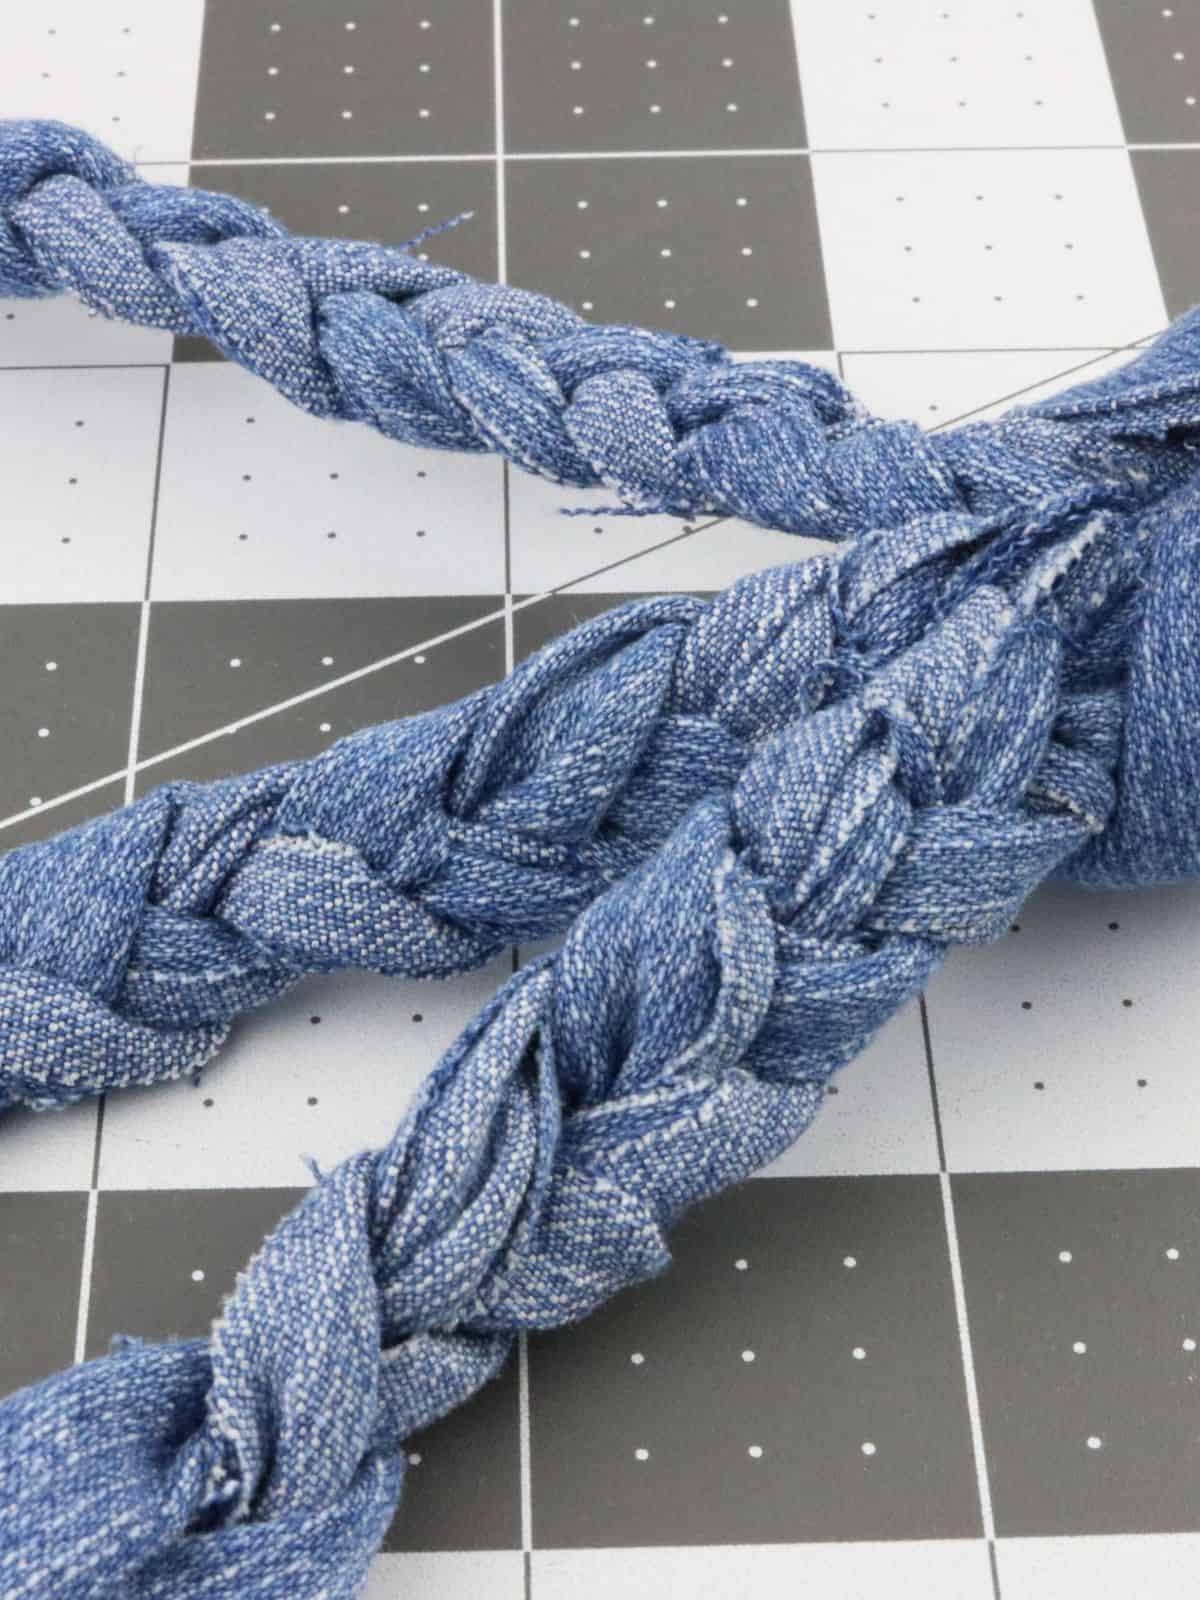
Step 6:
Take those 3 braids and braid them all together to form one large braid.
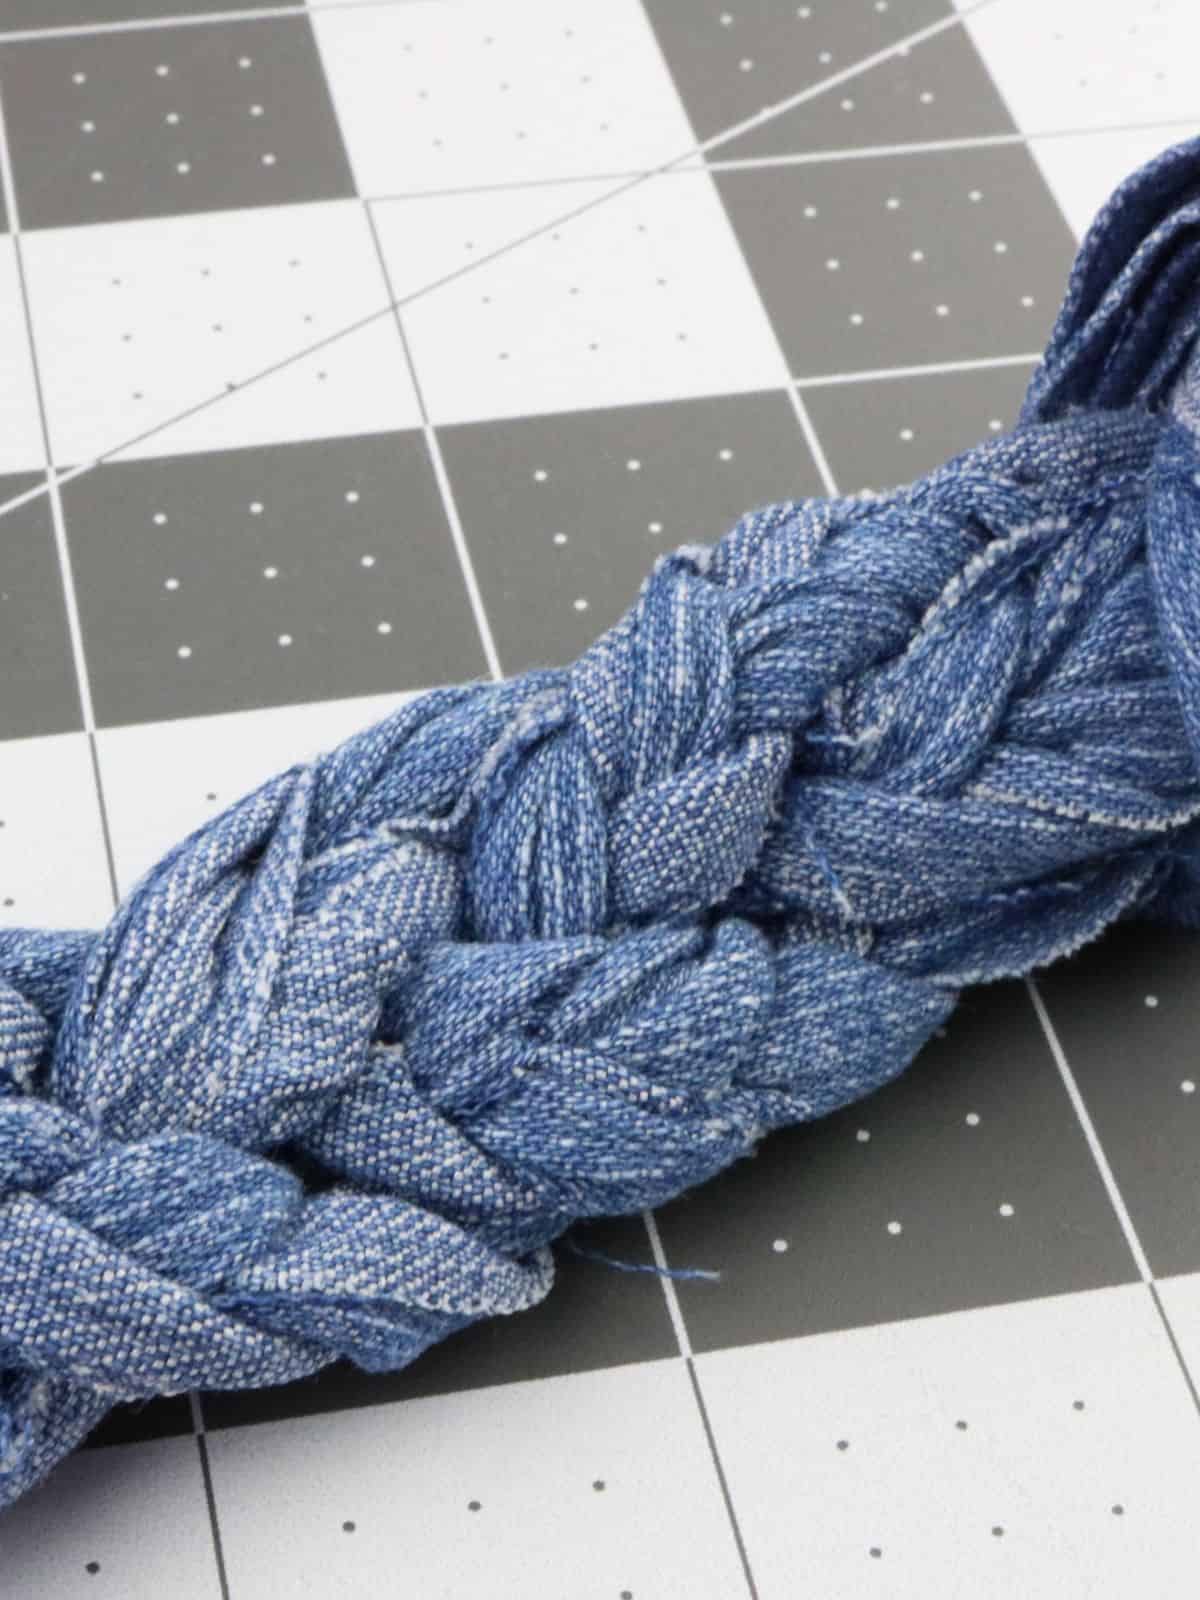
Step 7:
Tie the ends off by tieing them to each other until they are all tied to another piece. Make sure you tie them to a piece that is not within its own braid.
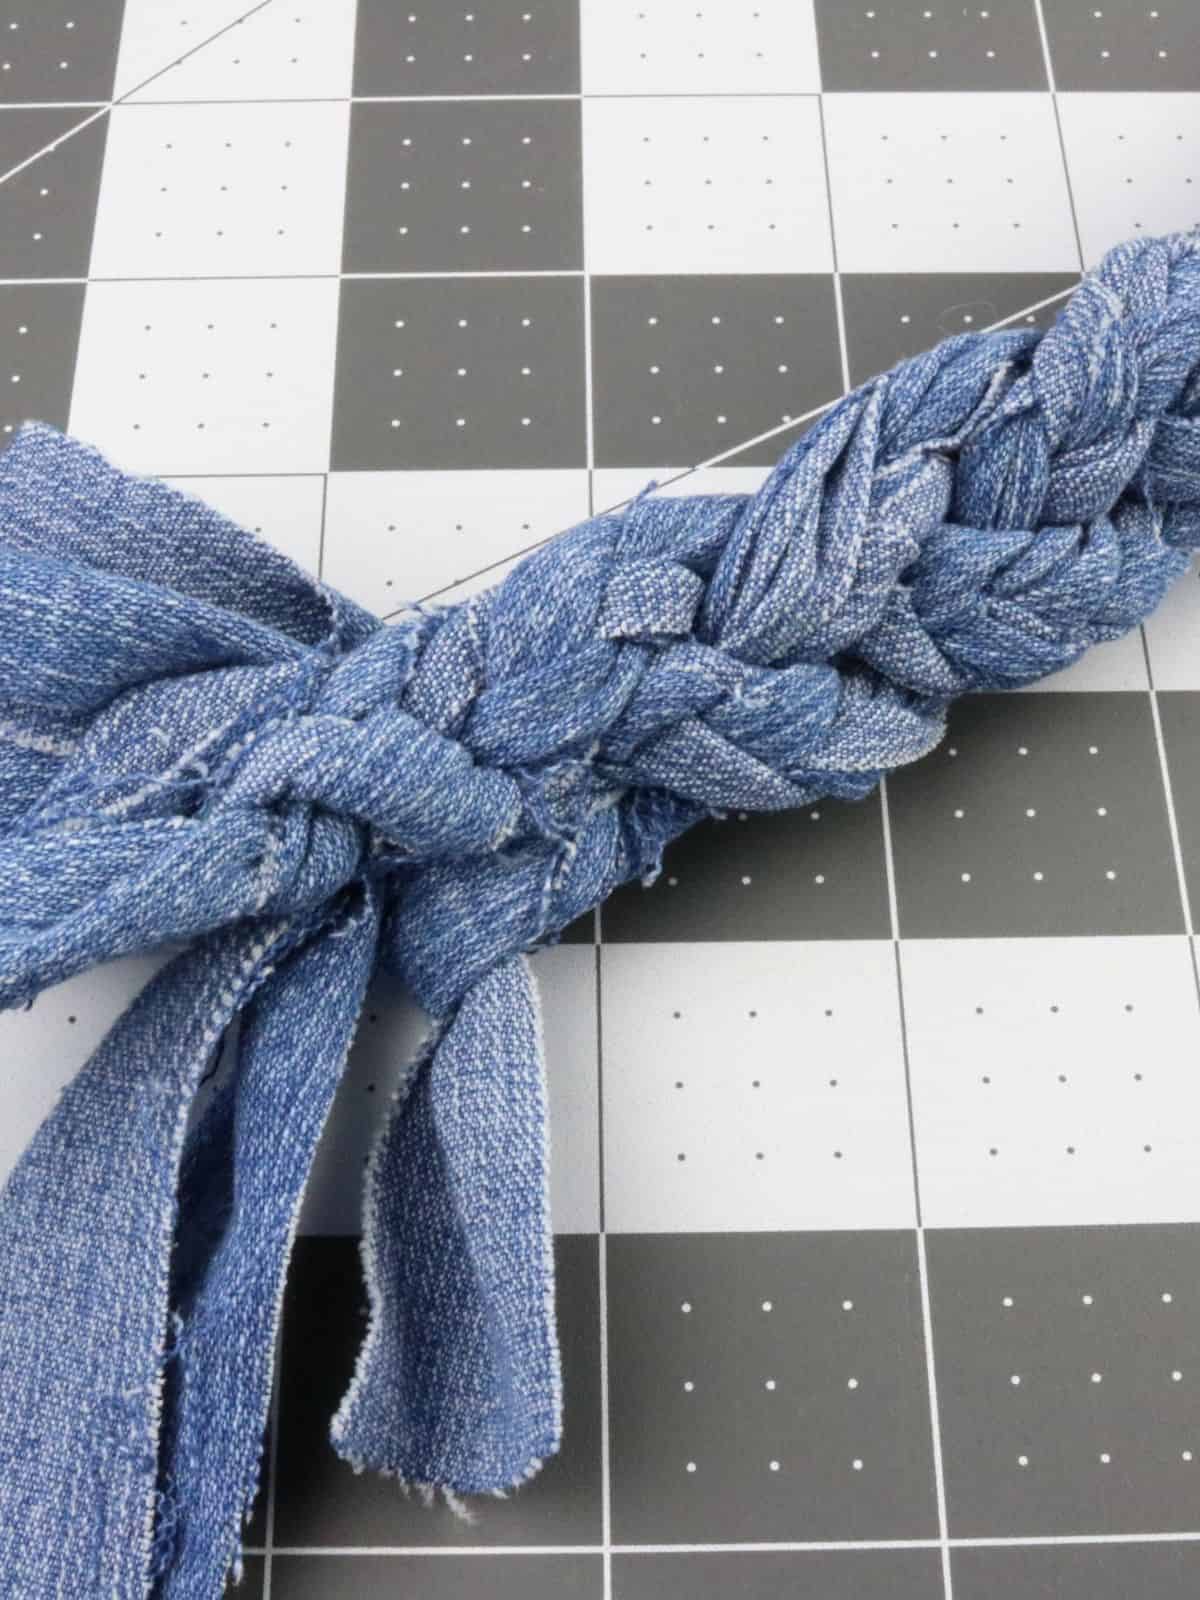
Step 8:
Unknot the other end or unclip it if using a clipboard. Then tie those ends just as you did on the other end.
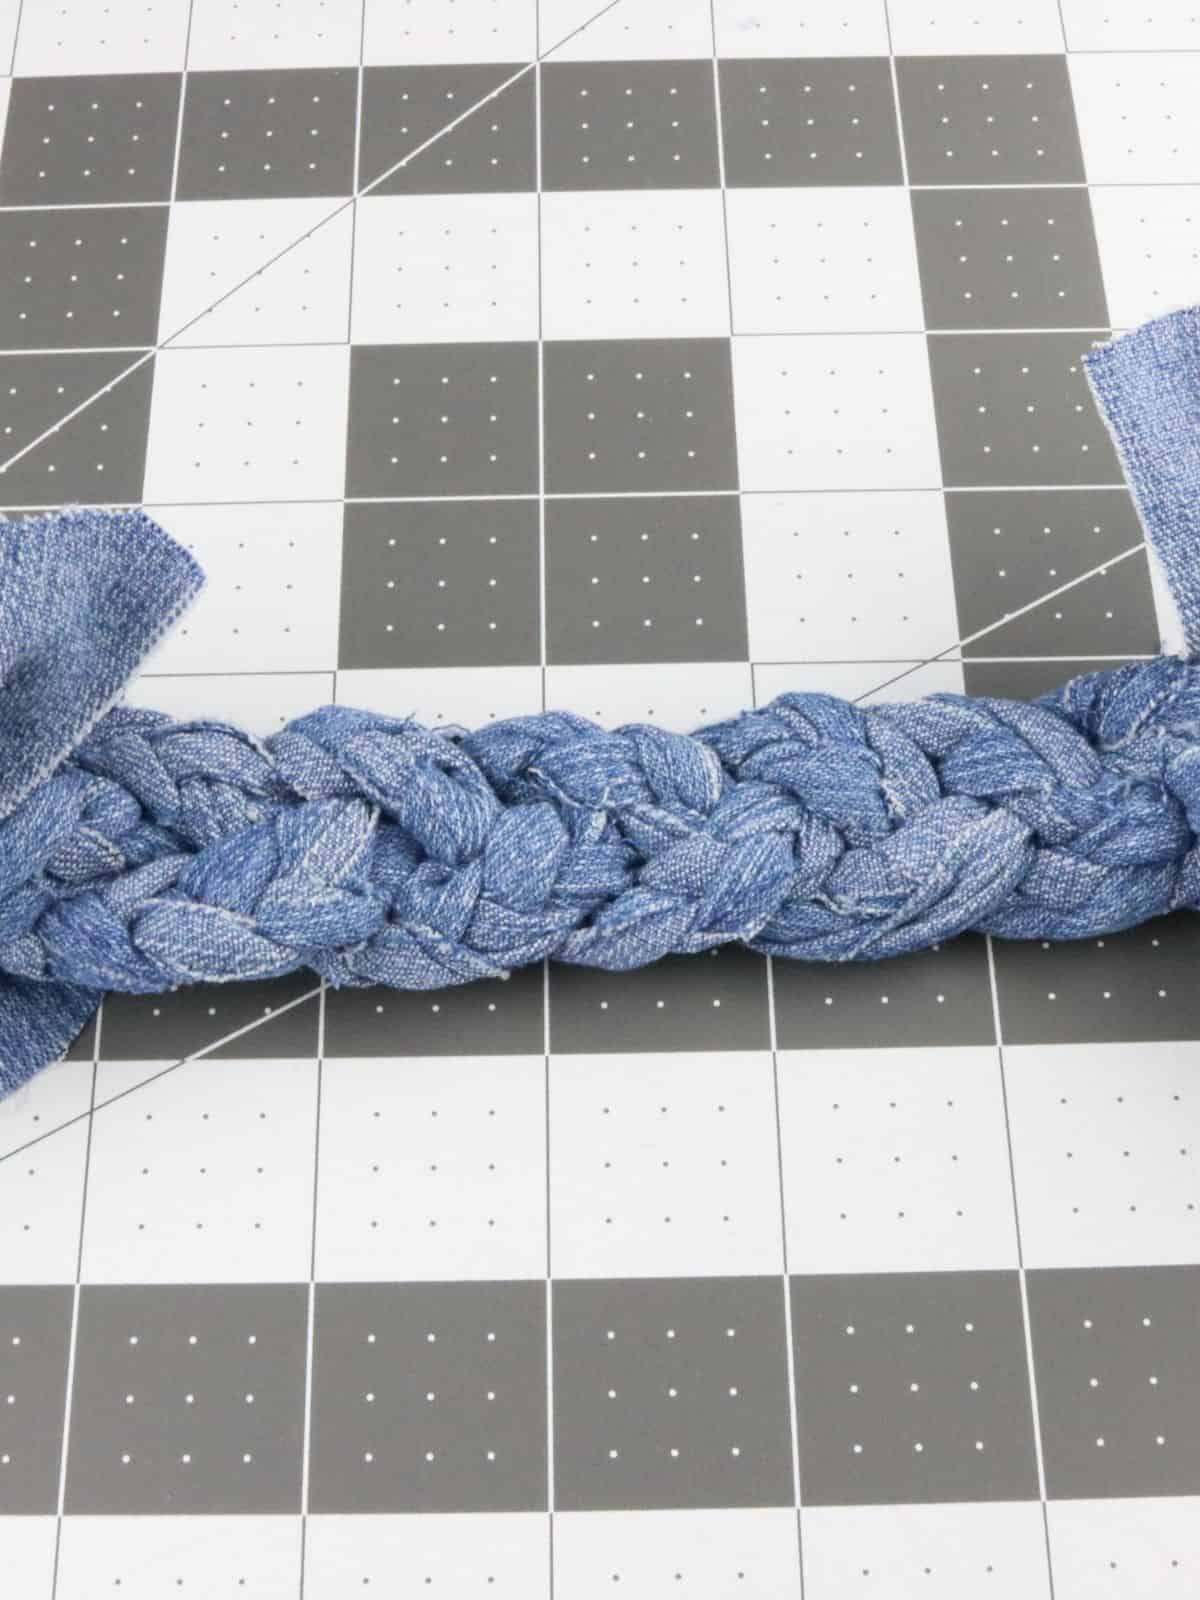
Final Jeans DIY Dog Toy
And here's the final project. Ready to throw and play tug with your puppies.
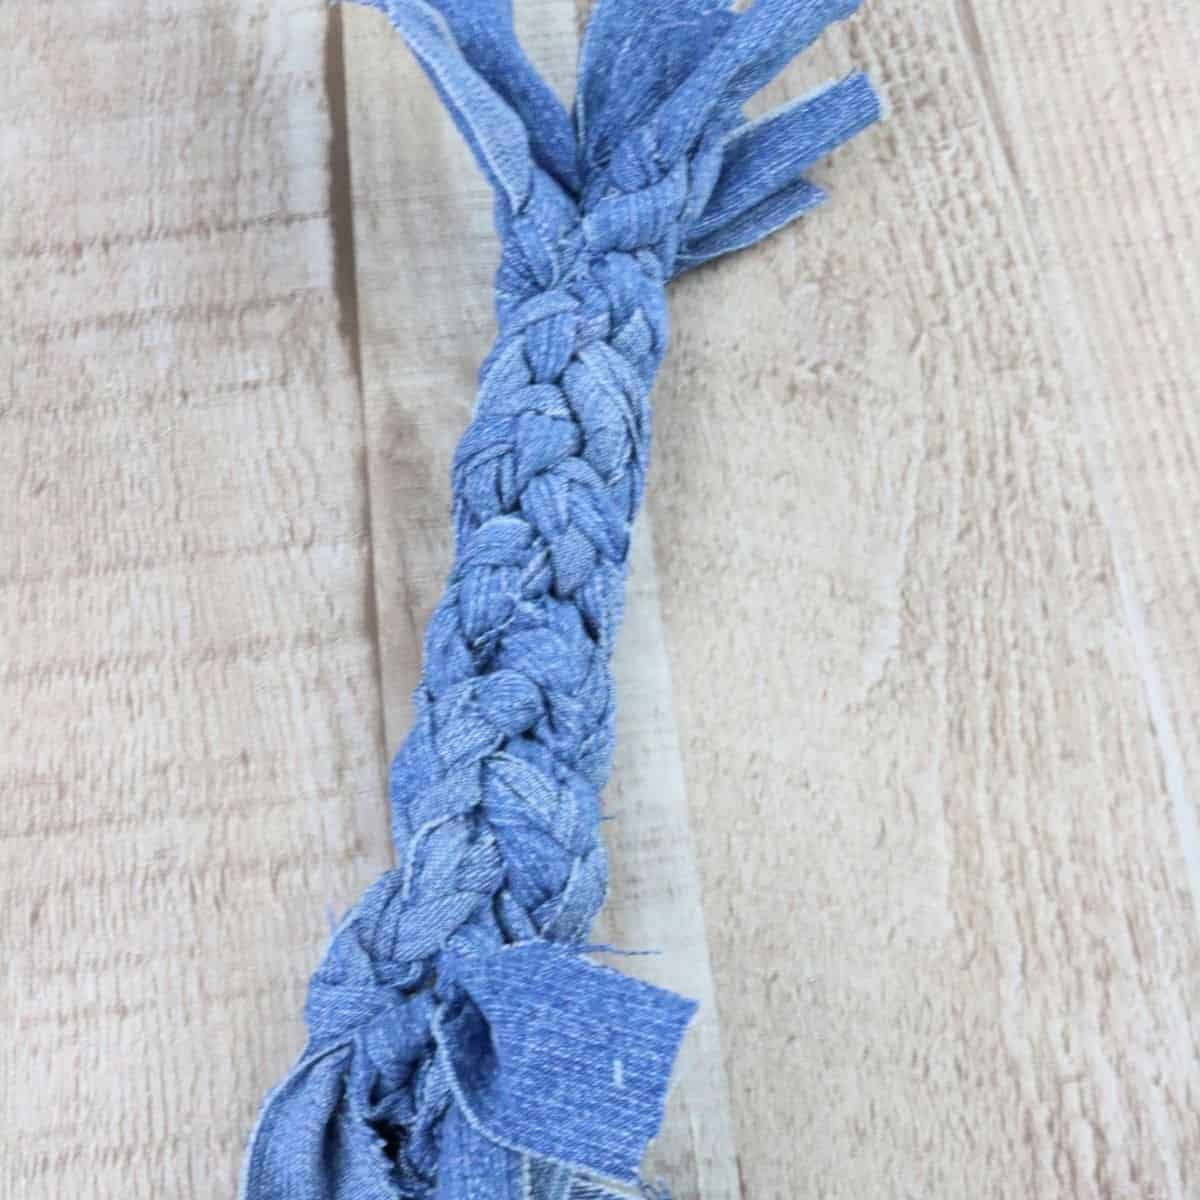
Have a great time playing with your new dog toy!
FREE Printable Instructions for DIY Dog Toy
📖 Recipe
DIY Jean Dog Toy
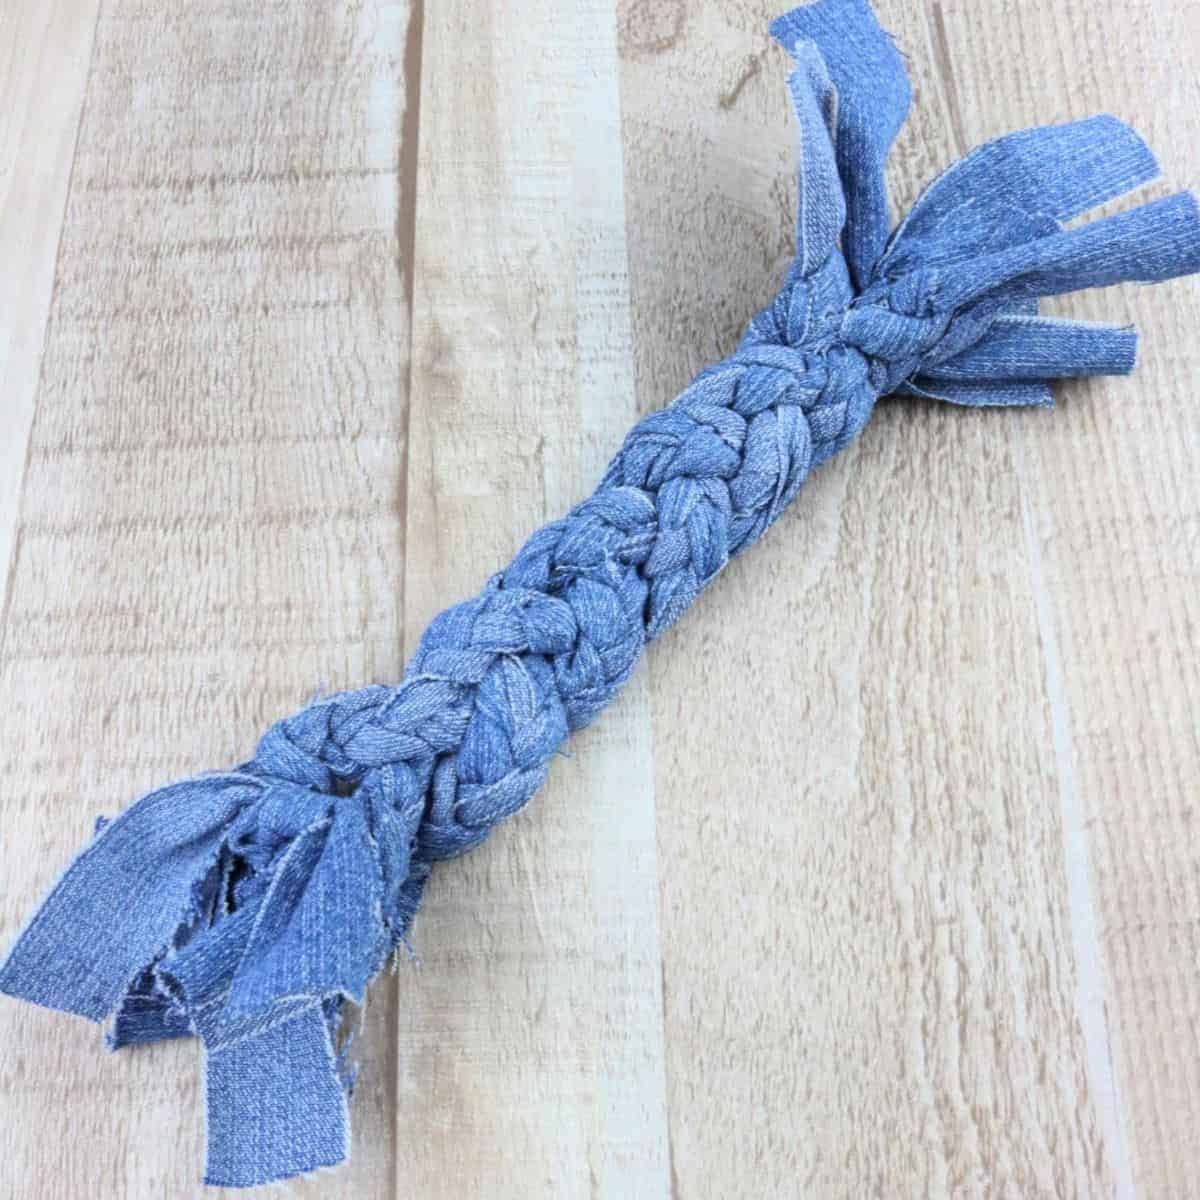
Fun and Easy Homemade DIY Dog Toy.
Materials
- Old Jeans
- Scissors or Rotary Cutter
- Ruler
- Mat
Tools
- Scissors
- Mat
Instructions
Step 1: Cut jeans into strips that are about one inch wide by at least 19 inches long. Works best when cut from the leg area of the jeans. You need 9 strips in total.
Step 2: Lay all the pieces on top of each other in a stack with the ends lined up.
Step 3: On one end, tie all the pieces into a knot to hold them together. You could also clip to a clipboard and not use a knot if you have one.
Step 4: Grab three pieces that are next to each other and braid them together. That is done by alternating the outer pieces over the middle piece.
Step 5: Repeat step 4 with the other pieces so that you have a total of 3 braids.
Step 6: Take those 3 braids and braid them all together to form one large braid.
Step 7: Tie the ends off by tieing them to each other until they are all tied to another piece. Make sure you tie them to a piece that is not within its own braid.
Step 8: Unknot the other end or unclip it if using a clipboard. Then tie those ends just as you did on the other end.


Leave a Reply