Disclosure: Some of the links in this article are affiliate links (Amazon Associate or other programs we take part in). As an Amazon Associate, I earn a small commission from qualifying purchases.
Although dog beds are usually purchased pre-made and ready to use, they don’t have to be.
You can make your own DIY dog bed that is just as comfortable and just as special as anything you will find in a store. The only tools you need are a sewing machine and some fabric.
The dog bed you have for your pup may be old, worn out, or maybe it’s too small. Pups outgrow their beds quickly and sometimes it’s not a cost effective option to purchase a new one.
Luckily, just like our DIY Dog Bandanas, dog moms can make one of their own, and it’s easier than you might think.
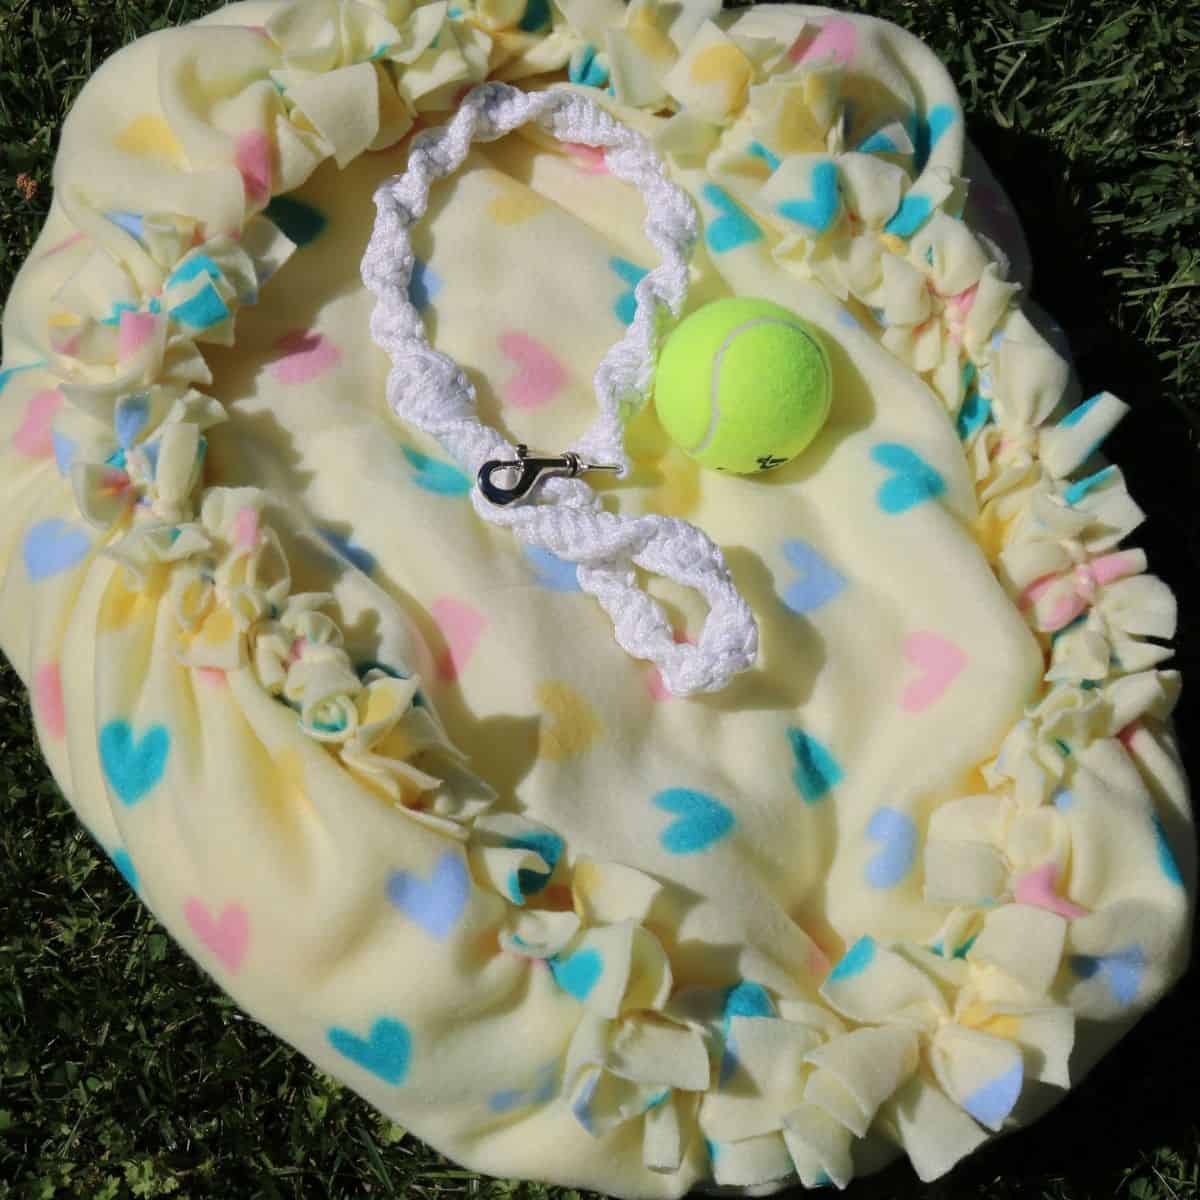
How Do You Make A Dog Bed At Home
When it comes to your dog, you want to give them the very best, whether it’s the very best food, the very best accessories, or the very best dog beds.
This DIY dog bed pattern is the perfect way to create one-of-a-kind dog bed that is as unique as your own beloved pup.
What Is The Best Fabric for A Dog Bed
If you're willing to try, nothing's more eco-friendly than taking something you'd throw in the trash and turning it into something new, like a bed for your pet.
Remember, what to us might look like an odd, lumpy mess could be a bed haven for your dog. So don’t worry if your project turns out to be a little funny looking if it’s not perfect.
How To Make a No-Sew Dollar Tree Small Pet Bed
- Skill: Easy
- Time: 30 Minutes
- Makes: 1 small pet bed
Supplies Needed:
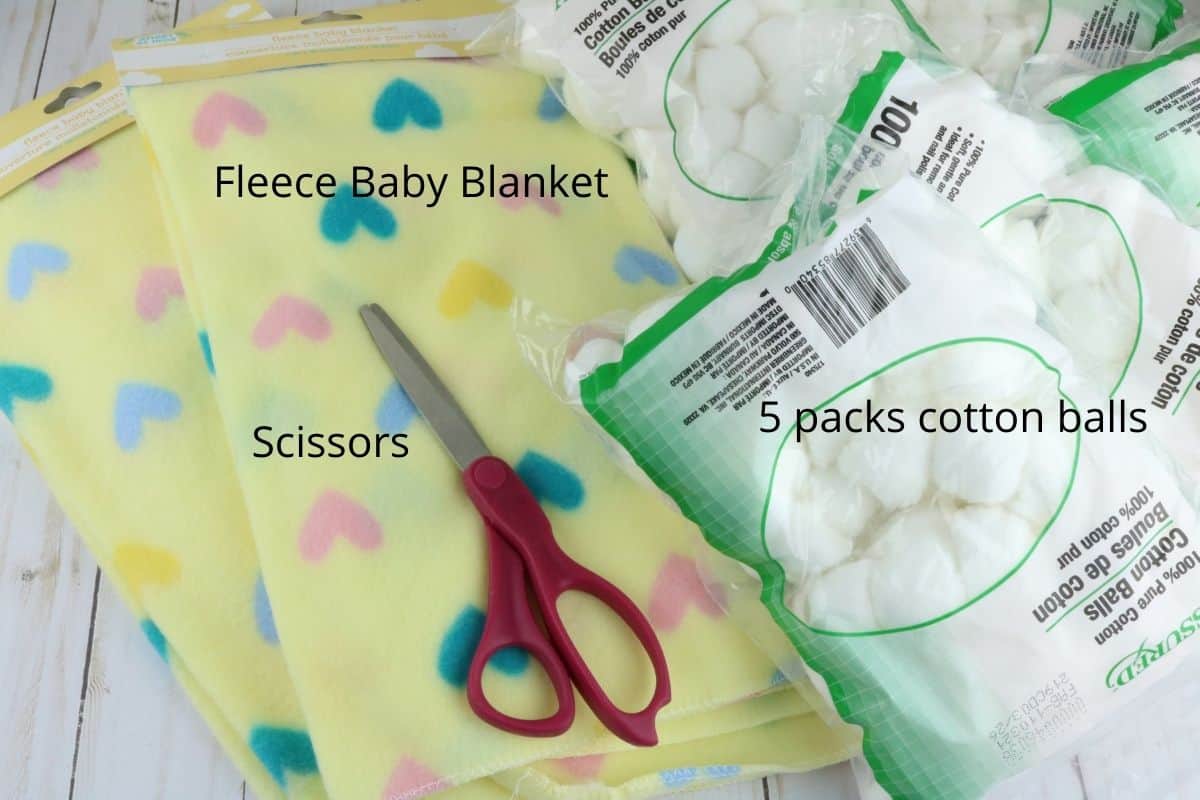
- Scissors
- 5 packs 100 Count Cotton Balls
- 2 Fleece Baby Blankets or Fleece Dog Blankets
Directions:
Step 1: Carefully cut off the thread edge on both blankets. You don't want to cut much of the fabric just where the thread ends.
Step 2: Next, cut the edges into fringes. You want to make cuts about every inch and you want each cut to be 2-3 inches long. Do this to both blankets.
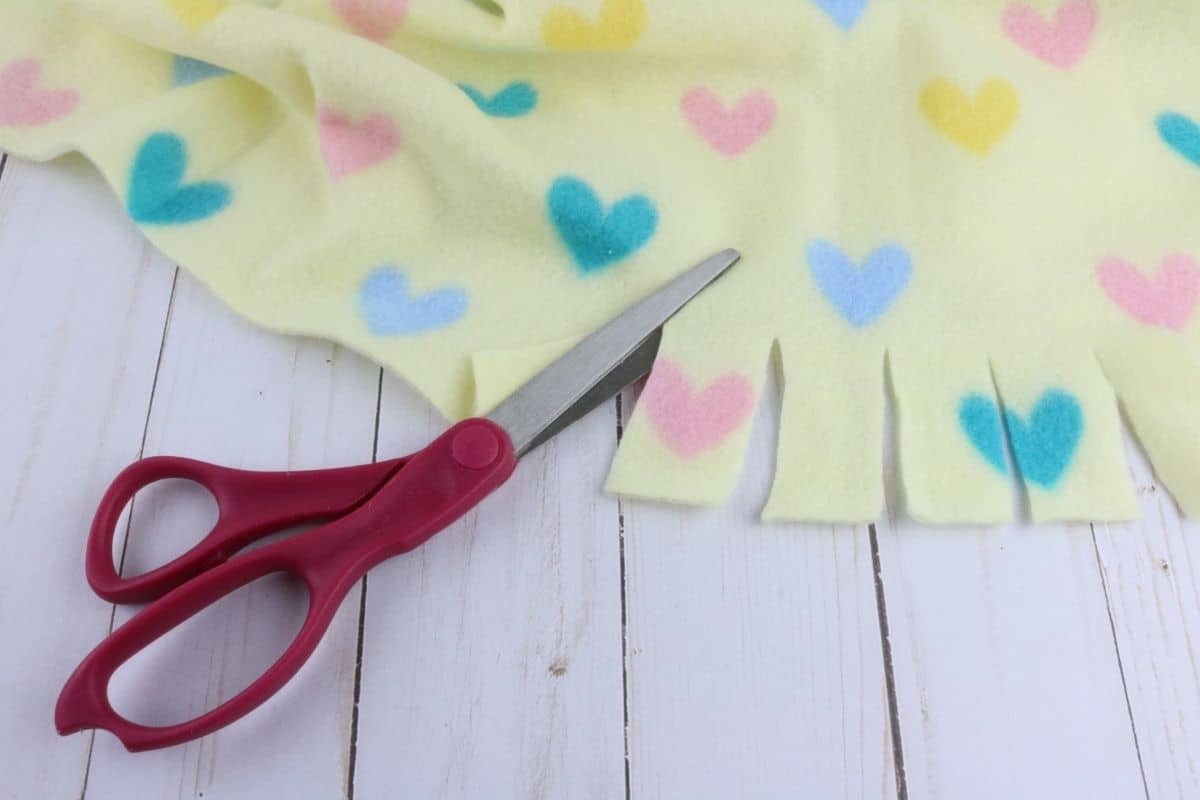
Step 3: Lay the blankets so that the shapes match. Then start to tie them together. Use one firing from one blanket to tie to another fringe on the other blanket. Make sure you tie them tight.
Step 4: Work your way most of the way around but leave 6 or so spaces un-tied.
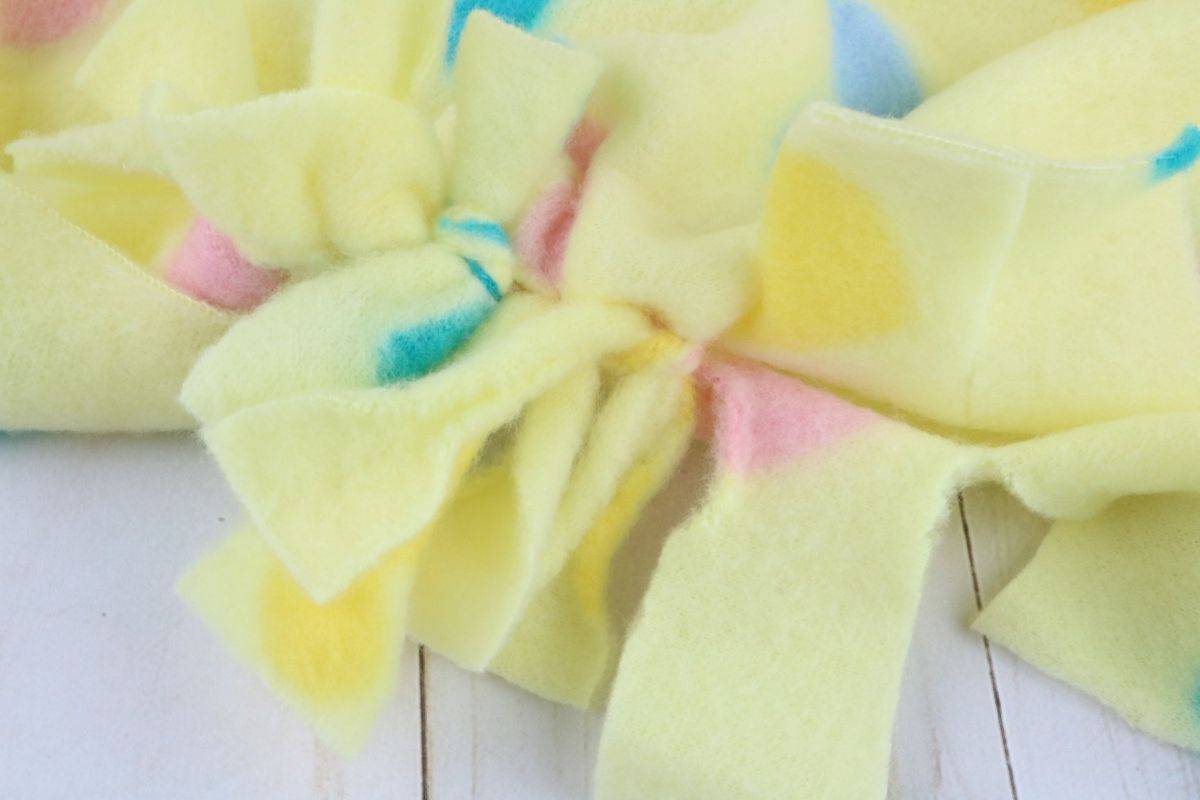
Step 5: Stuff the blankets with the cotton balls.
Step 6: The last step is to finish closing the blanket up. Tie the rest of the fringes closed.
Printable How To: No-Sew Dollar Tree Small Pet Bed (DIY Dog Bed)
📖 Recipe
No-Sew Dollar Tree Small Pet Bed ( DIY Dog Bed)
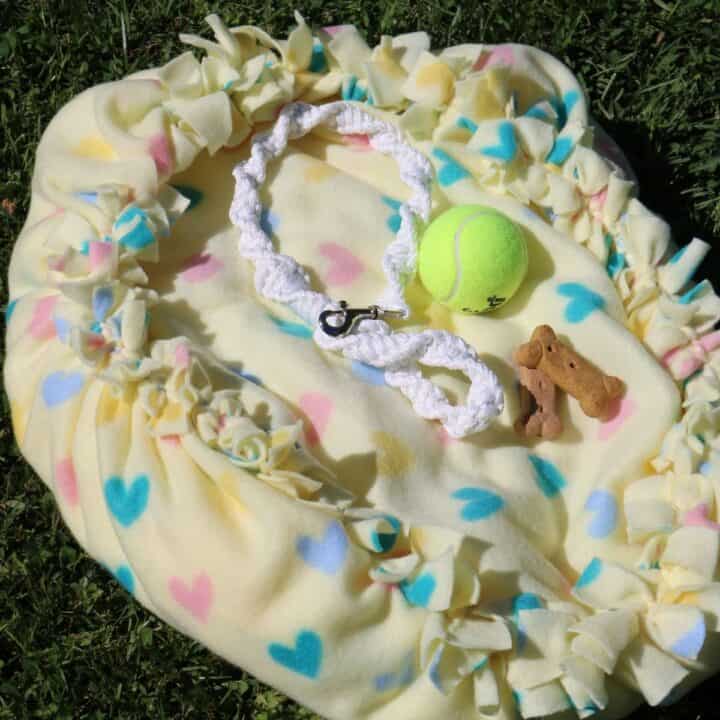
Easy to make with Discount Dollar Tree items.
Materials
- 5 packs of 100 count cotton balls
- 2 fleece baby blankets
Tools
- Scissors
Instructions
Step 1: Carefully cut off the thread edge on both blankets. You don't want to cut much of the fabric just where the thread ends.
Step 2: Next, cut the edges into fringes. You want to make cuts about every inch and you want each cut to be 2-3 inches long. Do this to both blankets.
Step 3: Lay the blankets so that the shapes match. Then start to tie them together. Use one firing from one blanket to tie to another fringe on the other blanket. Make sure you tie them tight.
Step 4: Work your way most of the way around but leave 6 or so spaces un-tied.
Step 5: Stuff the blankets with the cotton balls.
Step 6: The last step is to finish closing the blanket up. Tie the rest of the fringes closed.




Leave a Reply