
It's hard to find good pet treats in the stores, but the best ones are homemade! Not only will you be able to make them without questionable ingredients, but you can also take advantage of products on sale at the store.
For example, if you have some canned tuna fish, in your pantry, you can make your own tuna treats for your dog or cat. This recipe is for cats and dogs using tuna, but you can use chicken, beef, or any other meat for a different treat.
I am so excited to share this recipe for DIY Homemade Tuna Puffs Dog or Cat Treats with you. Introducing my homemade two-ingredient tuna cat treats, that take just minutes to make, and are naturally grain, gluten and dairy free!
These DIY Homemade Tuna Puffs dog or cat treats came out of the need to have a quick training treat for both my dogs and cat. I needed to find a snack that I could give them as a reward.
Making these treats was such a fun activity to do with both the dogs and cat.
For those of you that are geniuses in the kitchen, you'll probably recognise the method. It's essentially a tuna meringue, without the sugar.
Mull that one over... or let's just get straight on with the recipe! After this recipe, give our Fire Hydrant Treats a try.
Disclosure: Some of the links in this article are affiliate links (Amazon Associate or other programs we take part in). As an Amazon Associate, I earn a small commission from qualifying purchases.
Tuna Fish for Both Dogs and Cats
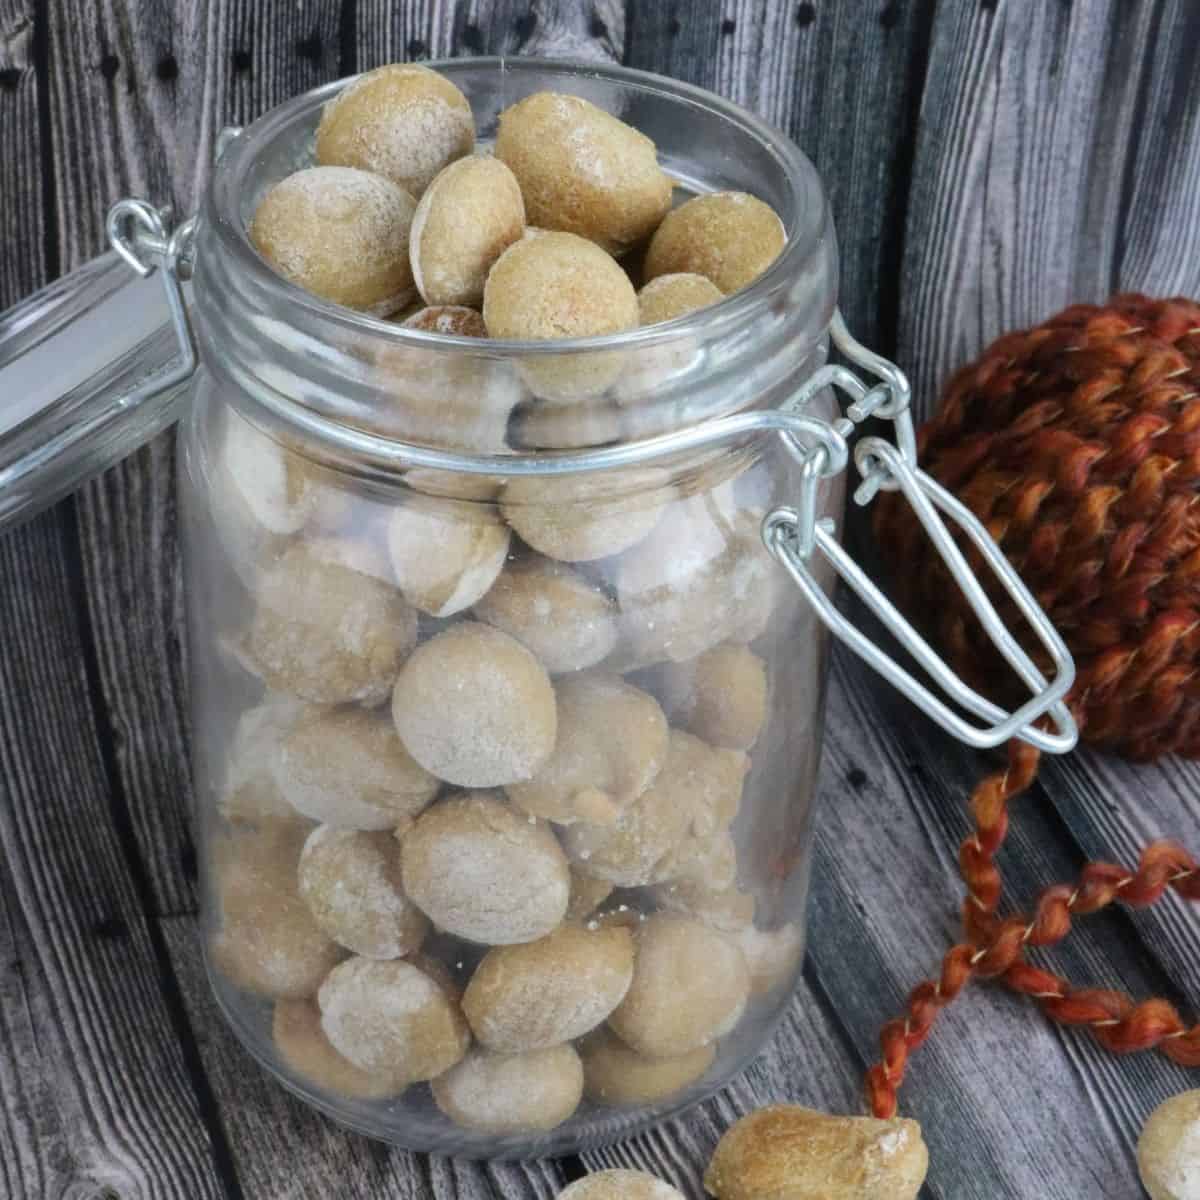
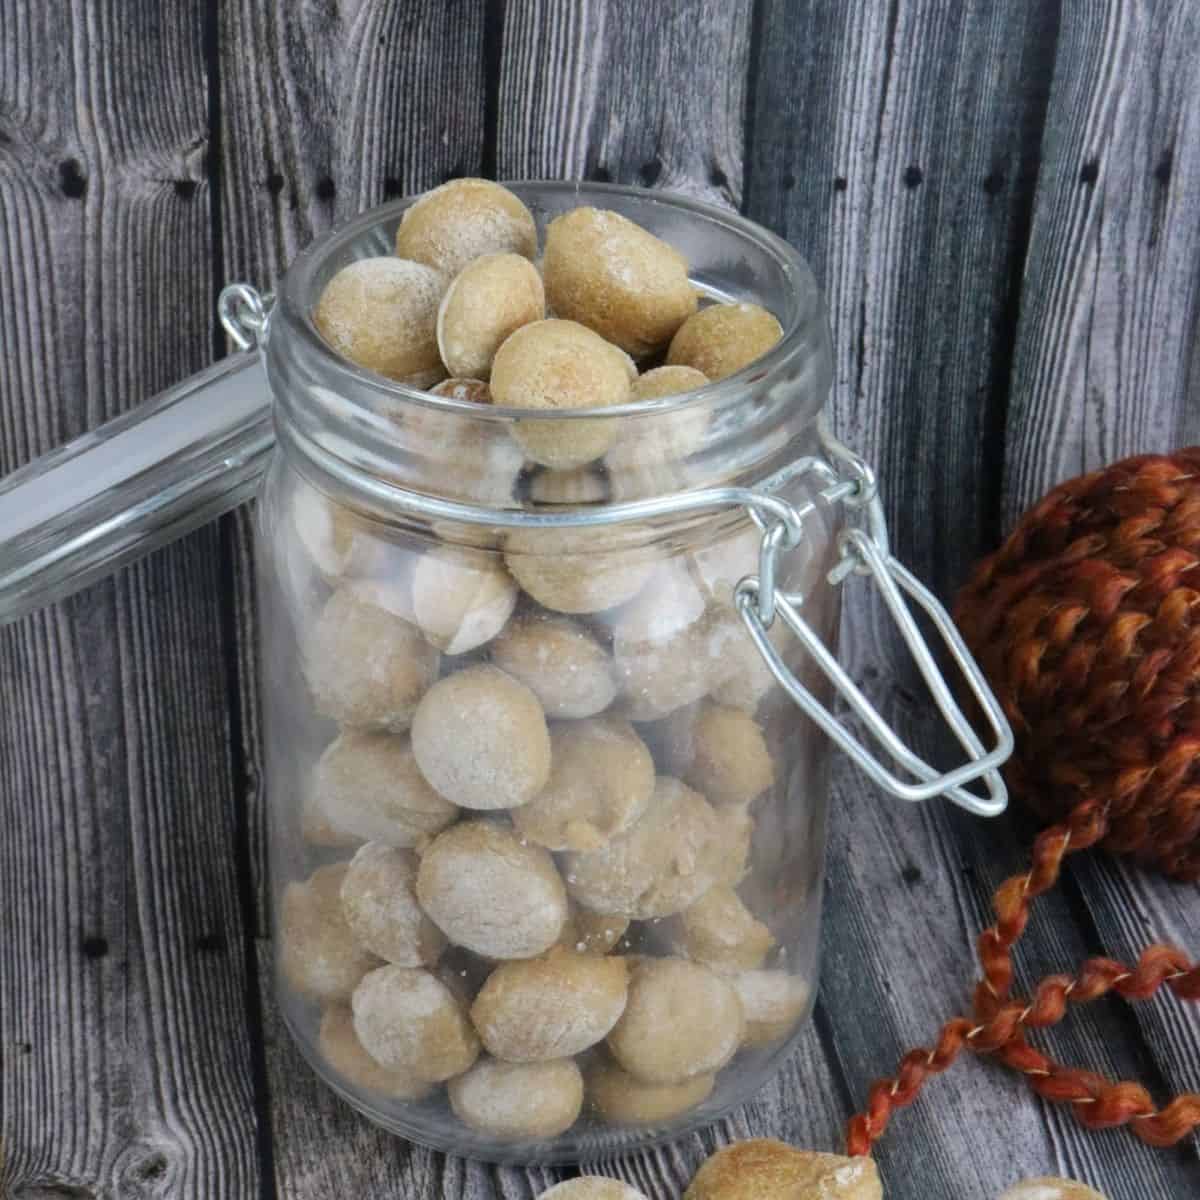
Tuna puffs (aka. cat treats) are a delightful treat for both you and your feline friend. The recipe is simple, and the treats can be frozen or refrigerated so they last for months. Since the ingredients are so few, you might already have them in your pantry.
Tuna Puffs Cat Treats are a great way to give your cat (or dog) fresh tuna.
Tuna is an excellent source of Omega-3 fatty acids which are good for your dog or cat's skin and coat.
Make sure you use a light tuna in water, not the oily kind.
Is Tuna Fish Good for Dogs and Cats?
Tuna fish is a significant protein source for your dog or cat.
It's also an excellent source of Vitamin B12 and niacin. Giving your dog tuna has a lot of benefits.
If you are giving your dog or cat canned tuna, it's best to use a water based tuna. Water based tuna is best because it won't give your dog extra fat, which could cause health problems.
It's also good for the dogs or cats because it can help your pets skin and coat with the essential nutrients to keep it healthy.
How to Make 15-Minute DIY Homemade Tuna Puffs Dog or Cat Treats

Ingredients:
- ⅔ cup whole wheat flour
- 1 egg
- 3 oz tuna fish in water (NOTE: no salt added kind of 4 oz can of tuna drained ends up being about 3 ounces).
- 1 tablespoon tuna water (no salt added tuna fish)
- 1-2 tablespoons extra flour for dusting dough
Supplies Needed:
- Cookie sheet
- Silicone mat or parchment paper
- Food processor
- Rolling pin
- Mini cookie cutter or any like object (I used a frosting tip to keep the treats small)
Directions:
Step 1: Preheat oven to 350° degrees Fahrenheit.
Step 2: In a food processor blend tuna, water and egg.
Step 3: Add in flour and mix well.
Step 4: Dump the dough onto a floured surface and roll out with a rolling pin until it is about as thick as pie crust.
Step 5: Using a knife, mini cookie cutter, or another small shaped object cut the dough into shapes/small pieces.
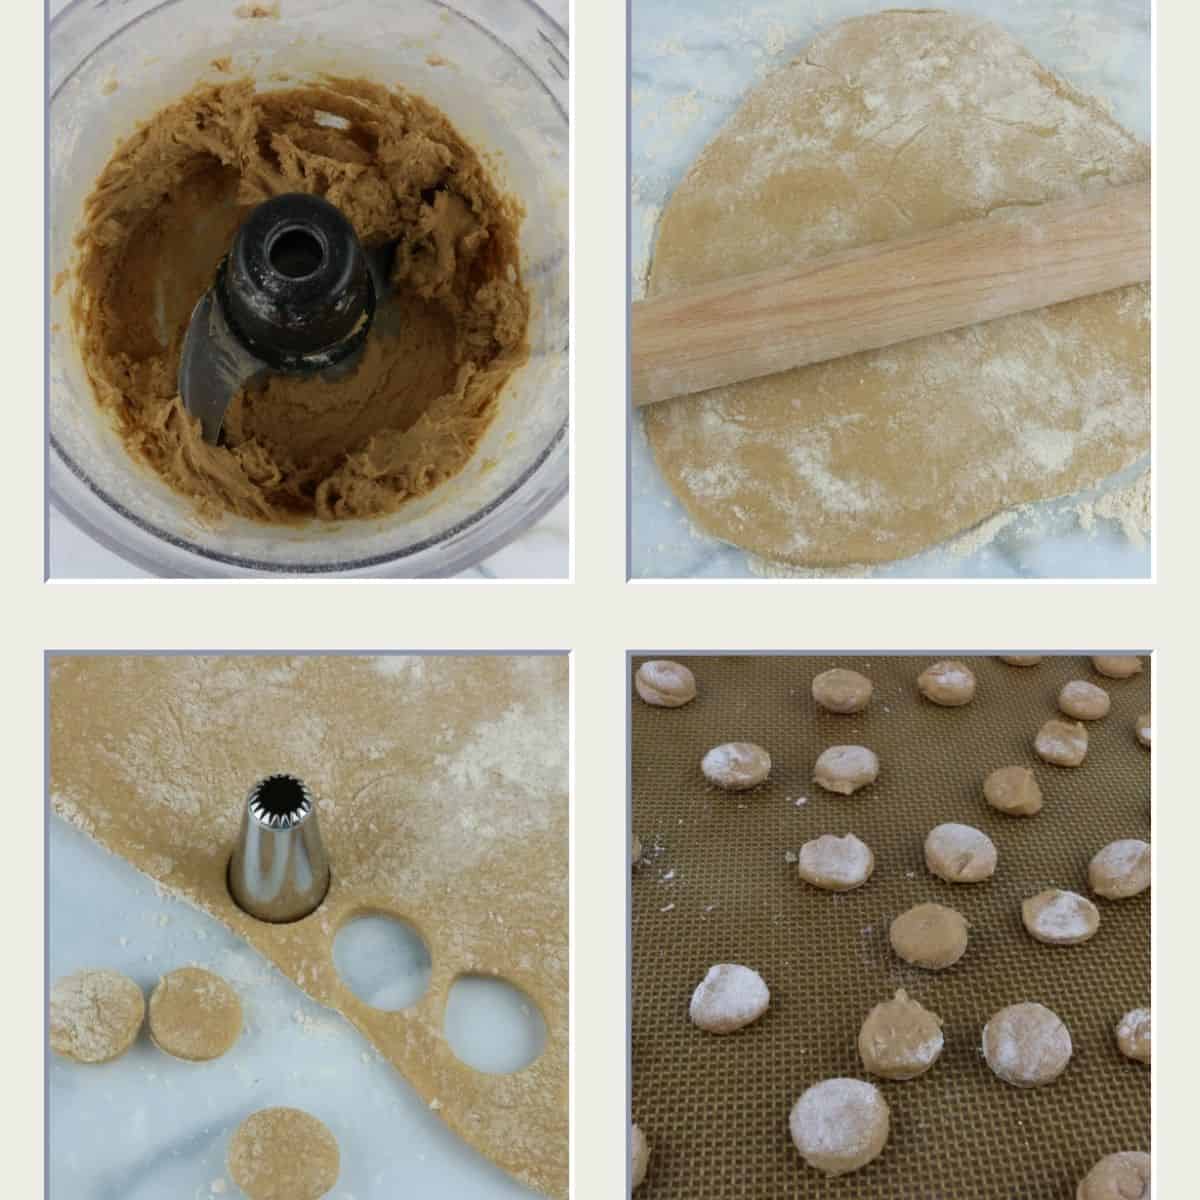
Step 6: Place cut pieces on a lined cookie sheet. I like to use a silicone mat on mine. Make sure they are not touching.
Step 7: Bake for 15 minutes until puffy and lightly golden.
Step 8: Remove from oven and allow to totally cool before placing in an airtight container.
Printable Recipe: 15-Minute DIY Homemade Tuna Puffs Dog or Cat Treats
📖 Recipe
15-Minute DIY Homemade Tuna Puffs Dog or Cat Treats

Ingredients
- ⅔ cup whole wheat flour
- 1 egg
- 3 oz can tuna in water, no salt added ( * See Notes)
- 1 tablespoon tuna water ( * See Notes)
- 1-2 tablespoons extra flour for dusting dough
Instructions
Step 1: Preheat oven to 350° degrees Fahrenheit
Step 2: In a food processor blend tuna, water and egg.
Step 3: Add in flour and mix well.
Step 4: Dump the dough onto a floured surface and roll out with a rolling pin until it is about as thick as pie crust.
Step 5: Using a knife, mini cookie cutter, or another small shaped object cut the dough into shapes/small pieces.
Step 6: Place cut pieces on a lined cookie sheet. I like to use a silicone mat on mine. Make sure they are not touching.
Step 7: Bake for 15 minutes until puffy and lightly golden.
Step 8: Remove from oven and allow to totally cool before placing in an airtight container.
Nutrition Information:
Yield:
30Serving Size:
1Amount Per Serving: Calories: 52Total Fat: 2gSaturated Fat: 1gTrans Fat: 0gUnsaturated Fat: 1gCholesterol: 8mgSodium: 64mgCarbohydrates: 6gFiber: 0gSugar: 0gProtein: 2g
House that Barks does not provide a warranty, express, or implied in relation to any recipes on this website. The recipes are House that Barks personal experiences in making them and feeding to their dogs. Please make note that your dogs may have allergies or other conditions that may make these recipes unsuitable for them or their lifestyle. Please consult with your veterinarian. Use your own judgement when feeding these recipes to your dog. House that Barks is not liable for any upset stomachs or any other outcomes because of experimenting with our recipes on this site.
Elizabeth says
Do these need to be stored in the refrigerator? How long will they stay fresh if stored on the counter in an airtight container?
Chris Tate says
My Cats and Dog love these. I cut them all with aspect cutters. They make great treats at that size for my puppy
Vicky says
Anything that has whole wheat flour is not grain free
Nicole says
How long do they last? Do you have to store in the fridge?
Nicole says
How long do they last; do you have to store them in the fridge?
Nicole Hustus says
How long are they “shelf” stable ? Do you keep them in the fridge and can you freeze them?