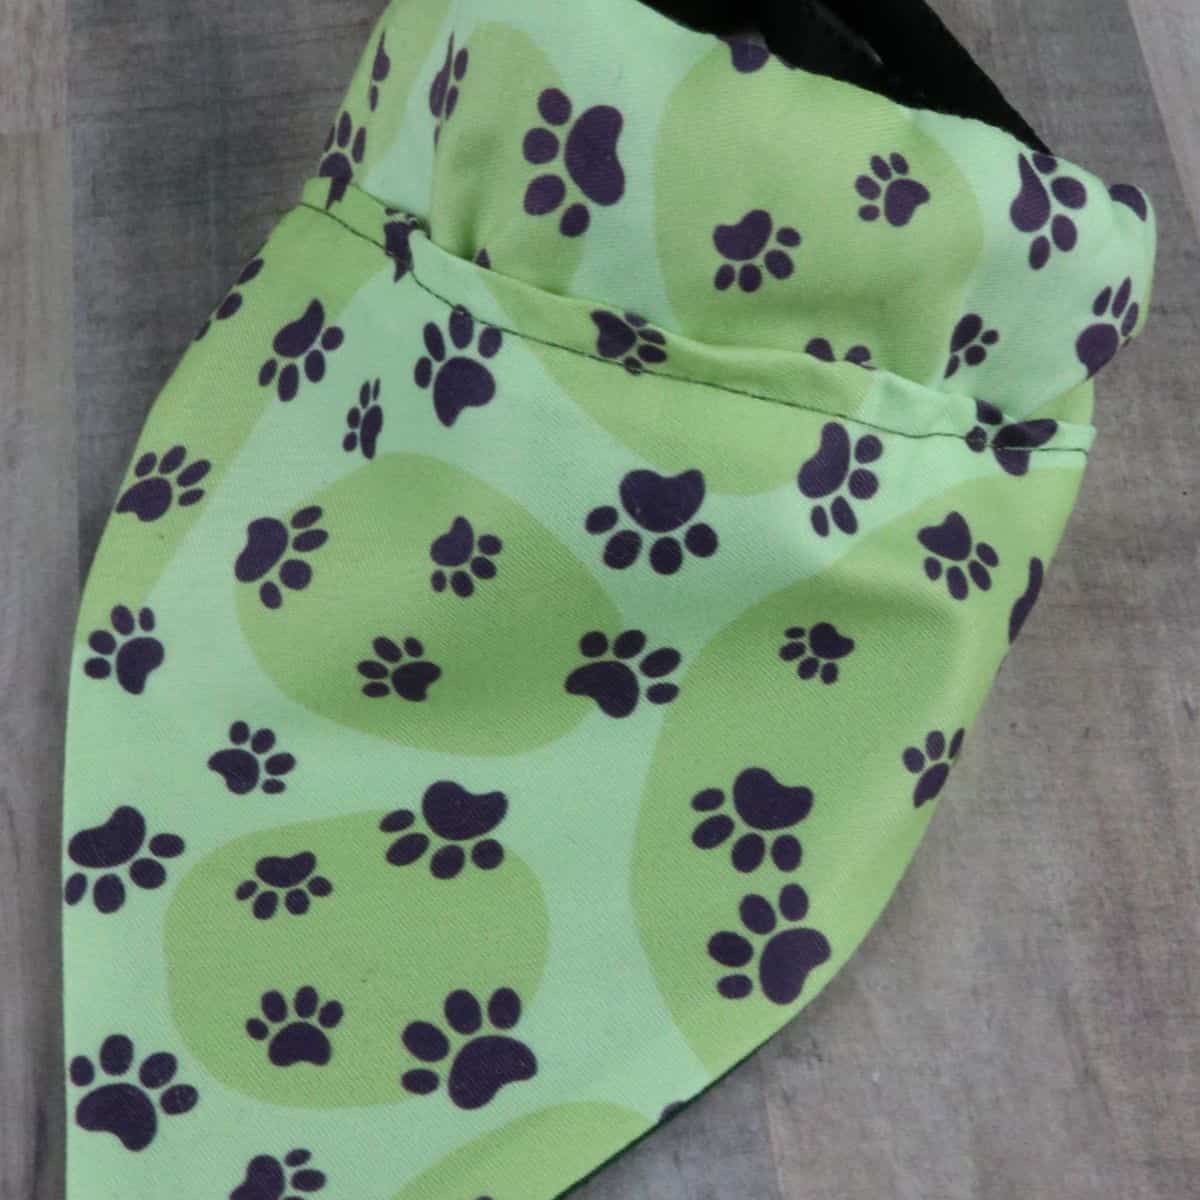
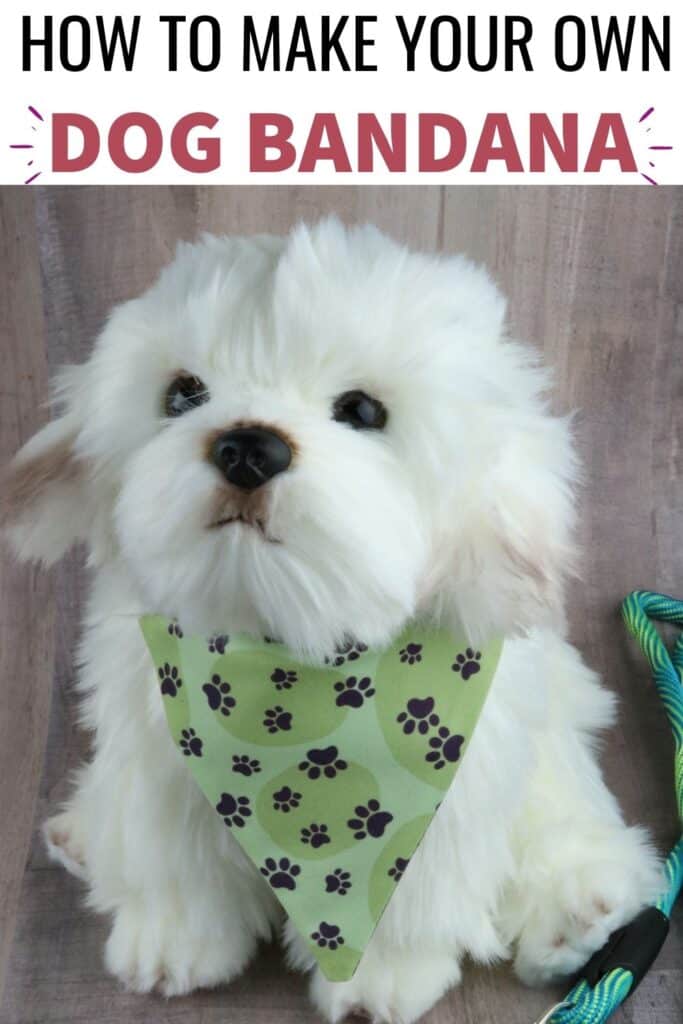
Every dog should wear a bandana. Bandana's can help to prevent fur from getting into their food, but it also adds a touch of style. Plus, it’s completely customizable and you can make it at home.
Making your own DIY Dog Bandana is a fun way to show your dog’s personality, some dogs are simple, some are colorful, and some are wacky.
You can make a DIY Dog Bandana by cutting a square out of a dog print shirt, then using a matching or contrasting fabric to make it into a bandana. Just cut a slit in the square, then cut it into a square.
Want to add a little flair or a splash of color to your pup’s collar? Easy to make and adorable, this DIY pet bandana will have your pups wagging their tails.
You'll be surprised how fast this project comes together with the Free Dog Bandana PDF pattern. Just grab a fat quarter and start sewing!
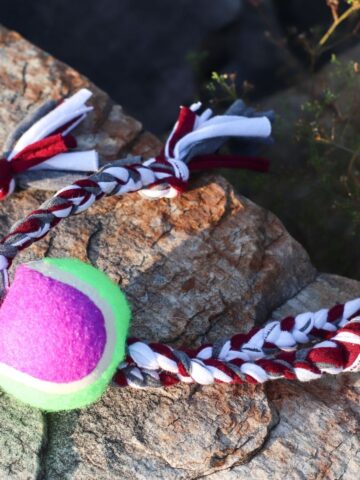
When you're done, be sure to make our No-Sew T-Shirt Dog toy to go along with your new dog bandana.
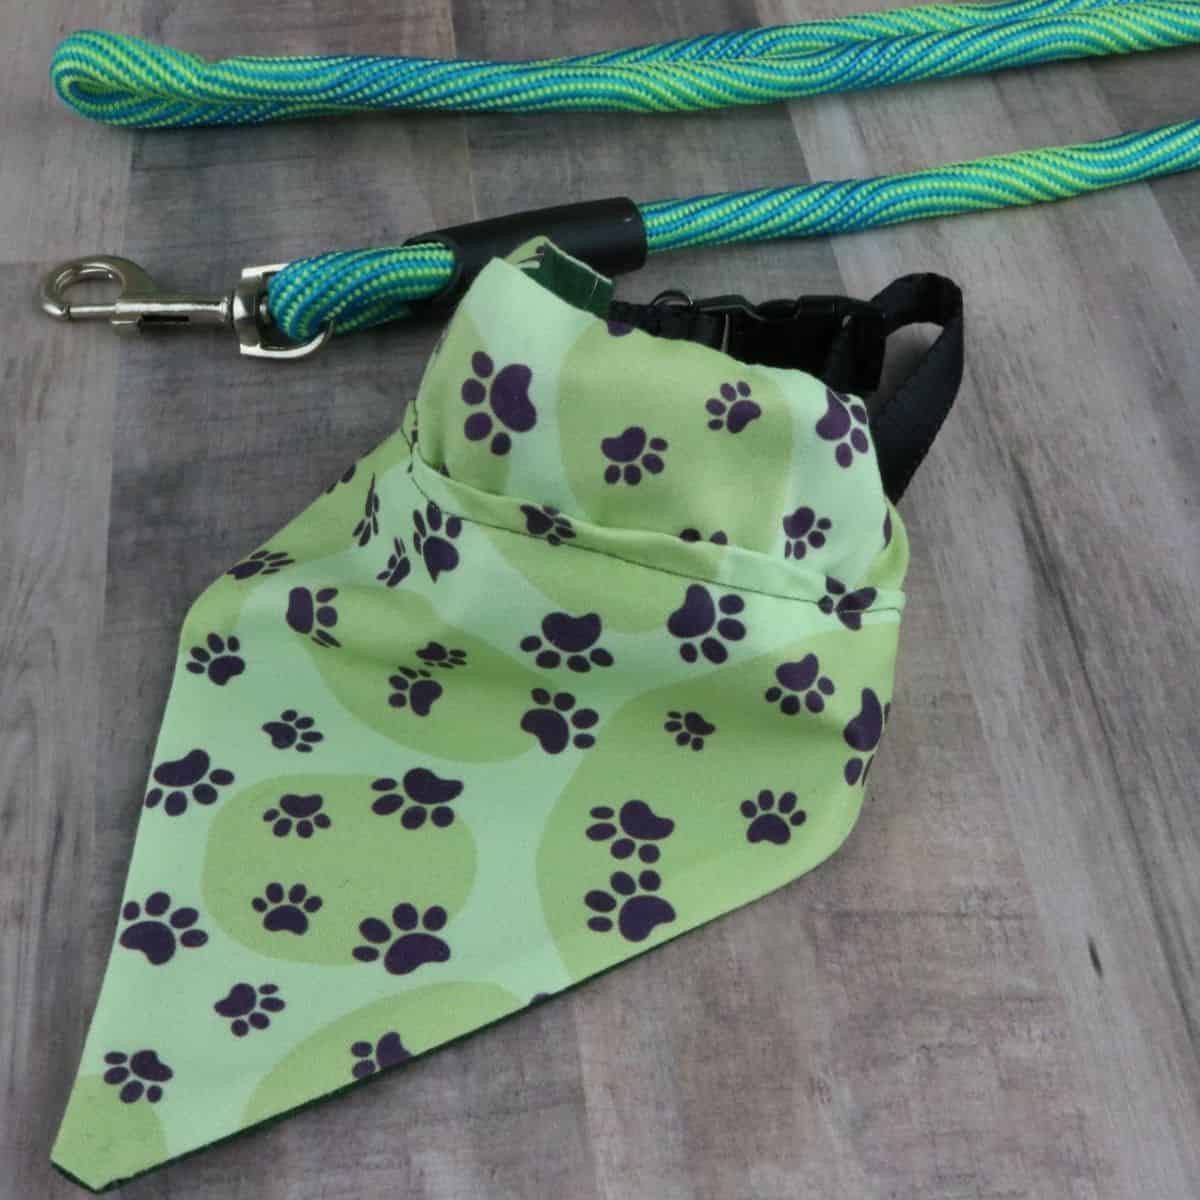
How to Make DIY Dog Bandana's
I think the Dog's Bandana Tutorial is one of the best yet.
There are a lot of furry friends out there, so I wanted to do a sewing project for them. There's no reason we can't sew things for our pets. Our pets are usually smaller, so the projects are easier than sewing something for ourselves.
I went simple for this first step because I thought a dog bandana would be a better beginner project than a dog outfit. So the little fur baby can have something on, too, when we take family pictures by the tree.
How to Make a Dog Bandana
If you're anything like me, you have fabric scraps or fat quarters lying around that you can use for this project.
It's definitely one of the easier sewing projects I've done in a while. Let's sew this dog bandana.
Dog Bandana Size Templates
Here is your FREE Dog Bandana PDF Pattern.
I've found that prepping my fabrics with wash, dry, and press makes them look a lot better in the end. Remember, you can always customize the fabric to your liking.
Now let's measure, cut, and sew the dog bandana!
The amount of fabric you need depends on the size of your dog. I've sorted the sizes from x-small to extra large for the big dogs. That means you'll need to cut the fabric for the right size dog.
- X-Large- 40” wide x 17.5” long
- Large- 34” wide x 14” long
- Medium- 28” wide x 12.5” long
- Small- 23” wide x 9.5” long
- X-Small- 17” wide x 7” long
Directions for Making A Dog Bandana
- Skill - Easy
- Time - about 20 minutes
- Makes - 1 small bandana
Disclosure: Some of the links in this article are affiliate links (Amazon Associate or other programs we take part in). As an Amazon Associate, I earn a small commission from qualifying purchases.
Materials Needed
- 1 Paw Print Fabric Piece for top piece ( or any print of your choice )
- 1 Solid Piece of Fabric for back side ( or any print of your choice )
- Thread ( match color to your fabric )
Supplies Needed
- Sewing machine
- Scissors
- Pins or clips
- Fabric chalk
- Iron
Directions to Make a Dog Bandana
Step 1: Lay the fabrics so that it is face down.
Step 2: Lay the cut-out pattern on top of the fabrics and pin in place.
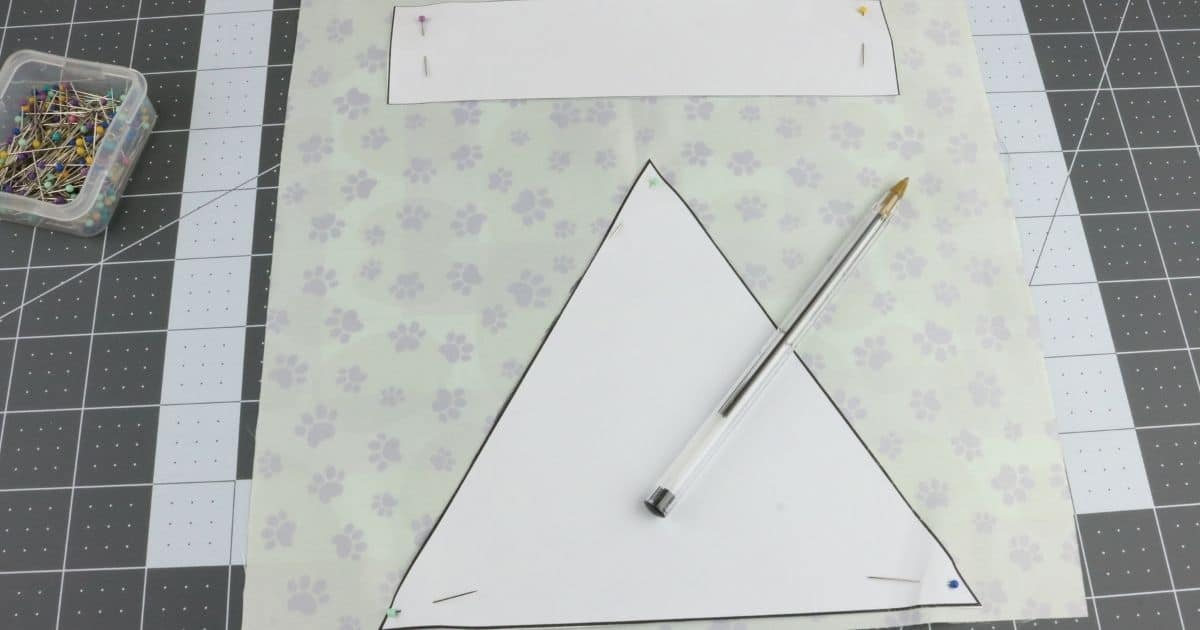
Step 3: Using the chalk, pen or pencil, mark all the way around the pattern pieces.
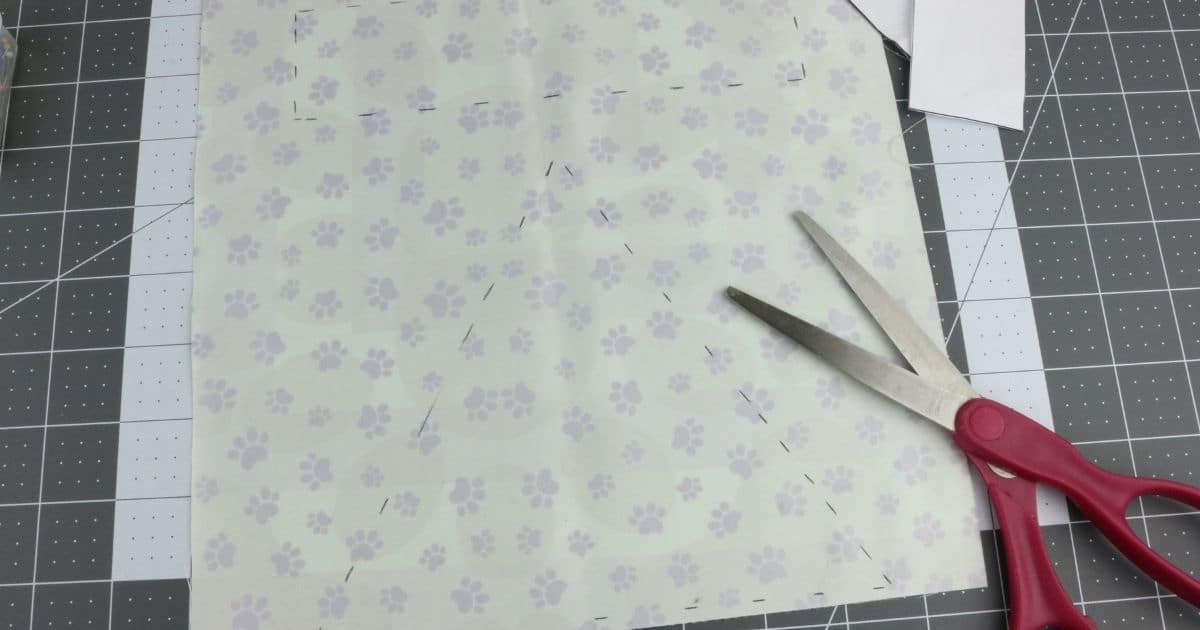
Step 4: Now remove the pattern and use the scissors to cut out the pieces. You will need one pattern cut out of each fabric.
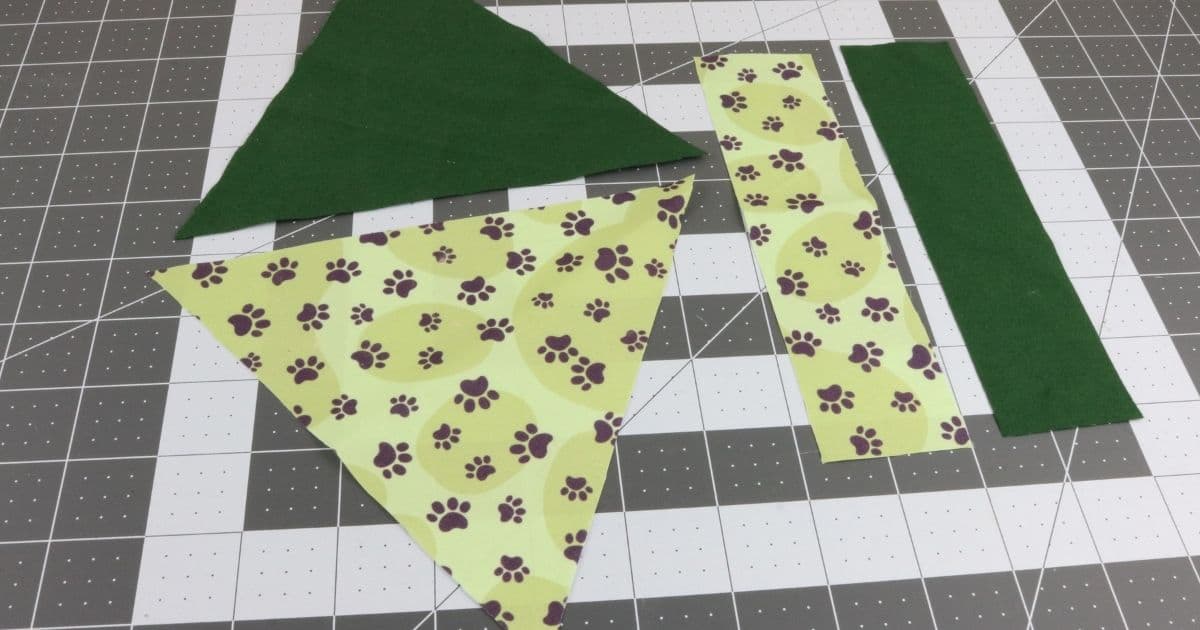
Step 5: Lay the two triangle pieces on top of each other so the right sides are touching. Pin them together down the two sides.
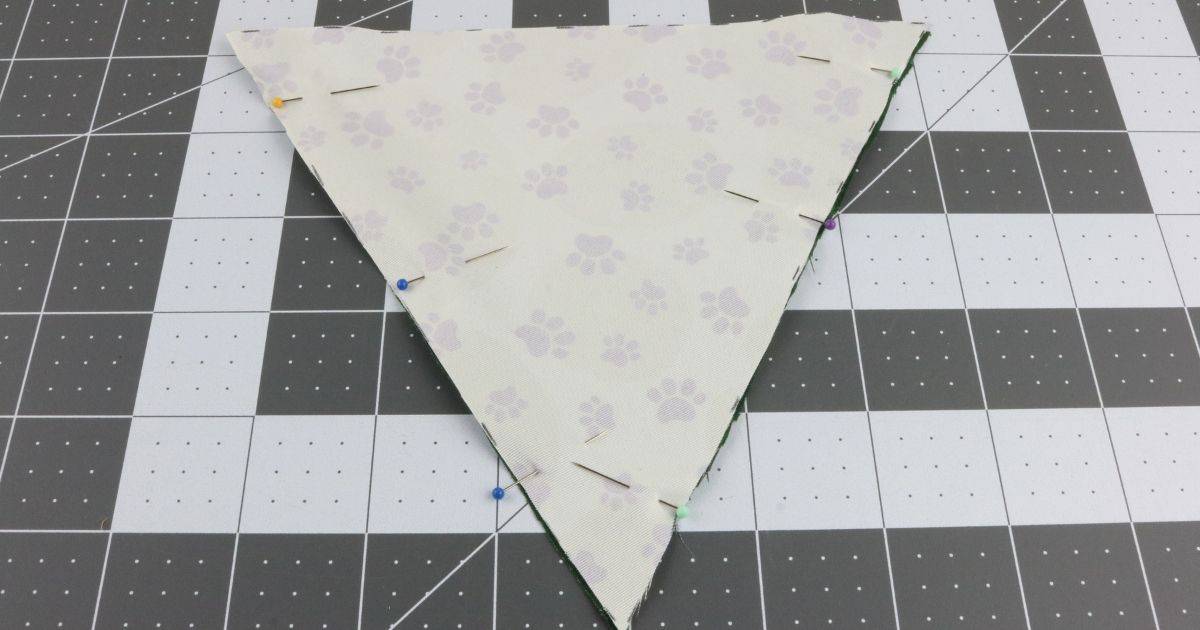
Step 6: Using a ¼ seam allowance, sew them together down the two sides but leaving the top open.
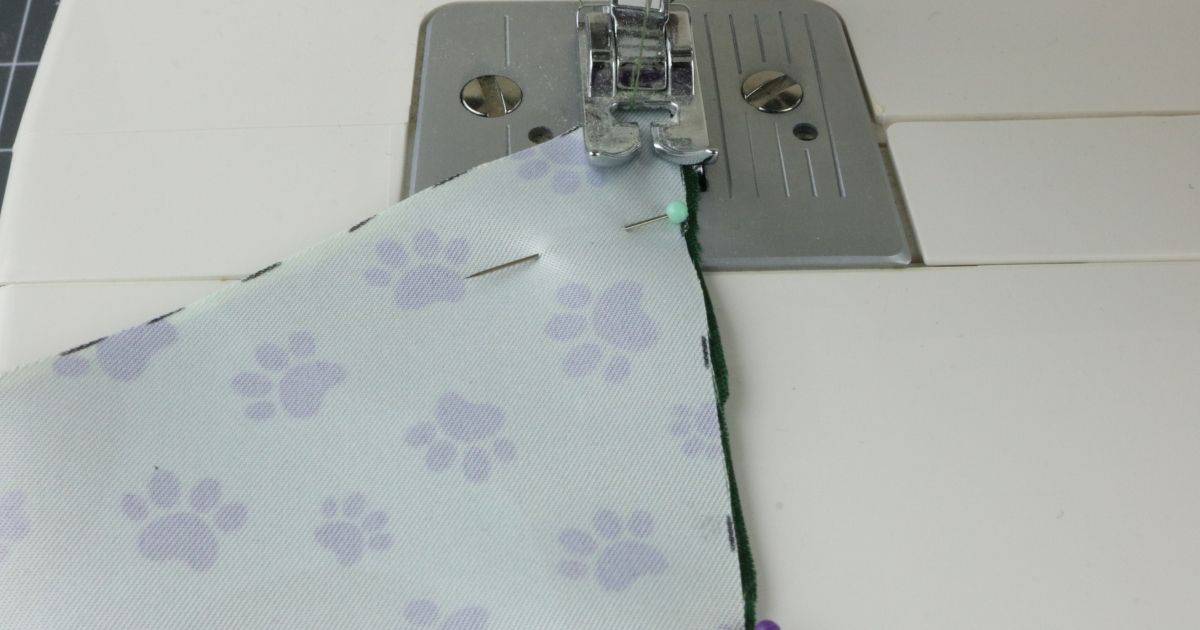
Step 7: Now turn it right side out and iron it so that it is nice and flat.
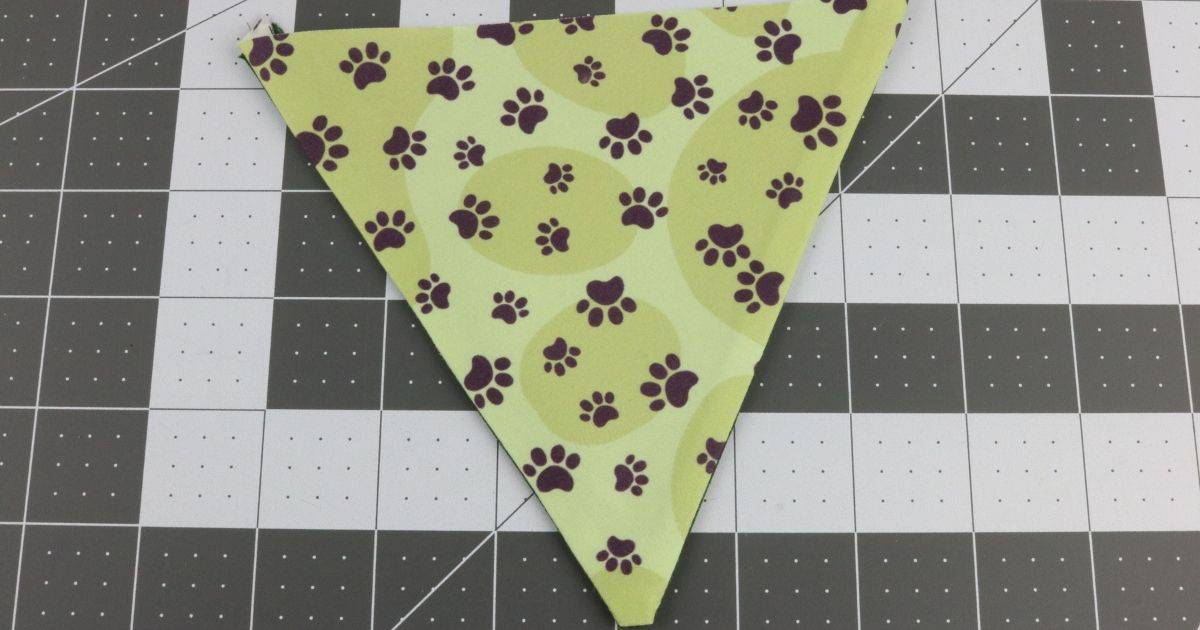
Step 8: Lay the two long strips on top of each other so the right sides are touching. Pin them together along one of the longest sides.
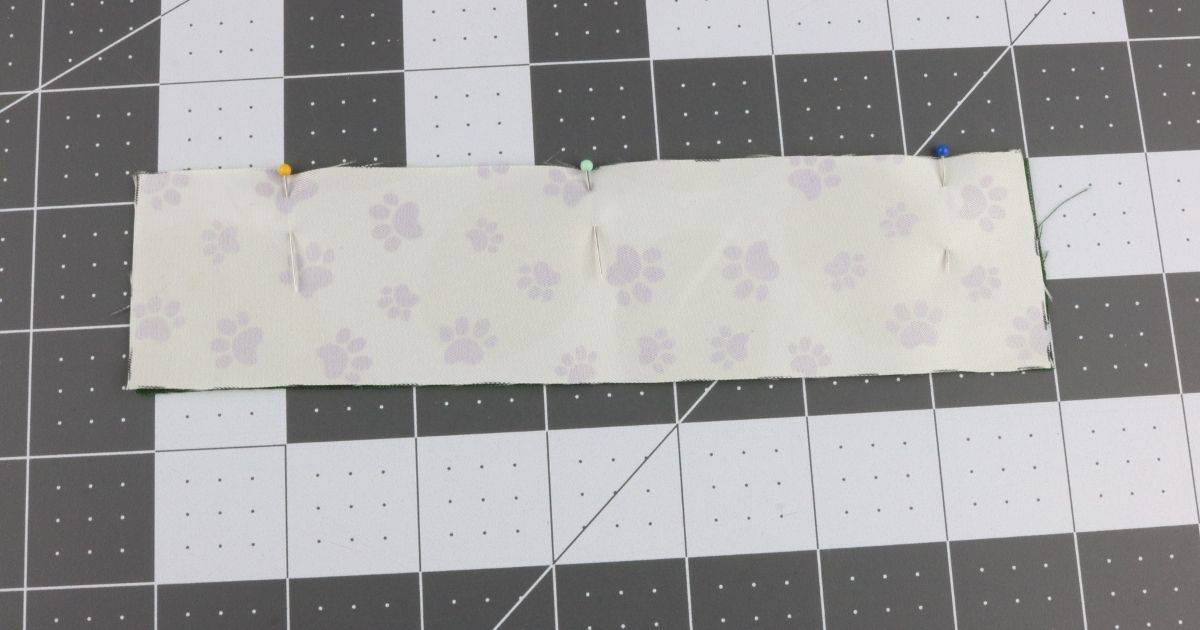
Step 9: Using ¼ seam allowance, sew them together along that one side.
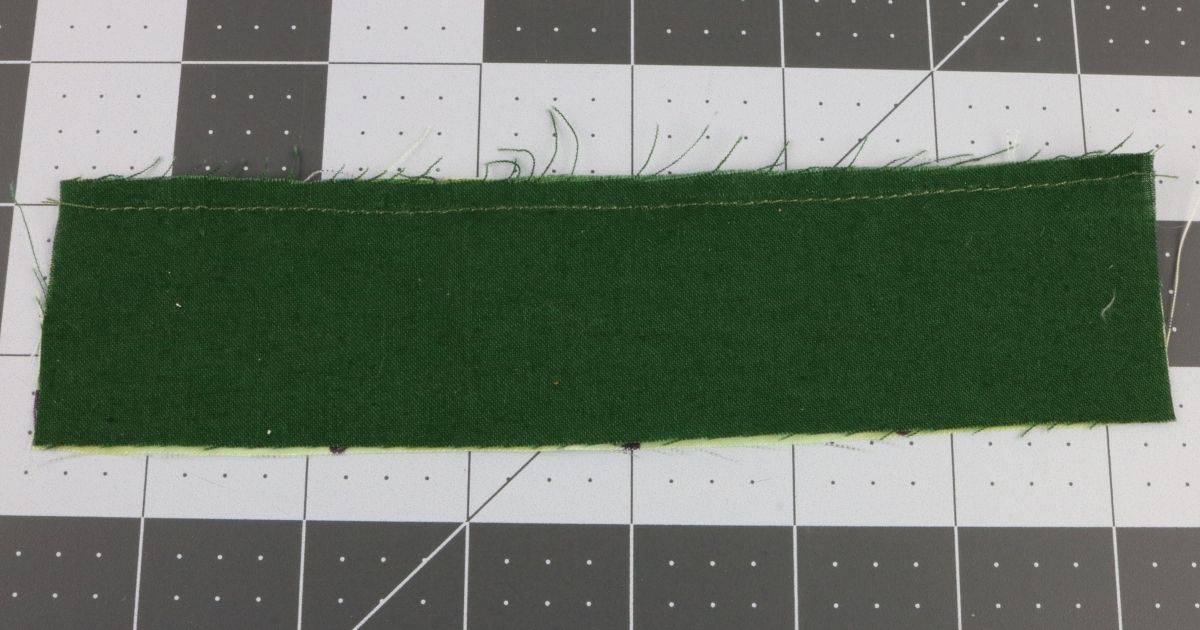
Step 10: Now lay it face down and iron it so that the seam flaps are opened.
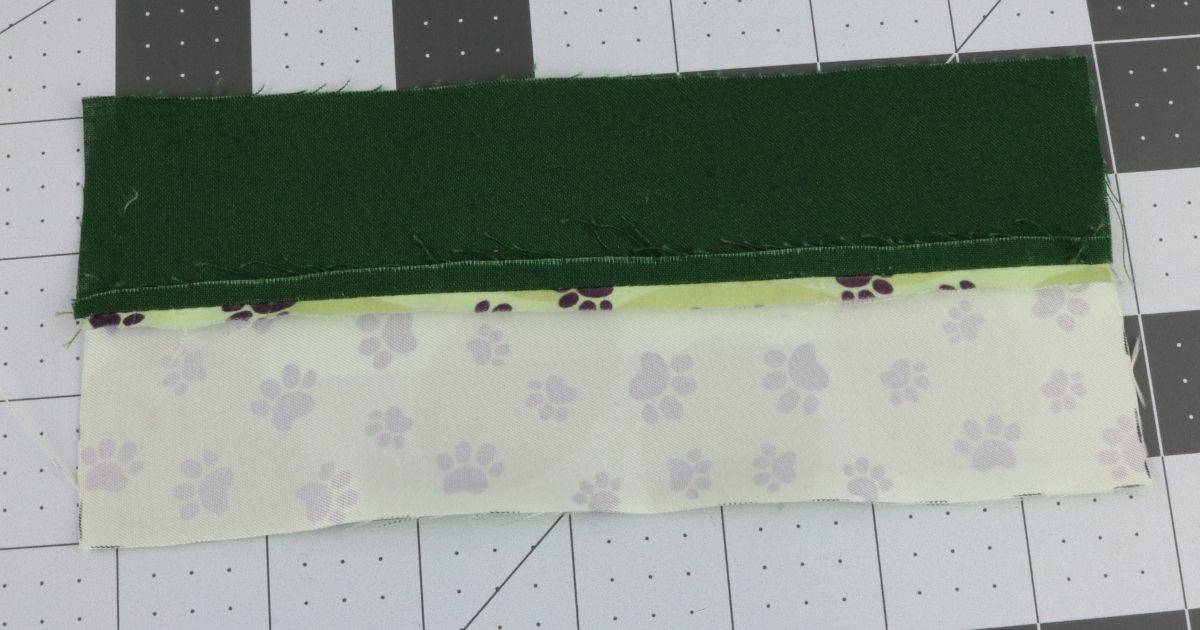
Step 11: With the fabric still laying face down, fold each of the ends over by ¼ inch or just slightly over ¼ and pin in place.
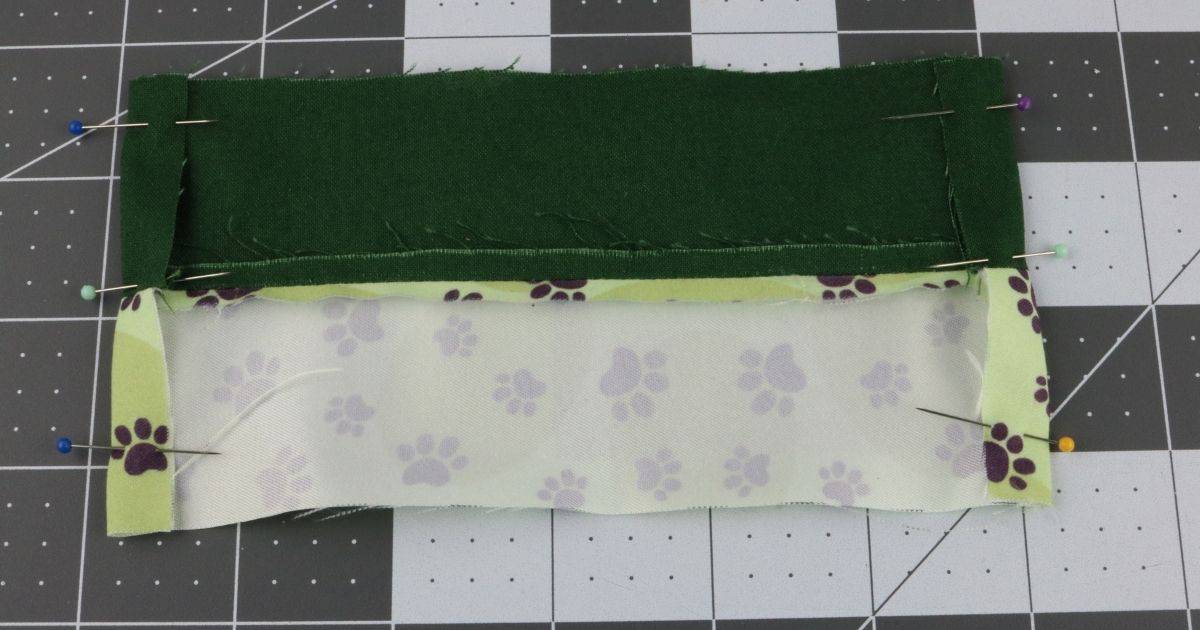
Step 12: Sew that pinned area down try to stay about the middle of that fold. Do both ends.
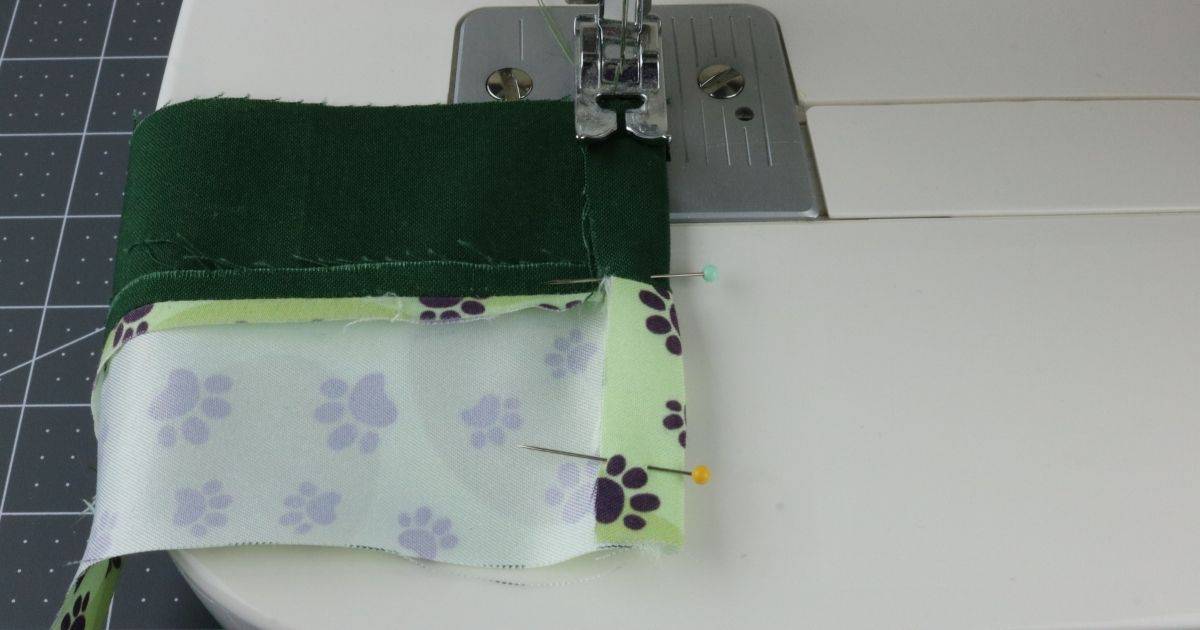
Step 13: Fold the flaps in half along the seam and iron flat.
Step 14: On the raw edge side of the triangle piece fold them in by about ¼ inch. Then insert the raw edge side of the long pieces inside of the triangle piece and pin in place.
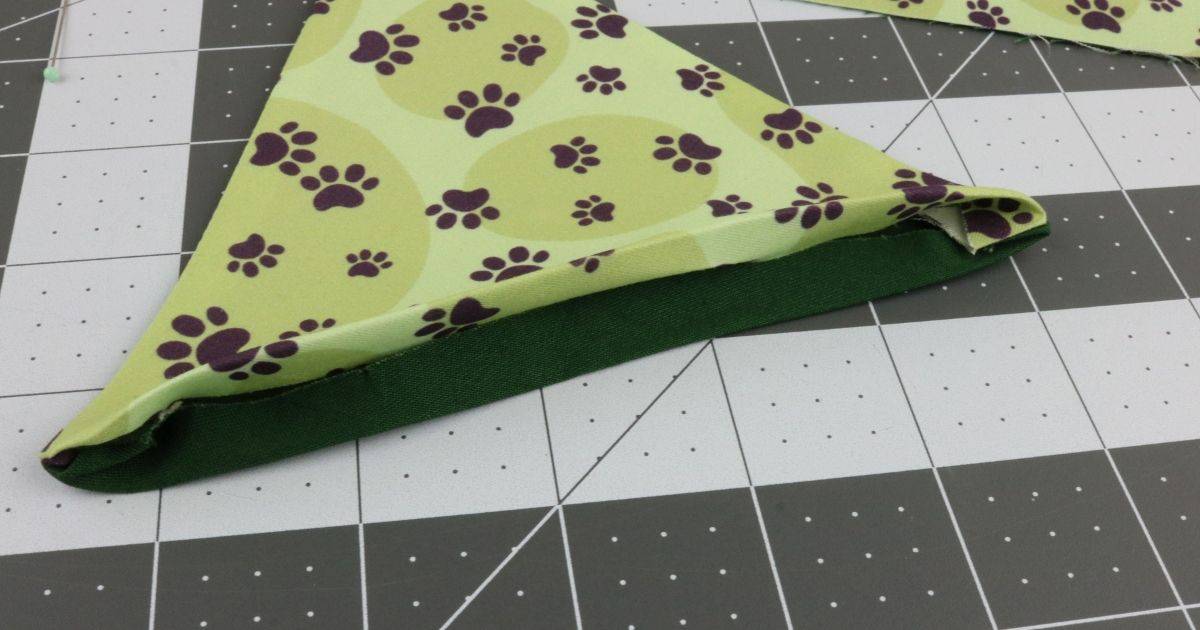
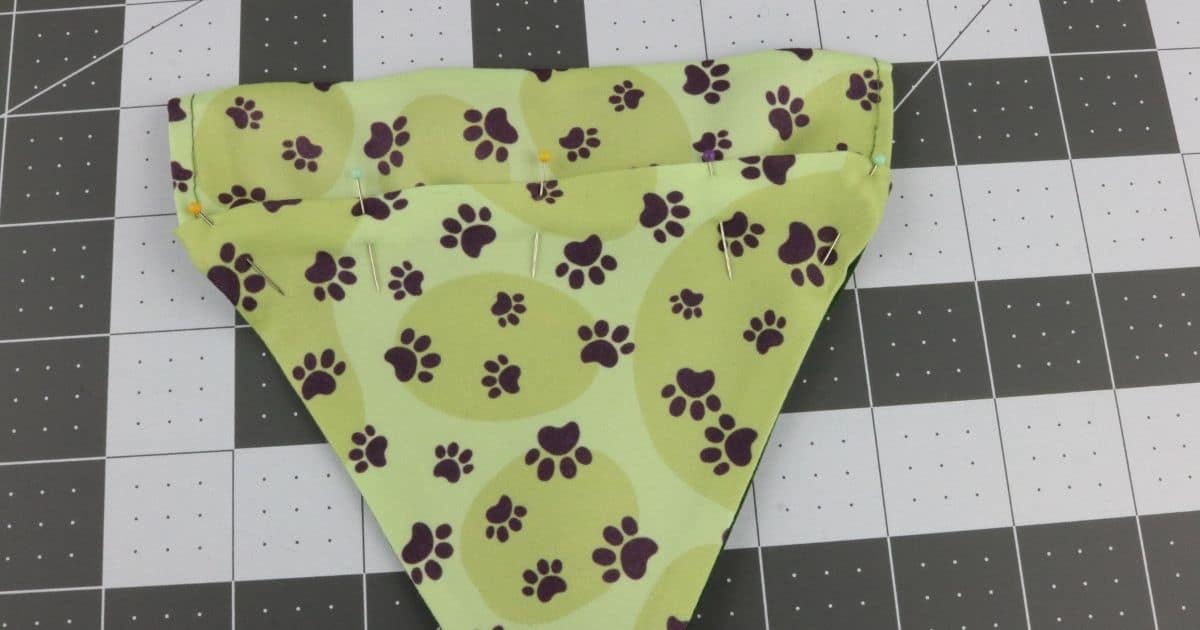
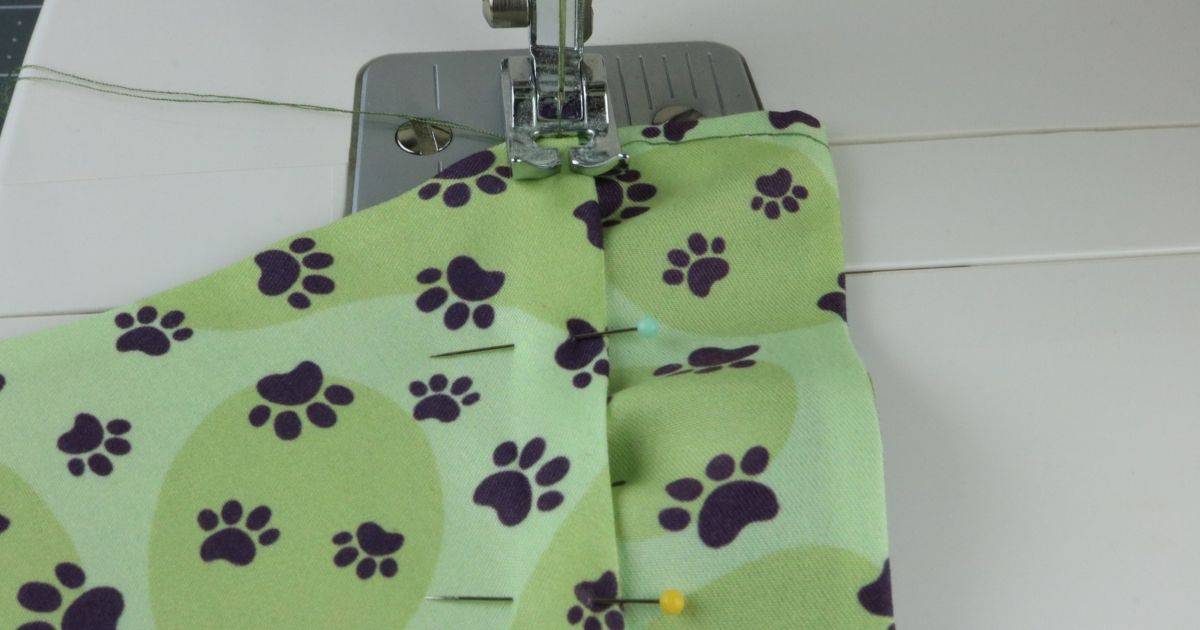
Step 15: The last step is to sew them together. Sew across the pinned area to sew together. Be sure to do a backstitch at the start and finish of this one.


Leave a Reply