If you've ever tried to carry your dog's food and water bowls, you know how cumbersome it can be. A DIY dog poop bag dispenser can make it easier to tote your dog’s poop bags out on a walk or to the park and back.
Plus, it’s a simple fact: dogs love bags. They love how they feel, how they smell, and even how they crunch when they tear into them. (And let’s be honest, who doesn’t?)
It was only a matter of time before someone combined these two passions into one DIY project that made life easier for dogs and their owners alike.
Follow these simple instructions on how to sew an easy DIY dog bag dispenser, and you’ll never need to worry about running out of bags again!
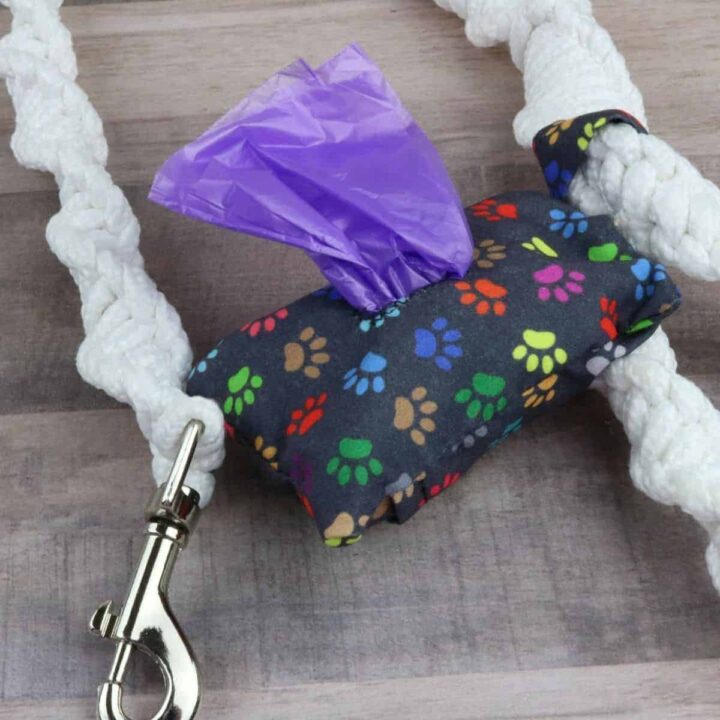
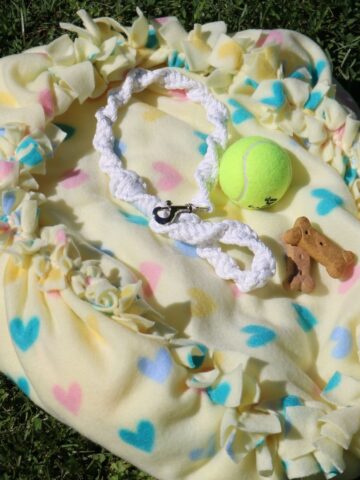
How about making a great DIY Leash to go with your DIY Dog Bag Dispenser?
Disclosure: Some of the links in this article are affiliate links (Amazon Associate or other programs we take part in). As an Amazon Associate, I earn a small commission from qualifying purchases.
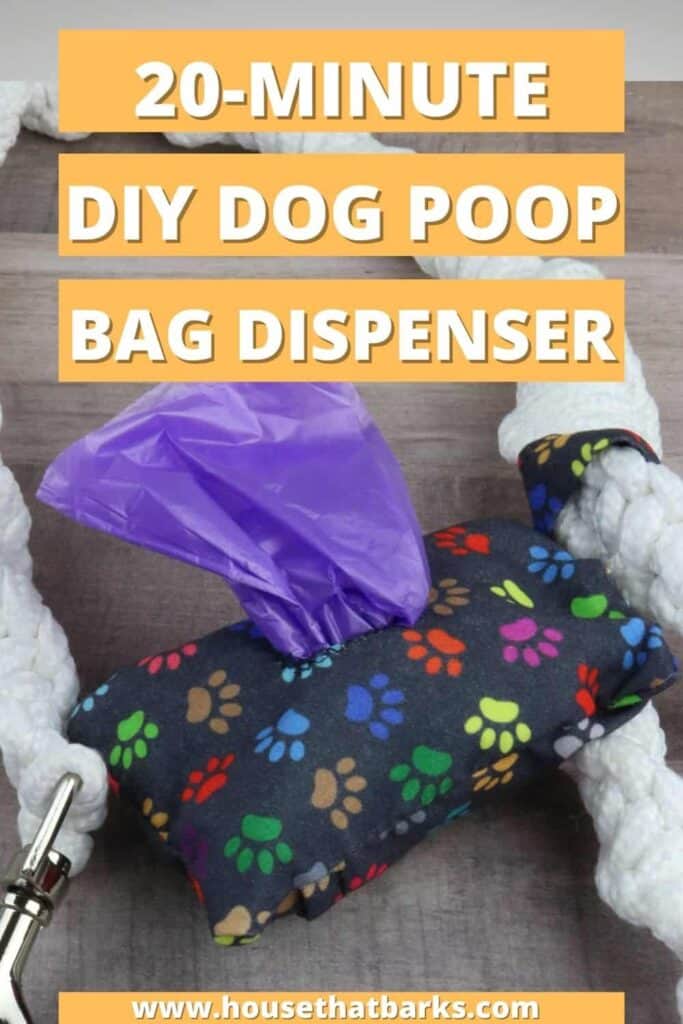
How to Make a 20-Minute DIY Dog Poop Bag Dispenser
- Skill Level: Easy
- Makes: 1 holder
- Time: 20 minutes
Materials Used:
- Fabric
- Scissors
- Sewing Machine
- Pins
- Rotary Cutter
- Seam Ripper
- Marker
- Thread
Instructions:
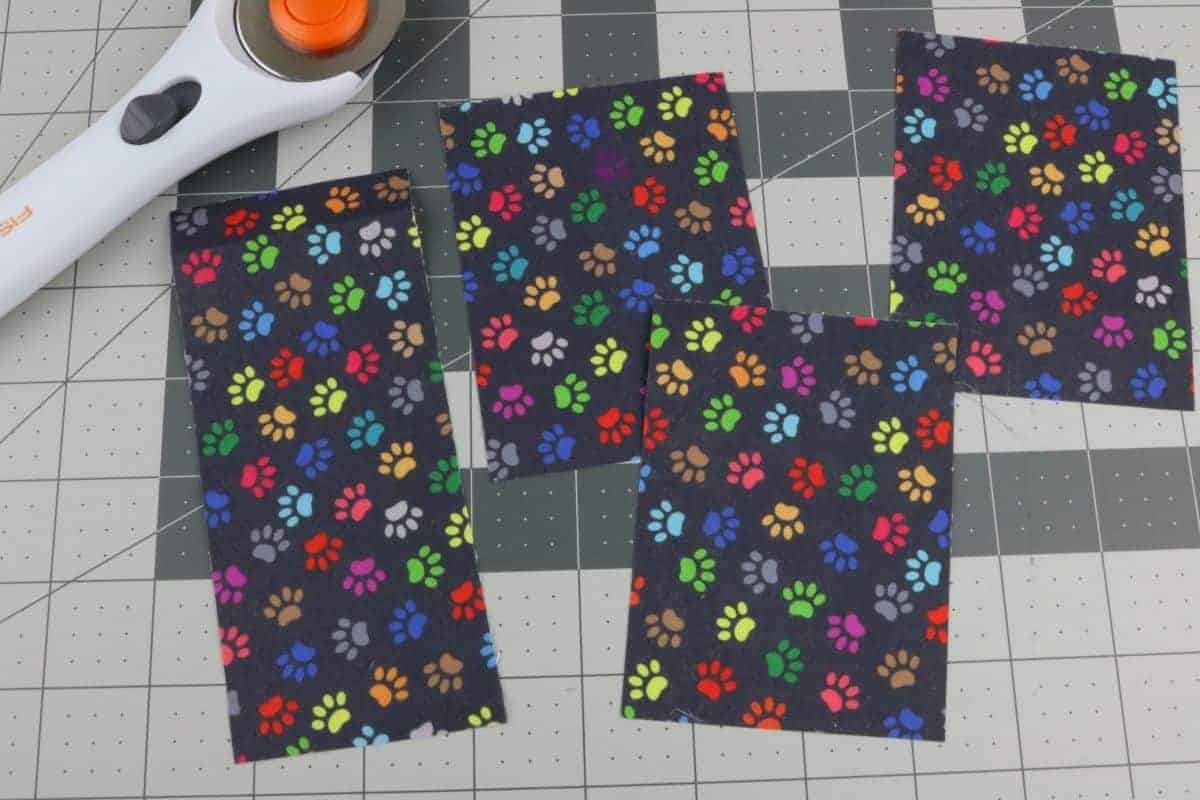
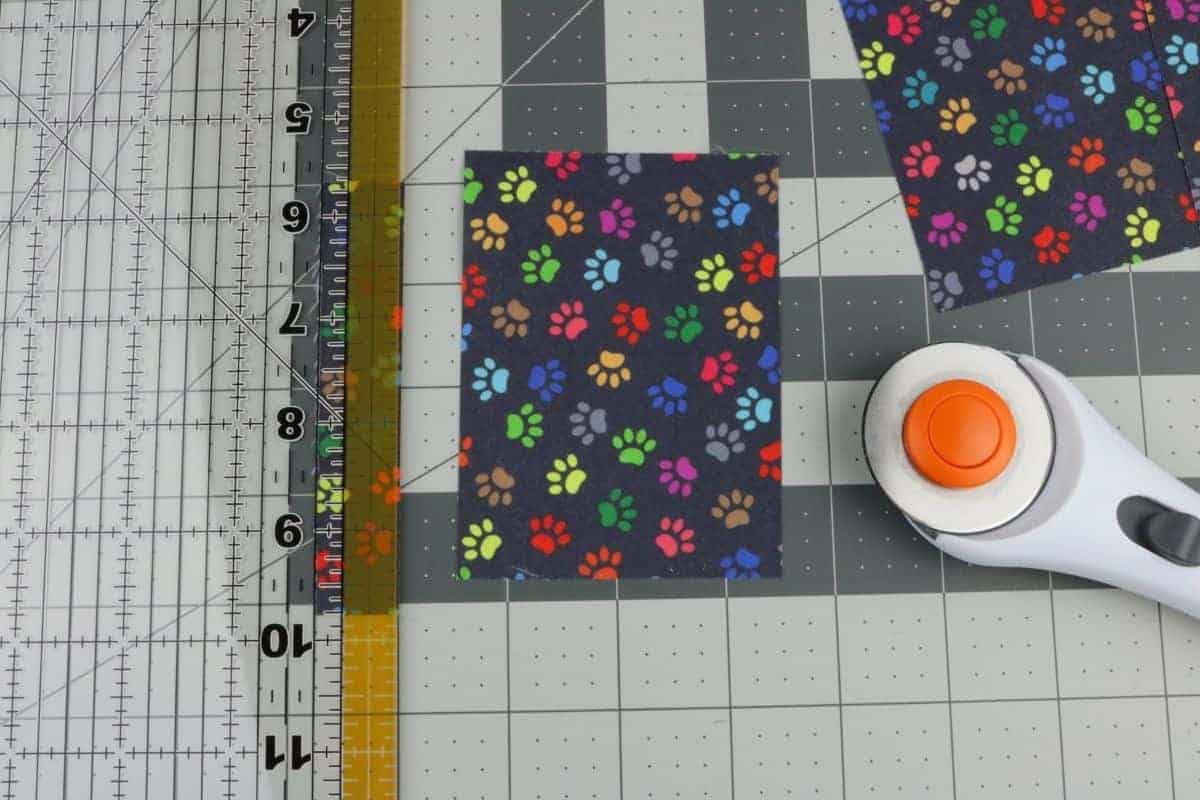
Step 1: Cut the fabric to the sizes needed. You will need (3) pieces that are 4"x3" and (1) that is 3"x6".
Step 2: Now on one end of a 4x3 piece, the 3-inch side, fold it over by about ¼ inch. Then fold it over again by ¼ inch and pin it in place. Do the same on another 4x3 piece.
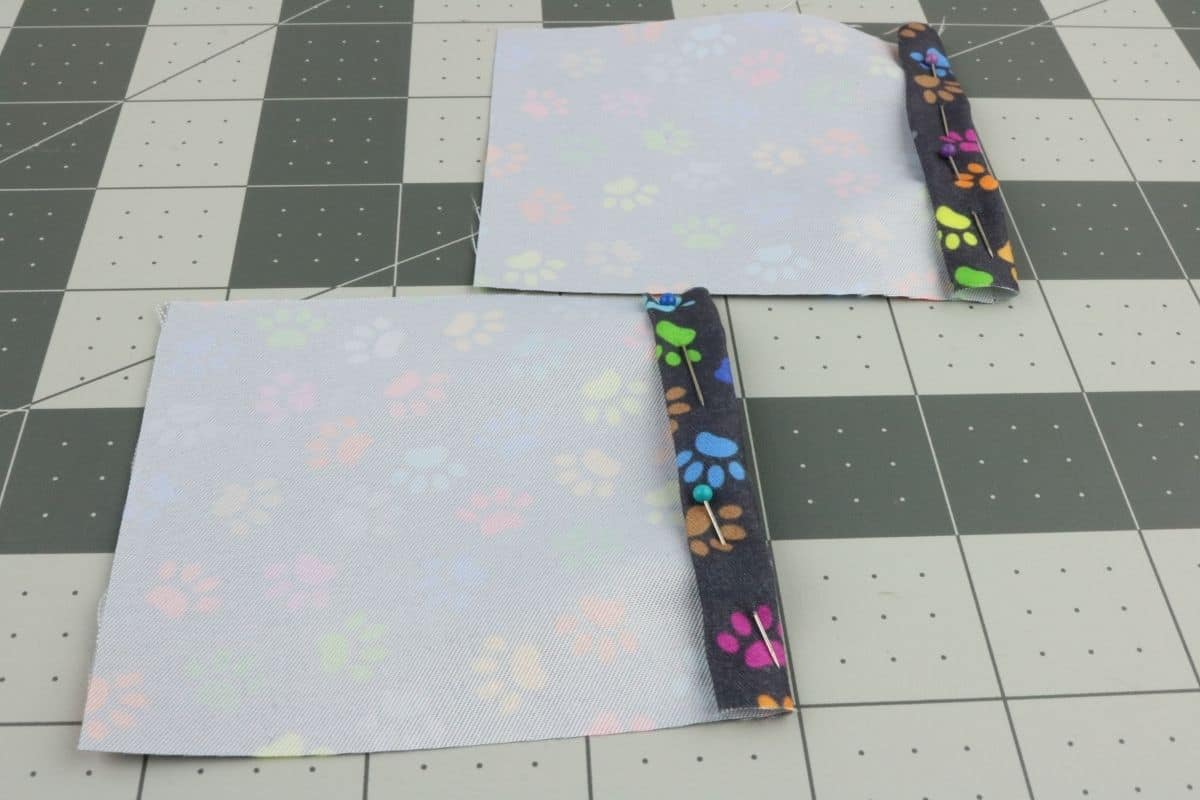
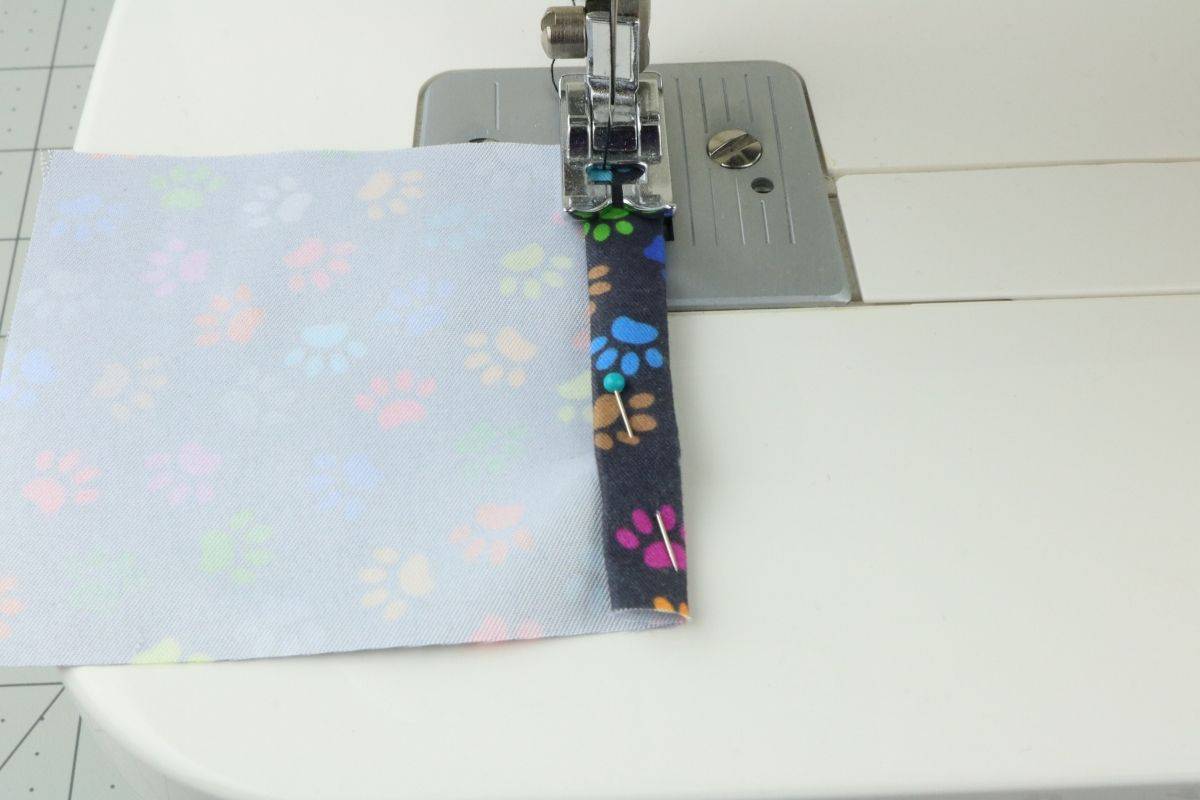
Step 3: Sew those folds down by sewing close to the inner folded edge.

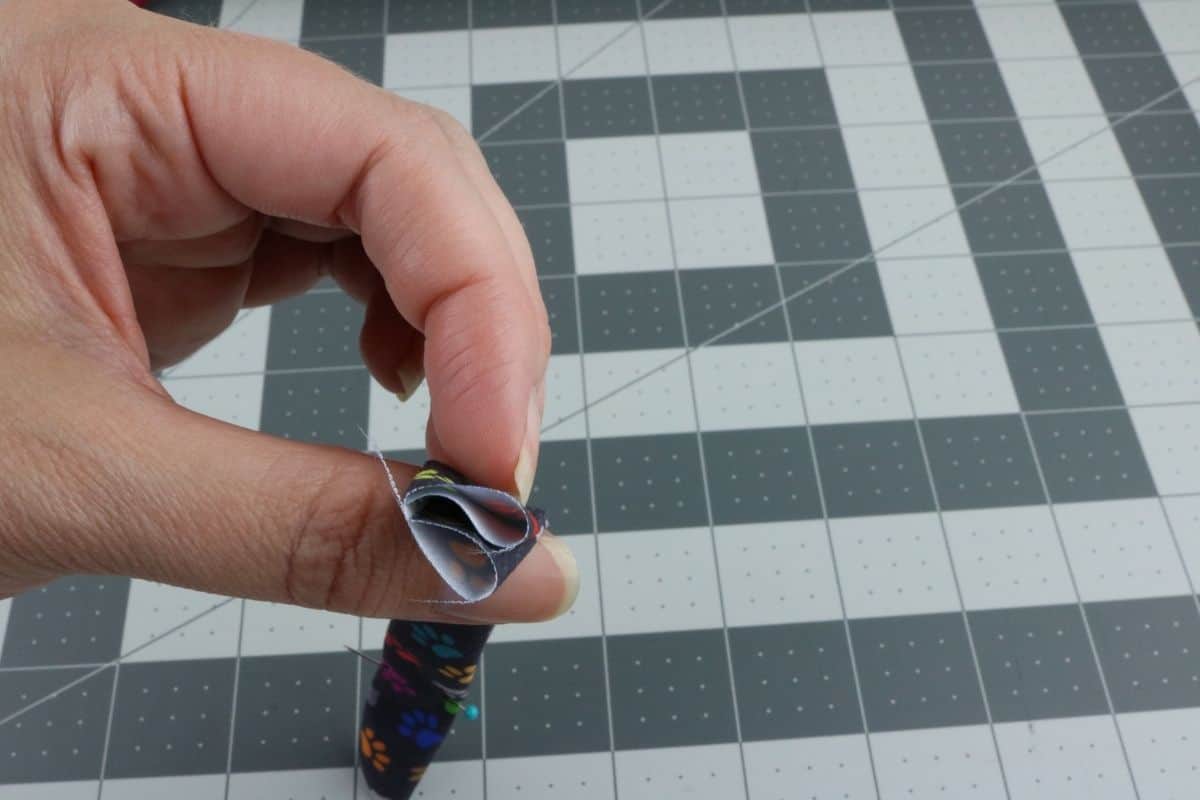
Step 4: From the long side of the 3x6 piece, fold it in half so the edges touch in the middle. Then fold it again so those folds are on top of each other. Pin in place.
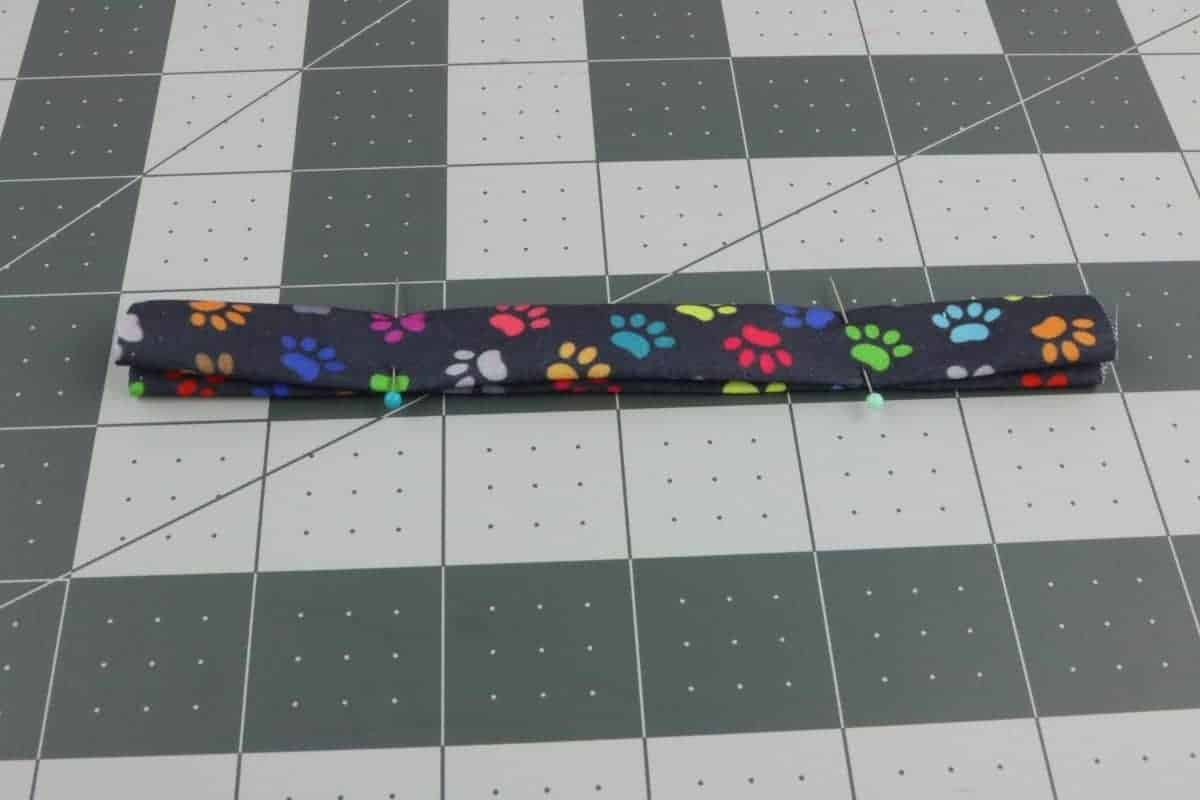
Step 5: Sew down that piece using about ¼ seam allowance from the folded sides.
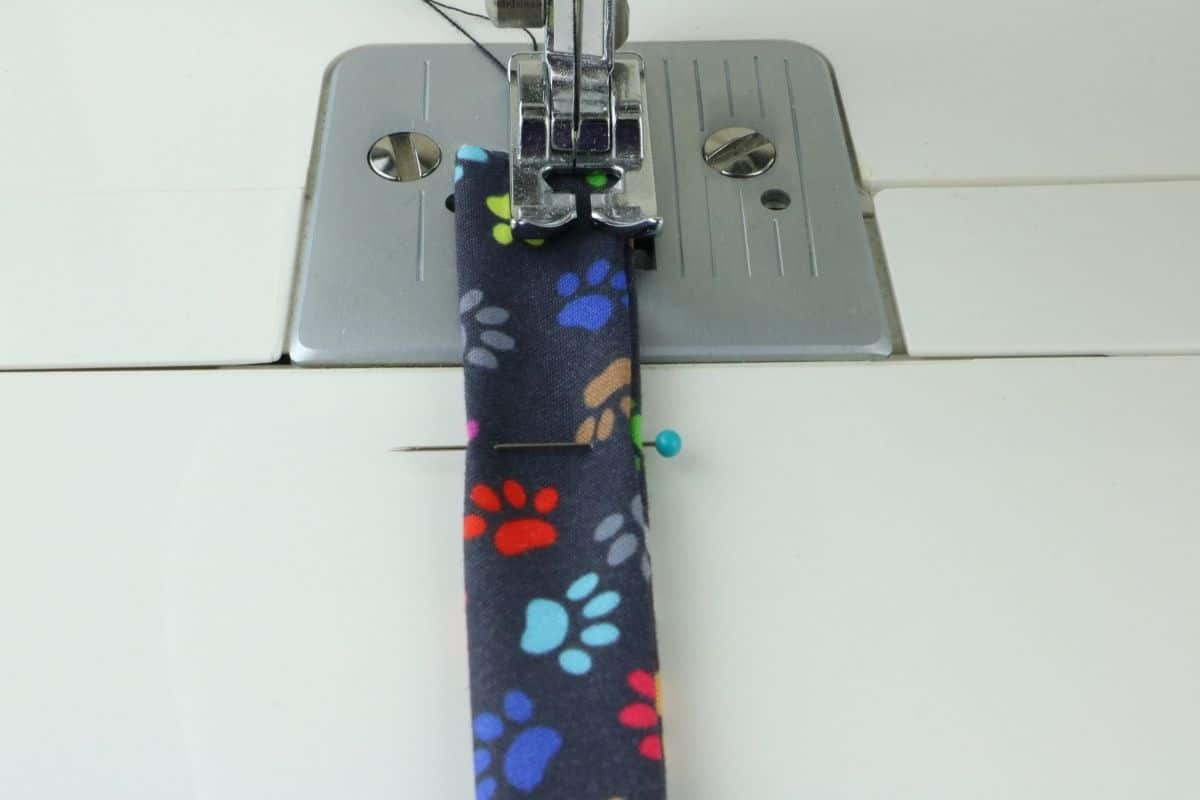

Step 6: On the last 4x3 piece you need to find the center and mark it. I find the best way to do this is to fold it in half one way then the other to make an X mark in the center. Then push a pin through it so you can see that mark.
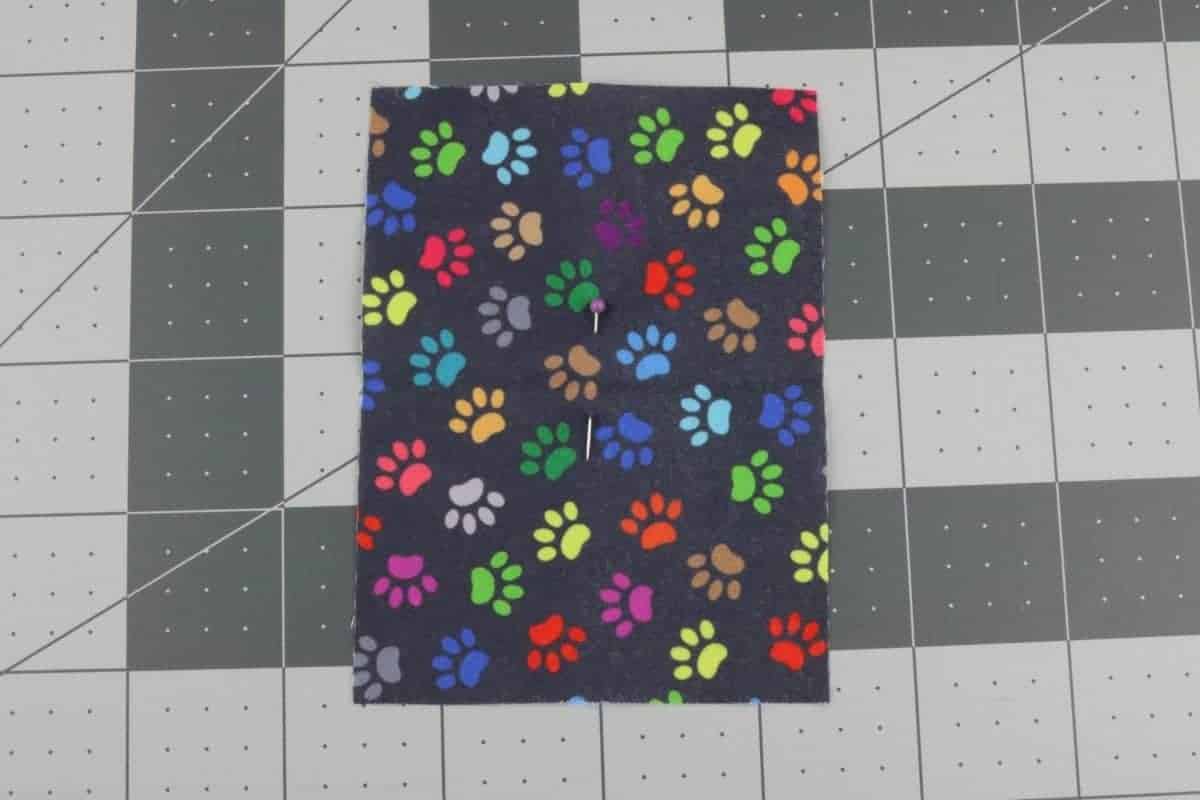
Step 7: Use the marker to make about ½ inch to inch mark over the pin. Then you can remove the pin.

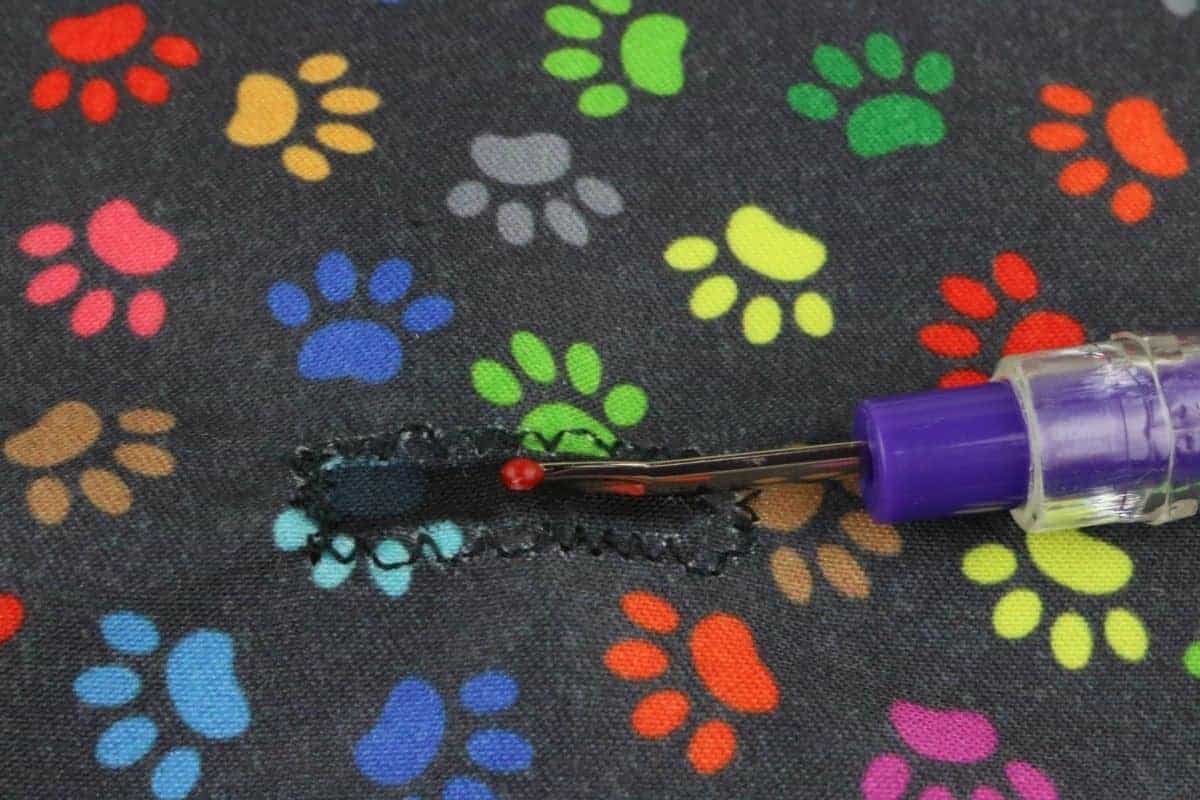
Step 8: If you have a buttonhole maker setting and foot for your machine, you can use it to go around the mark. If not, you can do as I did and just do a zig-zag stitch all the way around your mark.
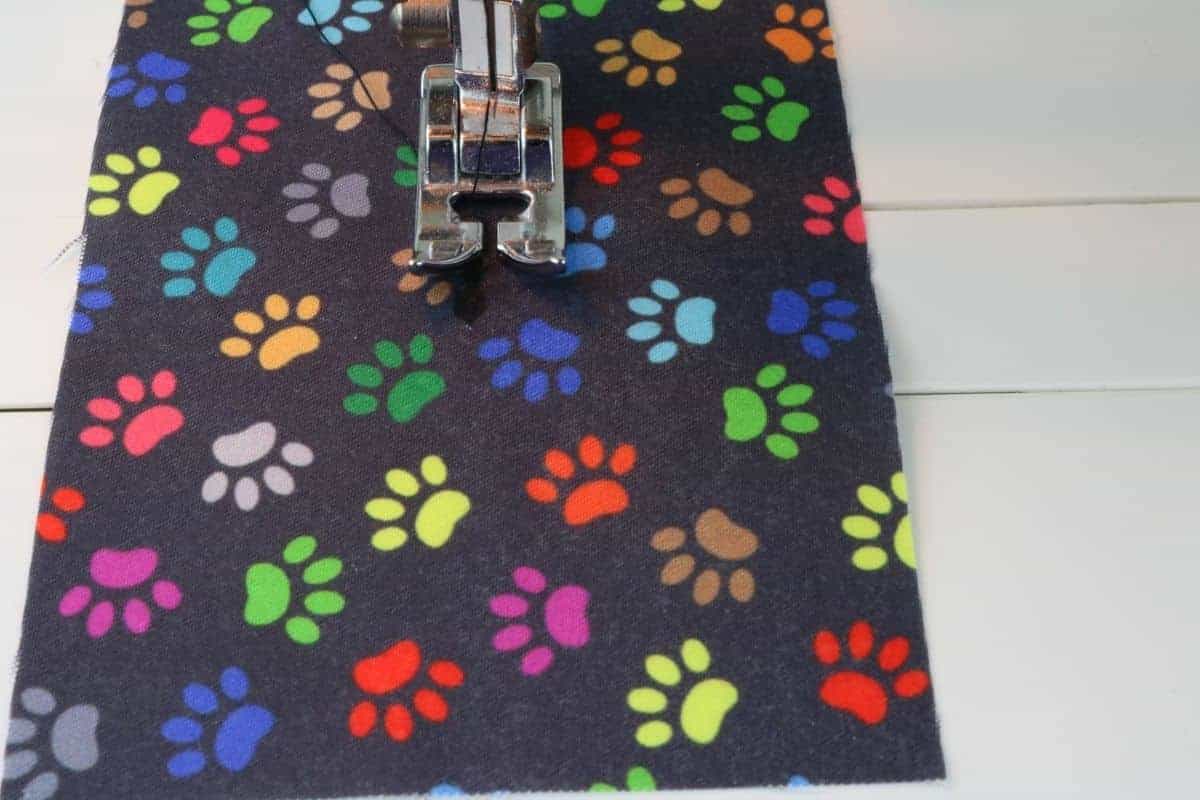
Step 9: Using the seam ripper, carefully cut on the mark in the middle. Just be sure not to go through the stitching.
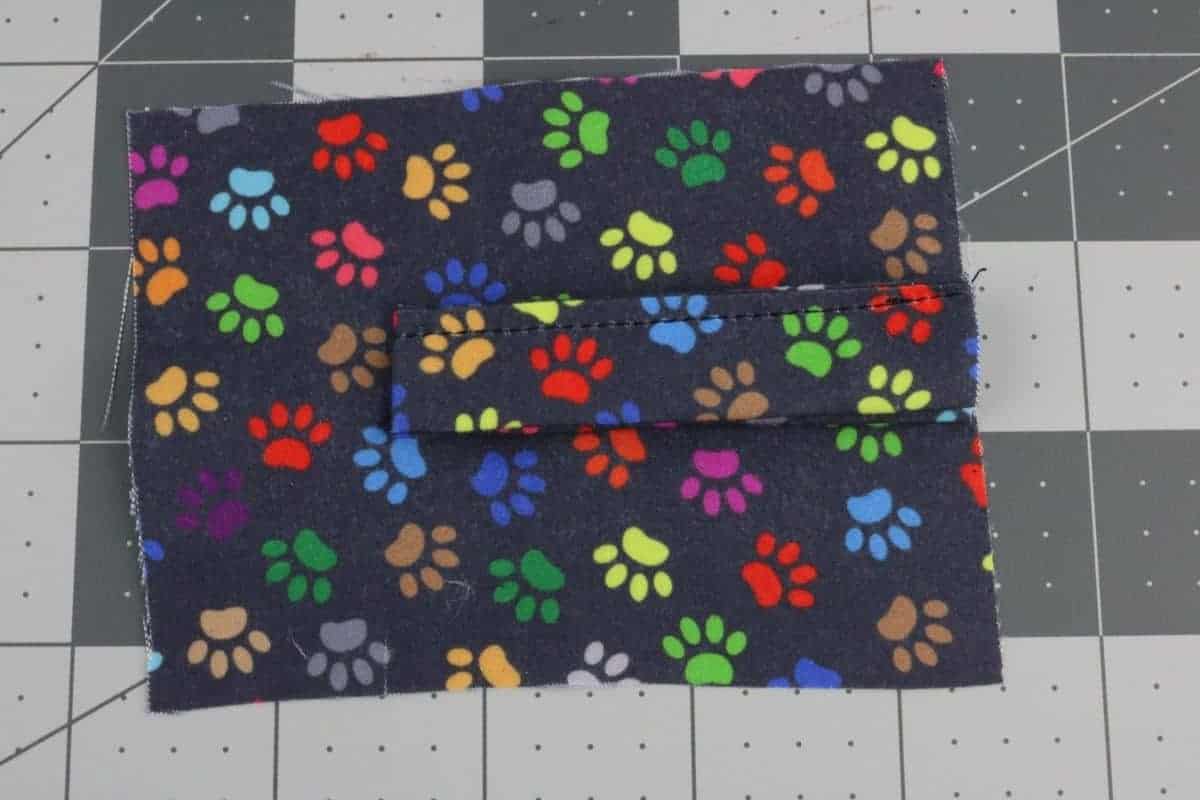
Step 10: Lay the piece with the hole in it so that it is face up. Then fold the long piece over to make a loop and line it at the edge of one end of the piece with a hole.
Step 11: Lay one of the other pieces to face down over those. You want the folded, stitched end in the middle. Pin in place.
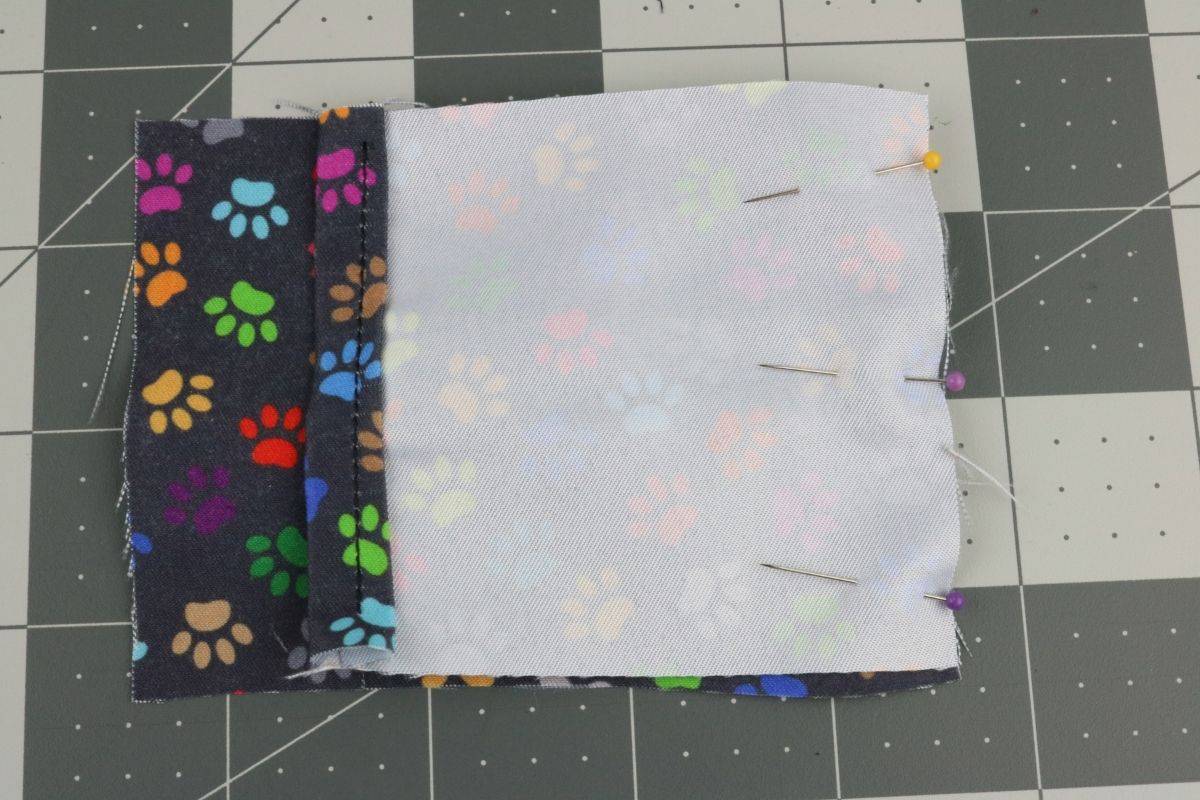
Step 12: Then lay the last piece face down at the other end with the stitched end in the middle. Pin in place.
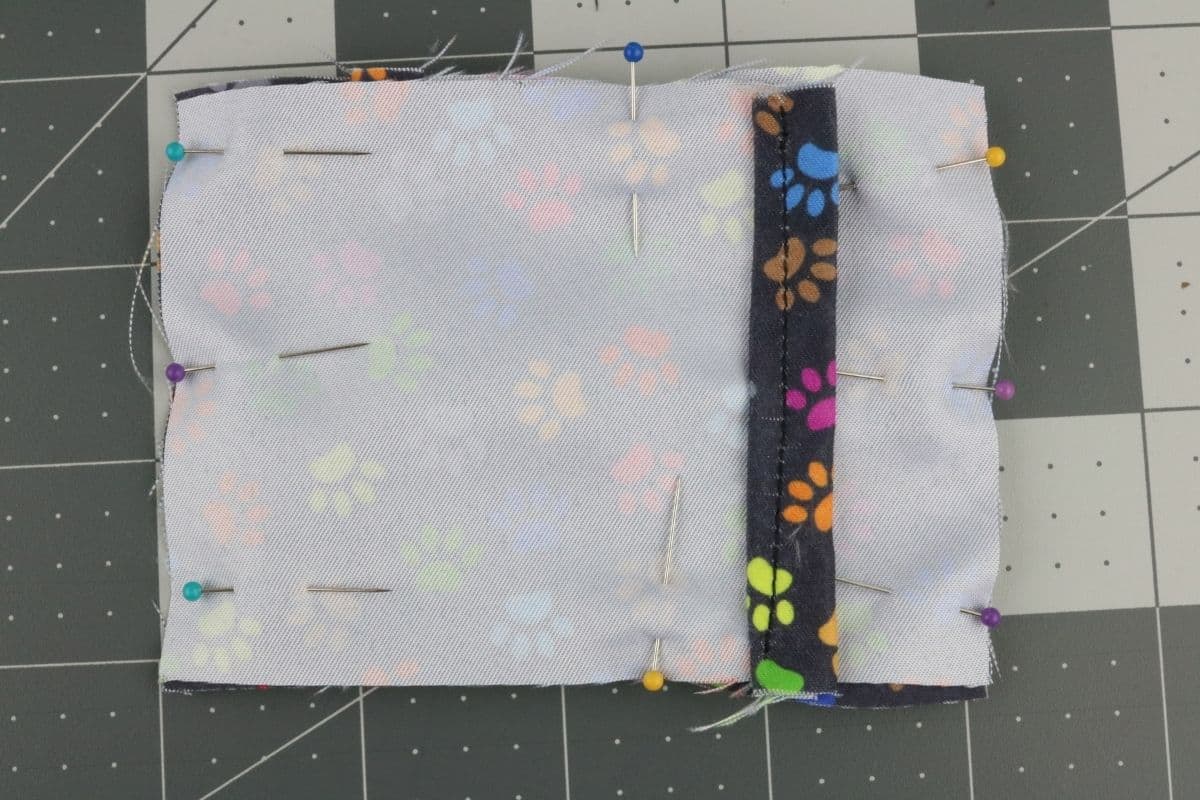
Step 13: Using a ¼ inch seam allowance, sew all the way around to stitch them all together. Be sure to do a backstitch at the start and finish. As well as run over that loop end a few times to make sure it is secure.
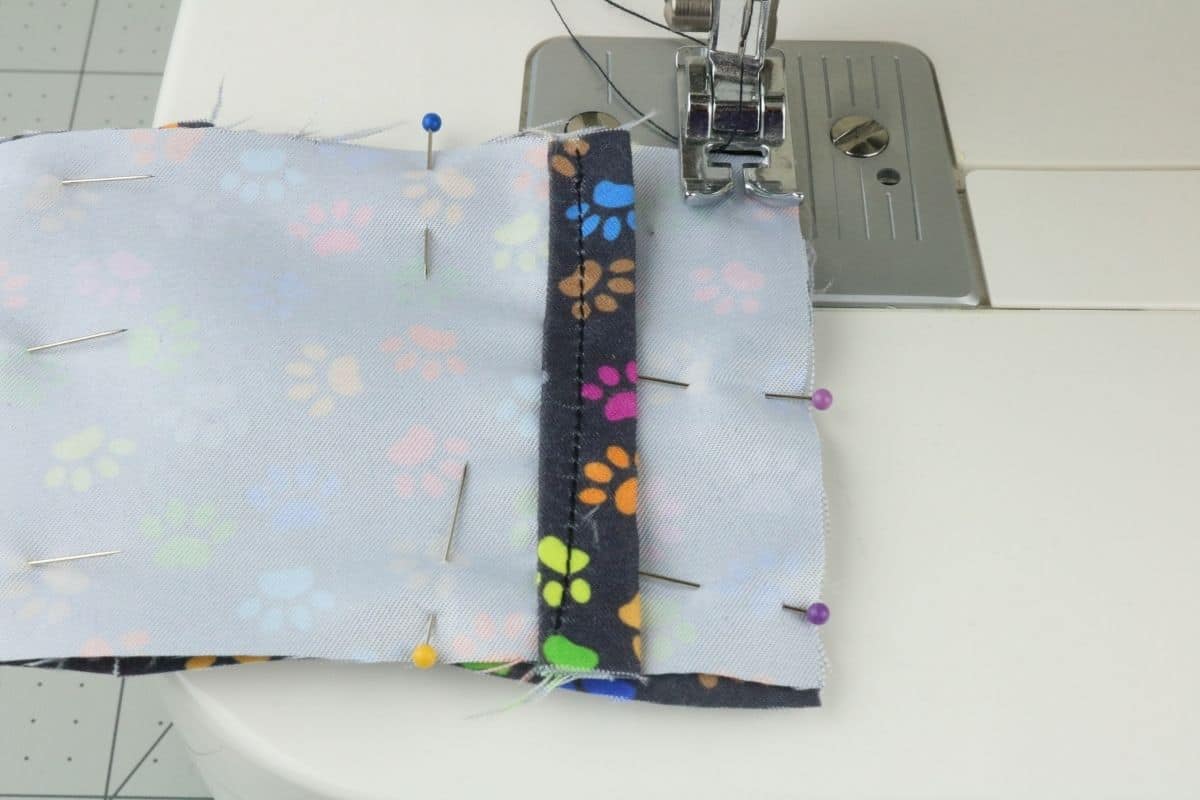
Step 14: Using the scissors, trim off any extra fabric around the edge. Then use the opening, turn it all right side out.

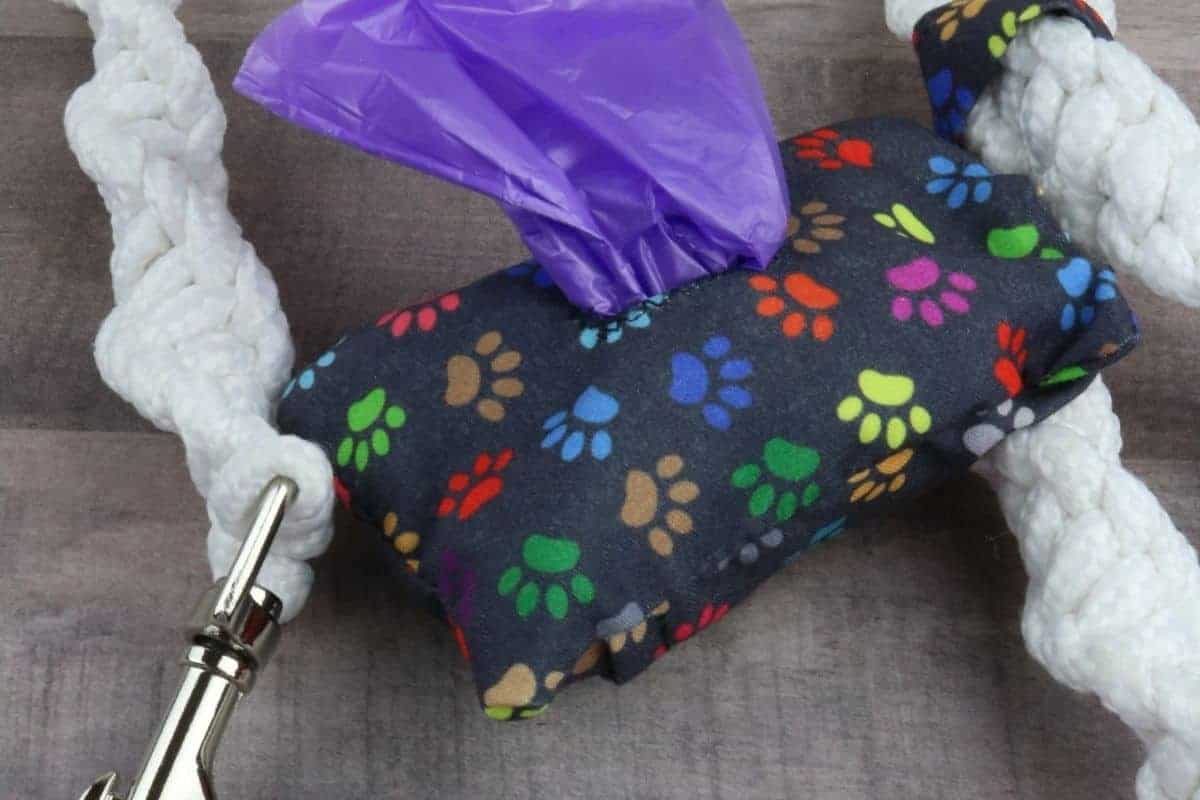
Step 15: Place a roll of bags inside, tucking it through/under the overlapping pockets (kinda like a pillow sham) and push the end of the bag out the hole opening.
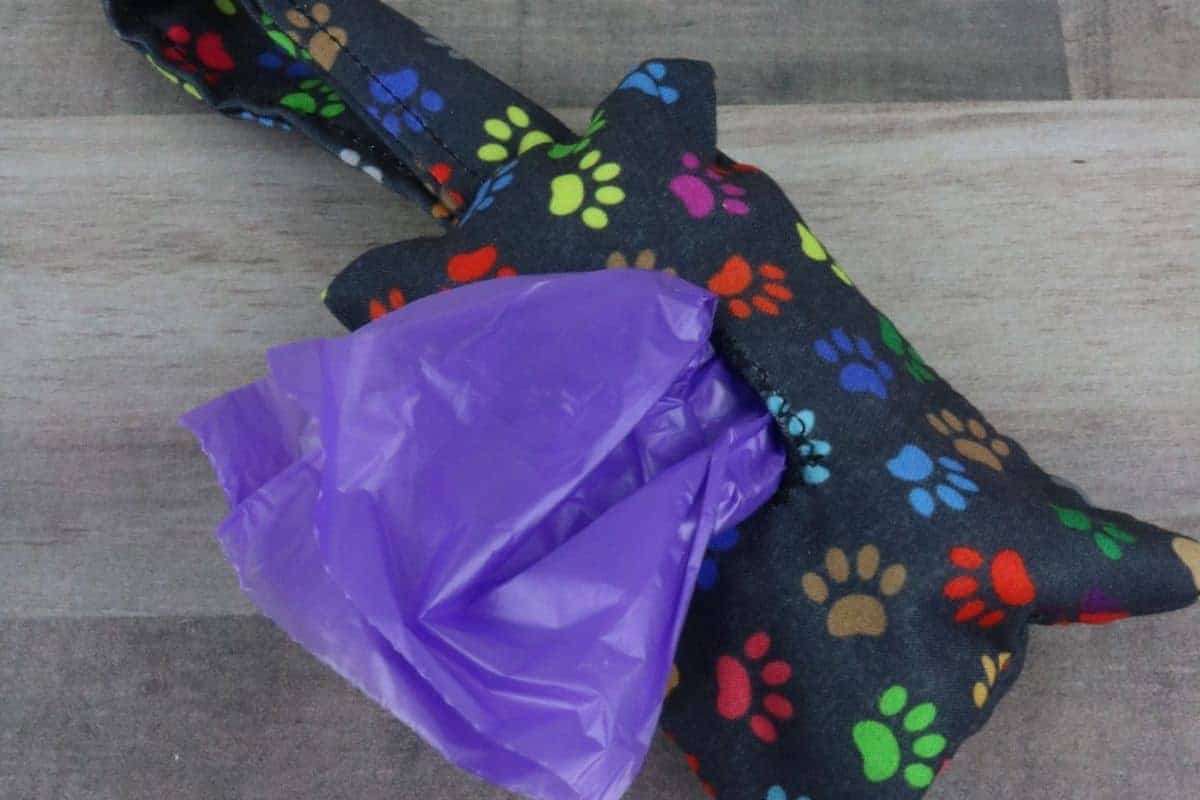
Printable Instructions for 20-Minute DIY Dog Poop Bag Holder
📖 Recipe
DIY Dog Poop Bag Dispenser
20-Minute Easy DIY Dog Poop Bag Dispenser
Materials
- Fabric
- Thread
Tools
- Scissors
- Sewing Machine
- Pins
- Rotary Cutter
- Seam Ripper
- Marker
Instructions
Step 1: Cut the fabric to the sizes needed. You will need (3) pieces that are 4"x3" and (1) that is 3"x6".
Step 2: Now on one end of a 4x3 piece, the 3-inch side, fold it over by about ¼ inch. Then fold it over again by ¼ inch and pin it in place. Do the same on another 4x3 piece.
Step 3: Sew those folds down by sewing close to the inner folded edge.
Step 4: From the long side of the 3x6 piece, fold it in half so the edges touch in the middle. Then fold it again so those folds are on top of each other. Pin in place.
Step 5: Sew down that piece using about ¼
seam allowance from the folded sides.
Step 6: On the last 4x3 piece you need to find the center and mark it. I find the best way to do this is to fold it in half
one way then the other to make an X mark in the center. Then push a pin through it so you can see that mark.
Step 7: Use the marker to make about ½ inch to inch mark over the pin. Then you can remove the pin.
Step 8: If you have a buttonhole maker setting and foot for your machine you can use it to go around the mark. If not, you can
do as I did and just do a zig-zag stitch all the way around your mark.
Step 9: Using the seam ripper, carefully cut on the mark in the middle. Just be sure not to go through the stitching.
Step 10: Lay the piece with the hole in it so that it is face-up. Then fold the long piece over to make a loop and line it at the edge of one end of the piece with a hole.
Step 11: Lay one of the other pieces to face down over those. You want the folded stitched end in the middle. Pin in place.
Step 12: Then lat the last piece face down at the other end with the stitched end in the middle. Pin in place.
Step 13: Using a ¼ inch seam allowance sew all the way around to stitch them all together. Be sure to do a backstitch at the start and finish. As well as run over that loop end a few times to make sure it is secure.
Step 14: Using the scissors trim off any extra fabric around the edge. Then use the opening, turn it all right side out.
Step 15: Place a roll of bags inside tucking it through/under the overlapping pockets (kinda like a pillow sham) and push the end of the bag out the hole opening.


Erica says
The bag is a little small, so it's difficult to get a roll of bags into the holder. I'd suggest making it an inch wider or so, which I'm going to try next. Hopefully it's easier to work with.
Ruby Doodle Dog says
An inch wider would work as well. Let me know how it goes.
Vicky says
I agree. I can’t flip the inside flap over the bag roll.
Allie (they/them) says
I had the same problem as above posters. The inner flap (middle layer when right-side out) was too long to pull back and get the roll of bags in. To fix it, I needed to shorten that middle panel so that it would indeed act like a comforter cover, with a short middle panel just long enough to keep the bags in. I turned the case back inside-out and cut back that too-long panel so that about an inch and a quarter remained, and folded the rough edge over and hemmed a 1/8" seam by hand. Now the middle panel is only 1" long and serves its purpose. I would modify pattern so that instead of three 4x3 pieces you have two 4x3 and one maybe 2x3 for that middle piece.
Meshe says
I wish I saw these comments first!! I just spent hours hand sewing this pattern (along with hand sewing the button hole) only to have it not work. Might need to try Allie's suggestion.