A Guide to Storing Homemade Dog Treats Fresh and Tasty.
Proper storage is crucial for storing homemade dog treats to keep them fresh and safe for your furry friend.
Here are some storage options and tips to consider:
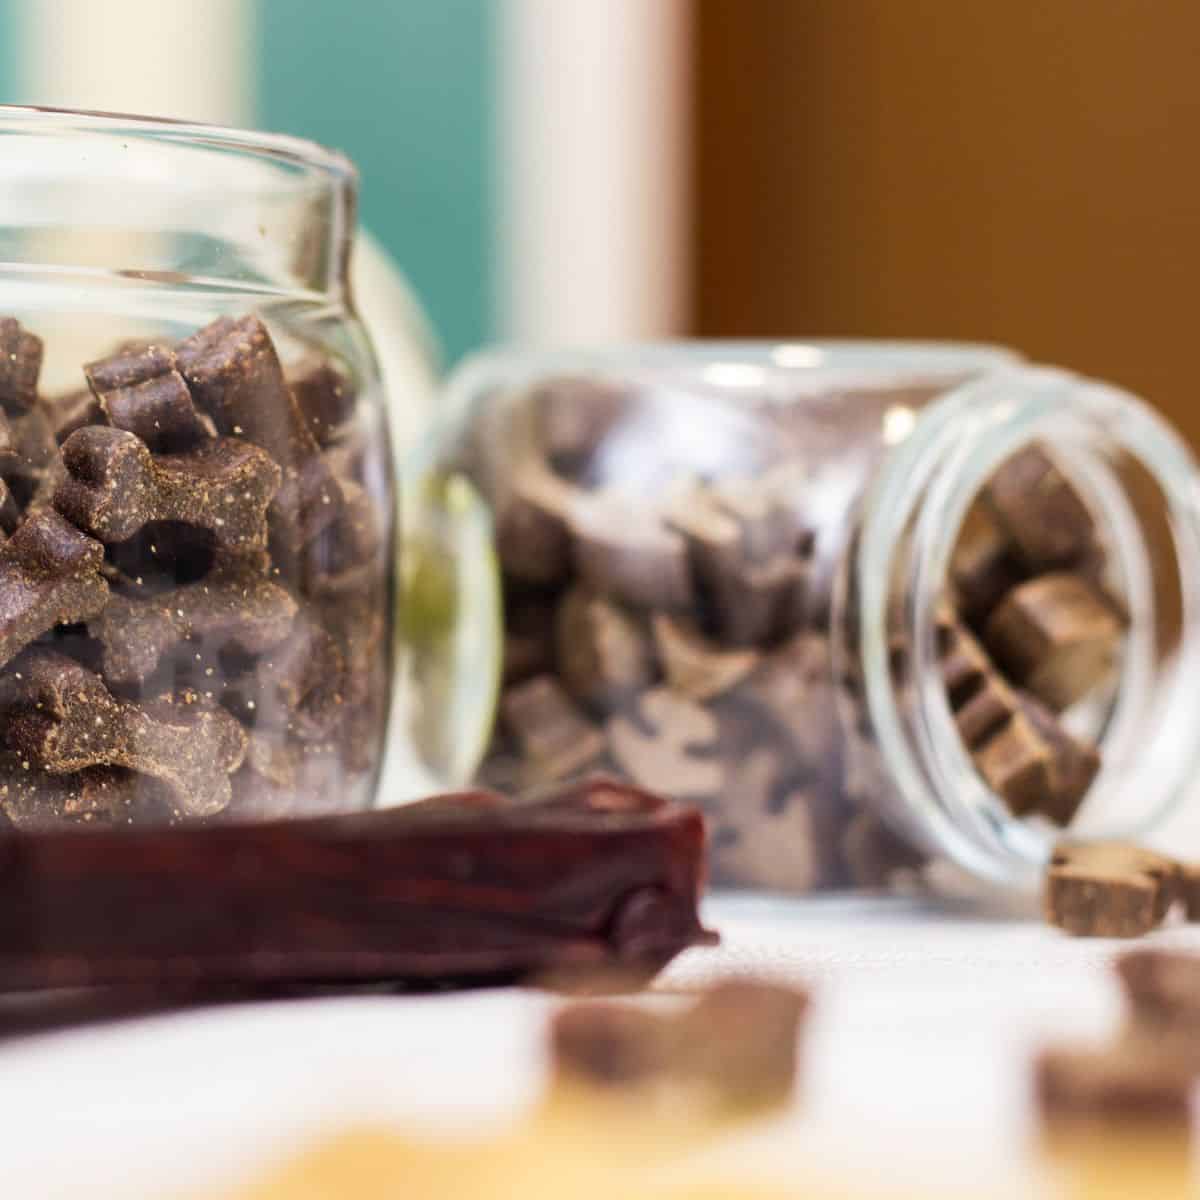
Freezer Bags or Airtight Containers - The most common and convenient way to store homemade dog treats is in freezer-safe bags or airtight containers. Place the treats in a single layer or use wax paper to separate layers, preventing them from sticking together.
When it comes to homemade dog treats, proper storage is important to maintain and prevent spoilage.
One of the key factors to consider is moisture. Moisture can create an environment for bacteria and mold to grow, leading to the spoilage of treats.
One way to avoid moisture is by storing in an airtight container. This will prevent any moisture from entering the container and keep the treats fresh for a longer time.

Silicone Ice Cube Trays - If you've used silicone ice cube trays to make the treats, you can pop them out as needed.
Parchment Paper - Place the treats on a parchment paper-lined tray in the freezer until they're frozen solid. Then, transfer them to an airtight container or freezer bag, with parchment paper between layers to prevent sticking.
Vacuum Seal Bags - If you have a vacuum sealer, you can vacuum-seal the treats to remove excess air and prevent freezer burn. This method is particularly useful if you plan to store a large batch of treats for an extended period.
Individual Wrapping - If you want to portion out the treats for easy access, you can wrap them individually in plastic wrap or wax paper before placing them in an airtight container or freezer bag.
Labeling - Don't forget to label the storage container or bag with a date of preparation. This helps you keep track of freshness and ensures that you use the treats within a reasonable amount of time.
Freezer Placement - Store the treats in the coldest part of your freezer to maintain their freshness. Avoid placing them near the freezer door, as frequent opening and closing can lead to temperature fluctuations.
Use-By-Date - When homemade dog treats don't have a long shelf life compared to commercially produced ones, aim to use them within 2-3 months for optimal freshness. Discard any treats that show signs of freezer burn or spoilage.
Tips and Tricks for Storing Homemade Dog Treats
One of the key factors to consider when storing homemade dog treats is the environment in which they are stored.
For frozen dog treats, a freezer is optimal to prevent the treats from melting.
For dry homemade dog treats, it is recommended to store these treats in a cool, dry area to maintain their freshness and quality.
High temperatures and humidity can cause the treats to spoil or become moldy, which can be harmful to your dog's health.
A cool and dry area, such as a pantry or cupboard, will help to prevent the growth of bacteria and prolong the shelf life of treats.
When storing in a cool dry place, you'll want to limit any exposure to direct sunlight or moisture, as this can compromise the quality of the homemade dog treats.
Final Thoughts on Storing Homemade Dog Treats
Remember that homemade dog treats may not have preservatives like commercial treats, so they have a shorter shelf life.
Always inspect the treats before giving them to your dog and ensure they remain frozen until needed.
If you make a large batch, consider portioning it out into smaller containers to minimize the number of times you need to open and close the main storage container, which can help maintain freshness.
By following these simple steps, you can make sure your dog always has access to healthy and delicious dog treats.


Leave a Reply