
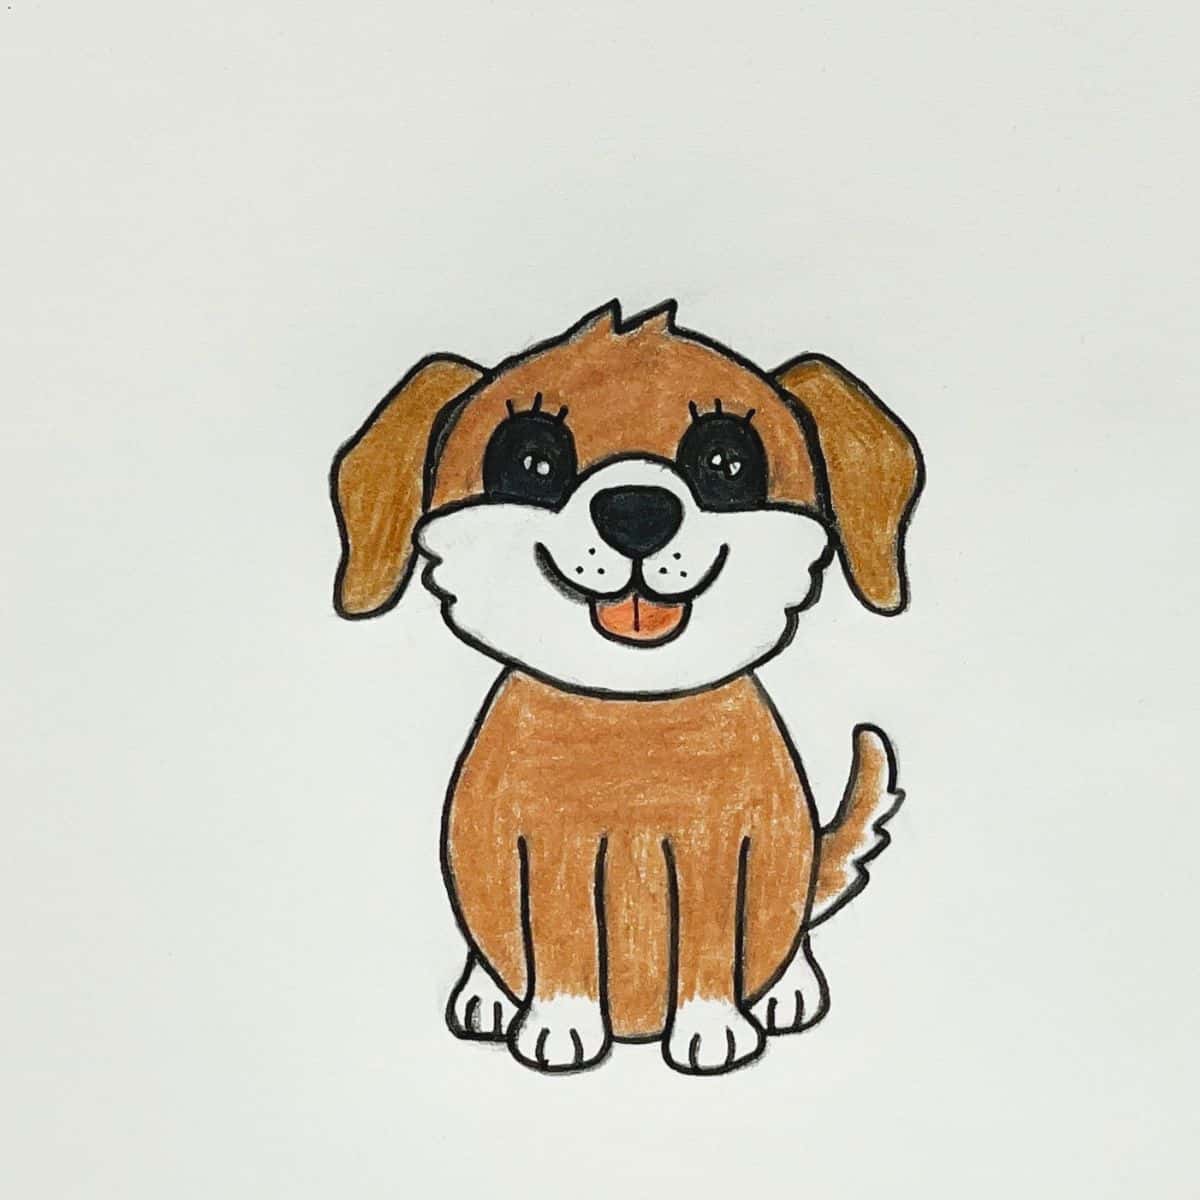
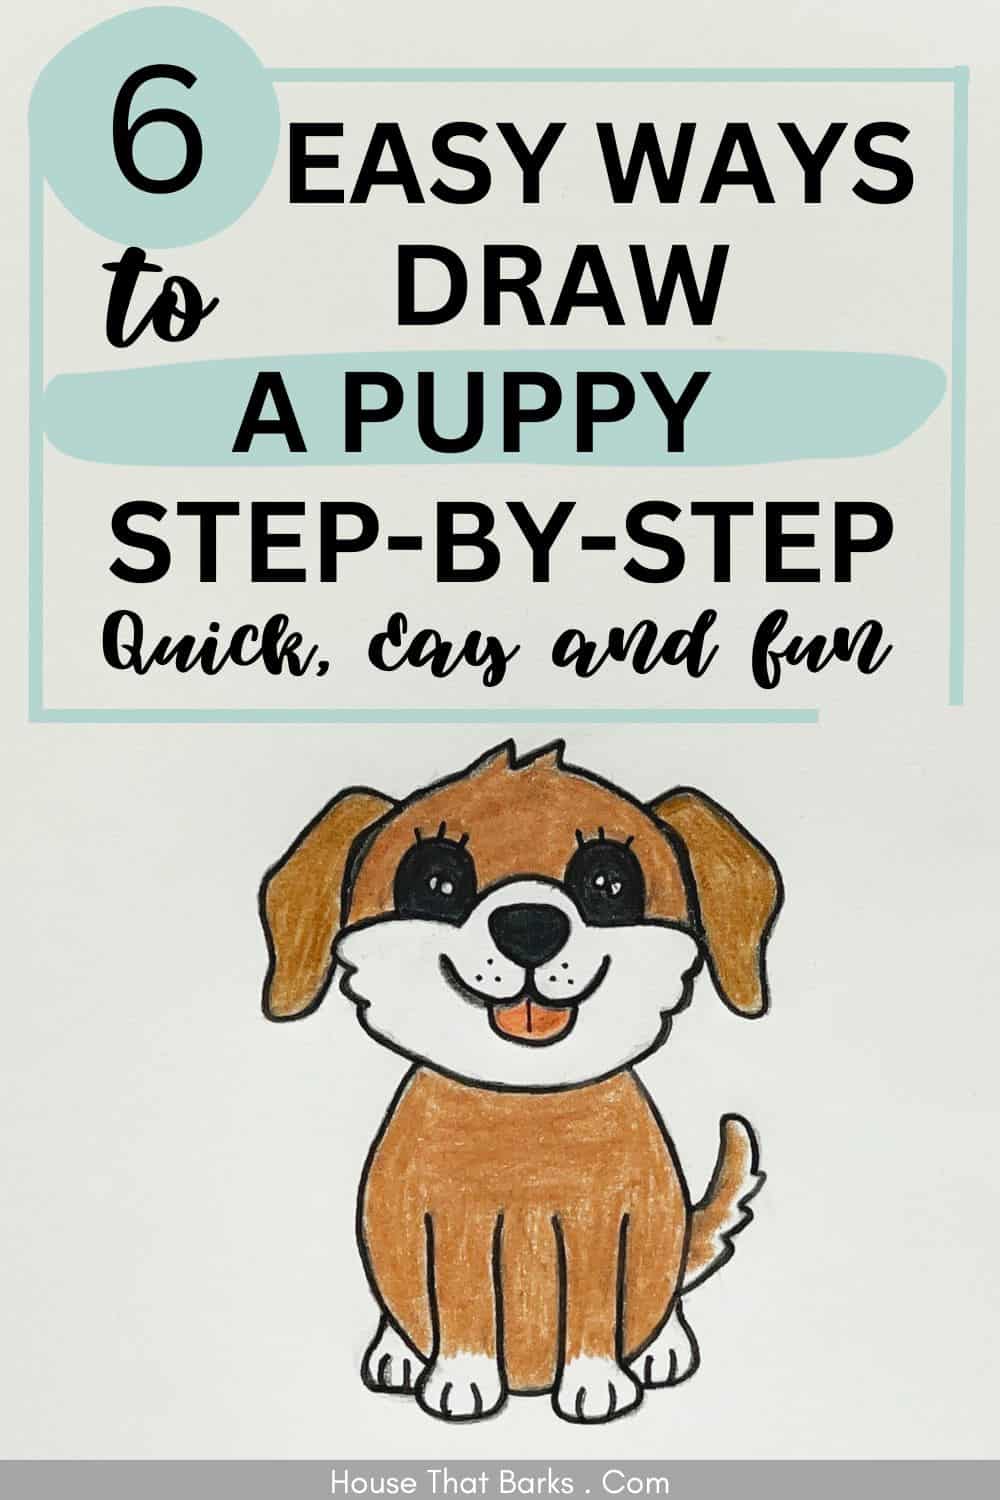
6 Easy Steps to Draw a puppy for beginners
Skill level - Easy - How to draw a cute cartoon puppy
If you're new to art or looking for a fun activity to do, learning how to draw a puppy is a great place to start.
Drawing is a easy way for both kids and adults to interact and can be very satisfying.
In this blog post, we'll walk you through the steps to create a cute and realistic puppy.
We'll go through the materials needed, the techniques for creating and bringing your puppy to life.
So let's get started on how to draw a puppy dog!
Disclosure: Some of the links in this article are affiliate links (Amazon Associate or other programs we take part in). As an Amazon Associate, I earn a small commission from qualifying purchases.
Material Needed to Draw a Puppy
- Sketch Book or Drawing Paper or a drawing pad
- Colored Pencils or Crayons
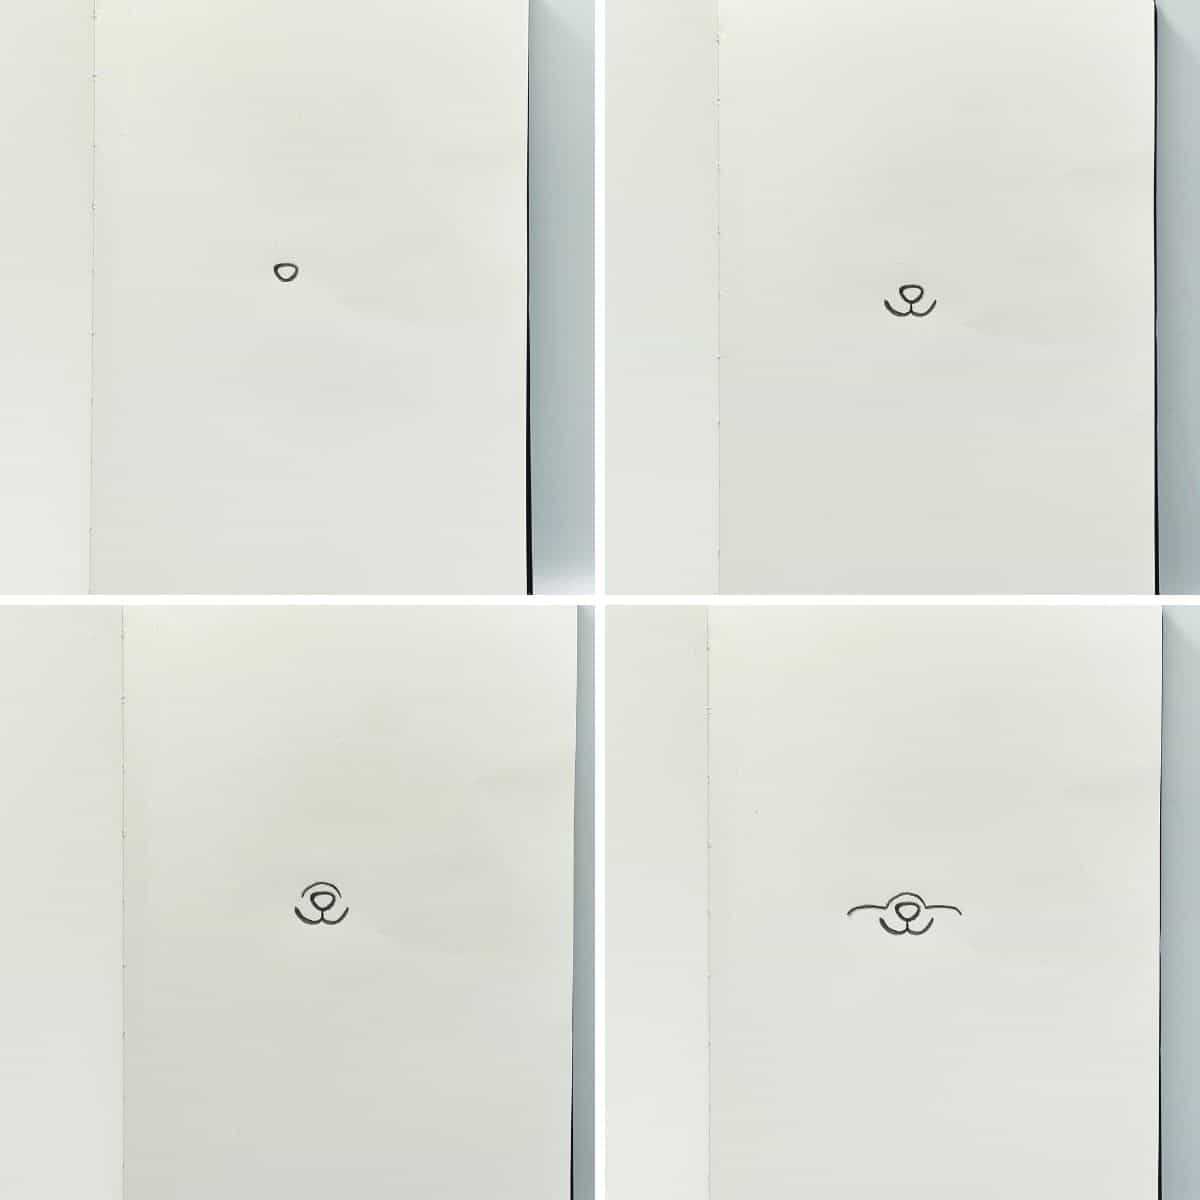
1. Draw the Basic Shape of the Puppy
Steps 1-2-3-4
Let's start to draw a puppy by beginning with the nose.
Draw the round edged triangular shape.
Draw a vertical line from the middle point of the triange. Then draw two curvey "U" shaped lines on the two ends of the vertical line.
Keep a little gap and draw an upside down "U" shape line on top of the nose, keeping a little gap.
From the ends of the "U" shaped line, draw two horizontal lines with curved ends.
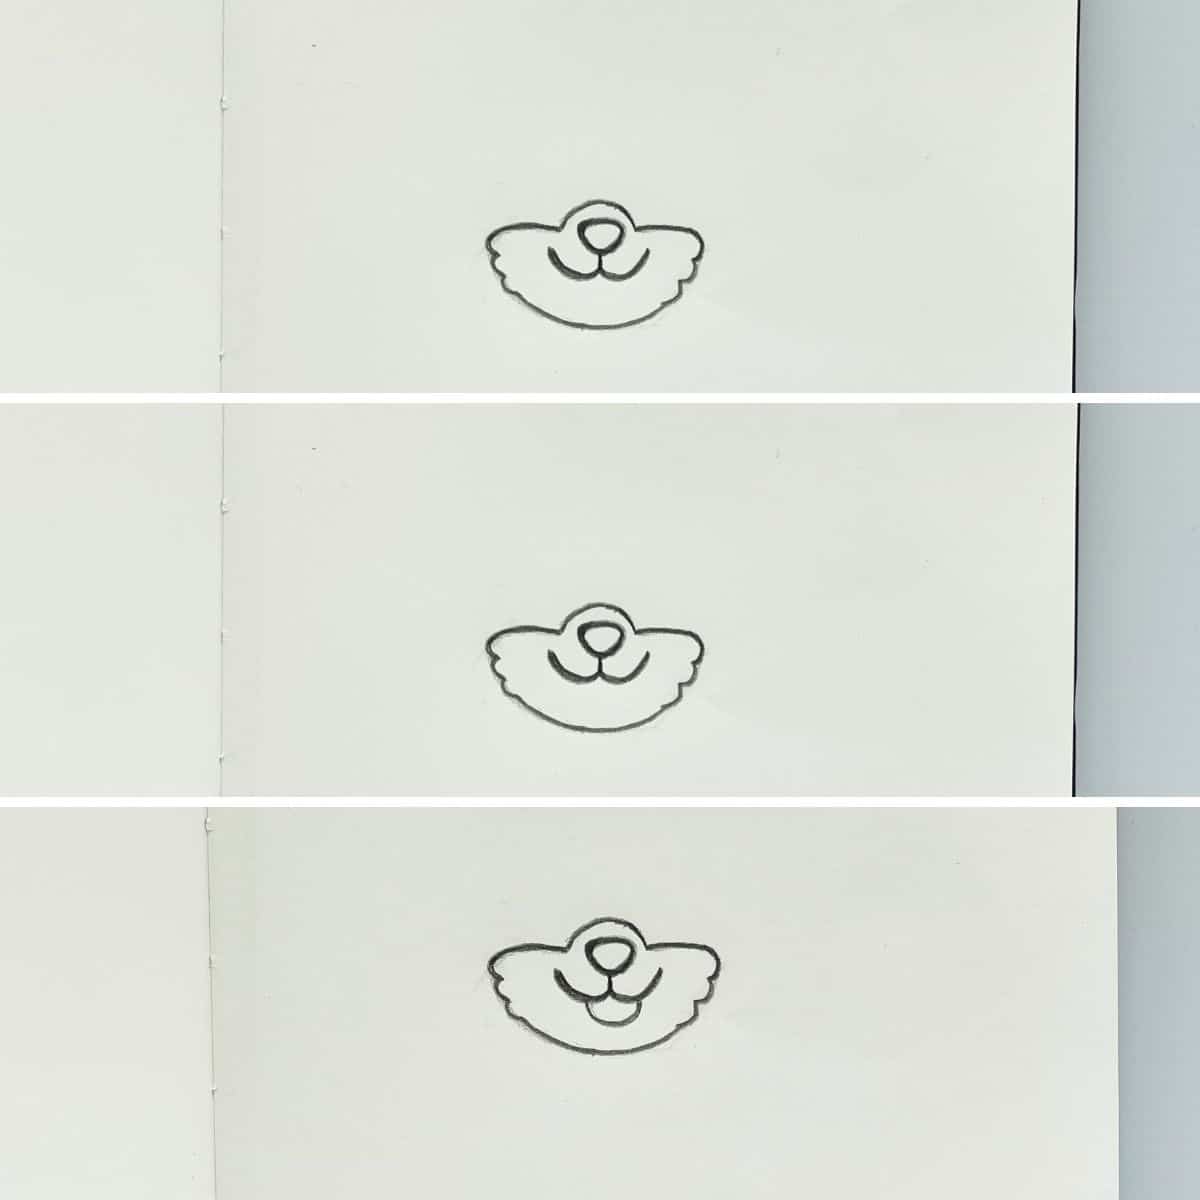
2. Adding the nose
Steps 5-6-7
Using your pencil, draw a half circlular shape from the ends of the two horizontal lines.
On two sides of the half circle shape draw three round edged zigzag lines.
Draw a "U" shape line below the mouth.
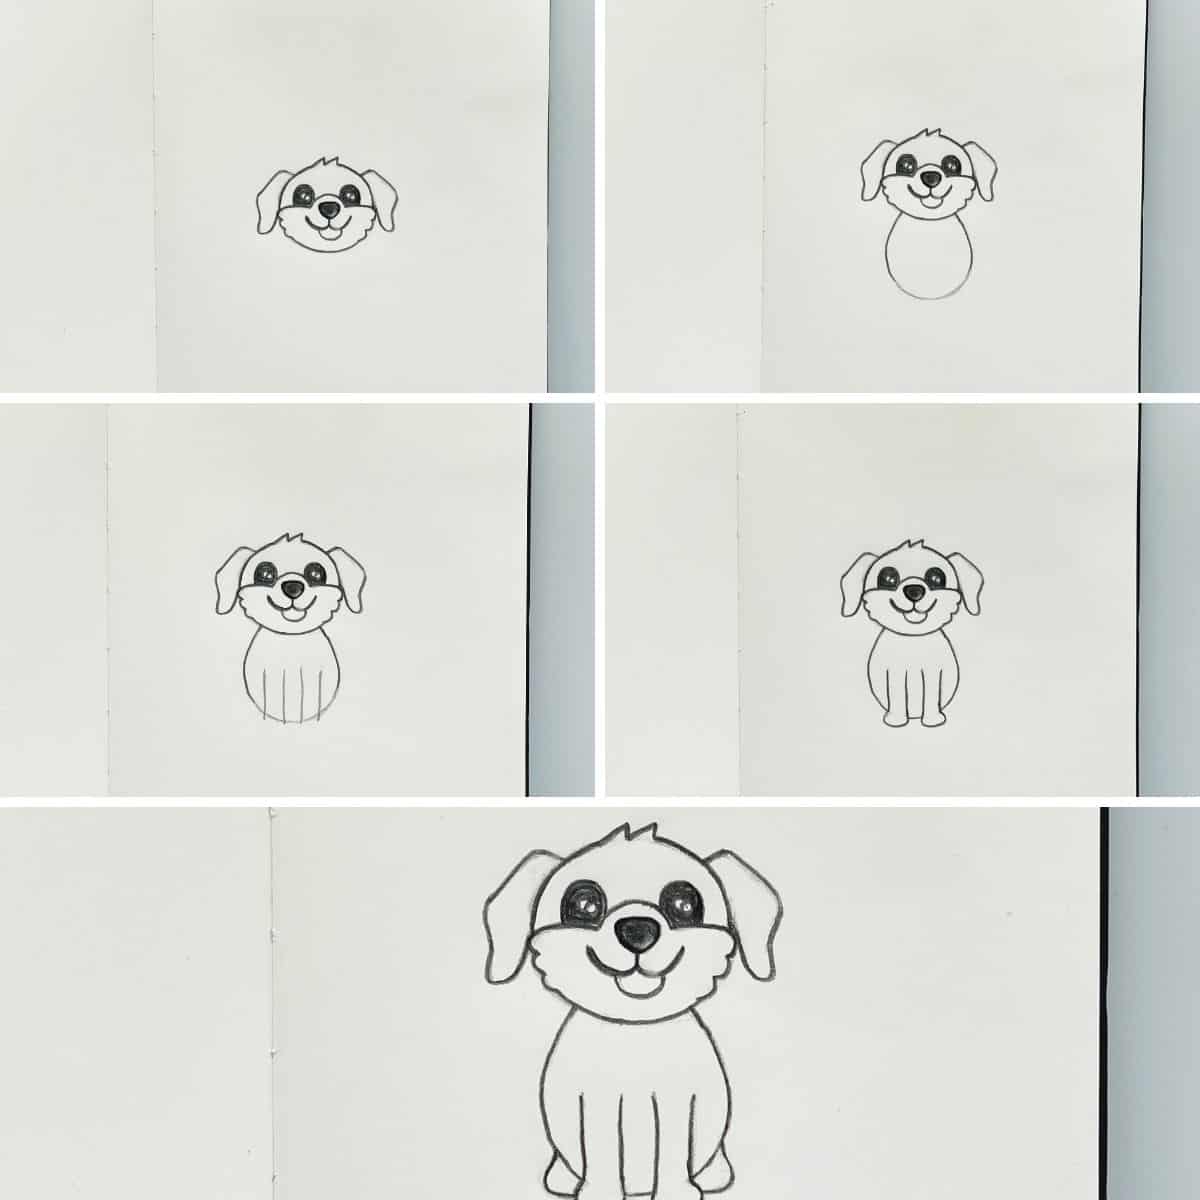
3. Drawing the Puppy Dog Eyes
Steps 8-9-10-11-12
Draw two upside down "U" shapes over the two horizontal lines.
Draw the pupils for the eyes.
Fill in the eyeballs using your pencil.
Draw a half circle round shape for the puppy's head.
Erase a little portion from the middle of the head and draw two zigzag lines.

4. Drawing the Body and Ears
Steps 13-14-15-16-17
Draw the puppy's ears. You can use any shape you want for the ears.
Draw an egg-shape for the body of the puppy.
Draw 4 parallel vertical lines on the bottom part of the puppy's body.
Erase the lines and add the paws.
Draw the two back legs for the puppy. Use an easy circular shape to draw the puppy paws.
5. Drawing the Puppy Paws and Tail
Steps 18-19-20-21
Us the pencil to draw the shape of a tail.
Draw squiggly lines on the tail to add details.
Draw three lines on the paws to add details.
Draw three vertical lines above the eyes if you want to add some eyelashes to the puppy.

6. Coloring in your Puppy
Steps 22-23-24
Use a brown crayon or pencil in the body, legs and top of the portion of the puppy's head.
Use the same brown crayon or pencil to fill the puppy's ears.
Use an orange or peach shade to color the puppy's tongue.
That's it!

Hints, Tips and Tricks
Sketch the basic shape of the puppy
Determine the size of the puppy
Add shading and highlights
Final Thoughts
Drawing a puppy is a fun and simple art project that can be used by kids and adults alike.
With a few simple and basic stesp you can easily create a realistic puppy drawing.
If you're a beginner just starting out or a pro, this is a great subject to practice and improve your drawing skills.
Pretty soon you'll be creating a beautiful puppy!
Pin It and Save It for Later


Leave a Reply